Hey there, fellow Guardians! As we dive deeper into 2026, some of the classic dungeons still hold secrets that keep us coming back. Remember Warlord's Ruin? I know, I know, it's been a few years since its release, but that quest for Hefnd's Bones? It's one of those satisfying puzzles that never gets old. If you're like me, you've probably completed the dungeon, seen those mysterious sealed doors, and wondered, 'How do I get all these bones?' Well, let me walk you through it based on my own experiences and the collective wisdom we've gathered since 2023.
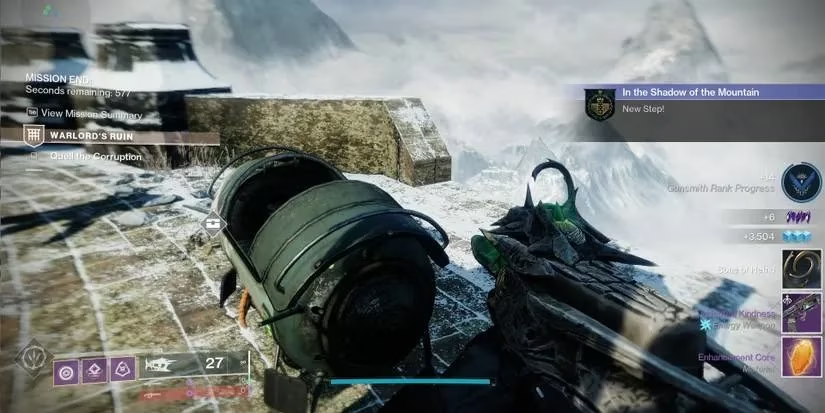
You see, the key to everything is understanding the Dispel system. Think of it as a permission level for those locked doors. Now, here's the first big question: how do you even start? It's simpler than you might think. After you defeat the final boss and open that glorious loot chest, don't just walk away! Did you know that interacting with the left side of that chest grants you the very first Bone of Hefnd? That's right, and this act secretly awards you Dispel Level 1. It's the game's way of saying, 'Okay, you've proven yourself, now here's a key.' This first level unlocks three specific doors scattered throughout the dungeon.
But wait, do you need to run the entire dungeon over and over, grinding for these bones? Absolutely not! This is the beautiful part of Warlord's Ruin's design. The dungeon allows you to backtrack all the way from the final boss arena back into the prison cells. So, here's the efficient strategy I always use:
-
First Run: Complete the entire dungeon normally. Grab that first bone from the chest.
-
Second Run: Start a fresh run, but you only need to defeat the first and second bosses. Once the second boss is down, you can explore the entire dungeon with the ability to unlock doors based on your progress.
This means you can collect all the bones in just one dedicated collection run after your initial clear. Pretty slick, right?
Now, let's talk about leveling up your Dispel. It's a progressive system:
-
Dispel Level 1: Granted by collecting the first bone from the final chest.
-
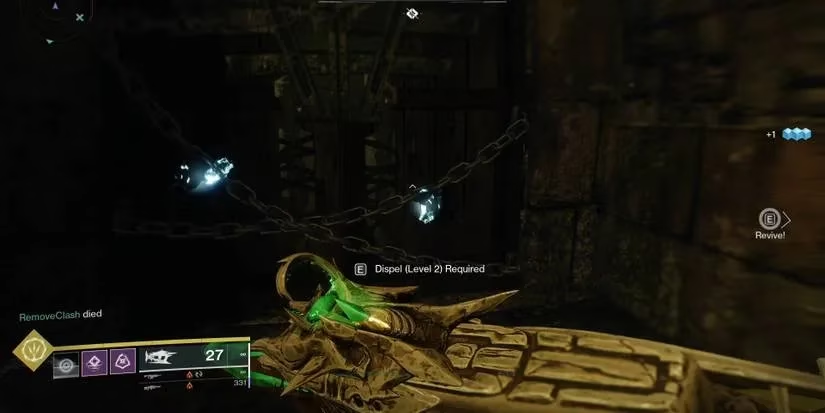
Dispel Level 2: Unlocked automatically once you collect all the bones behind the Level 1 doors.
-
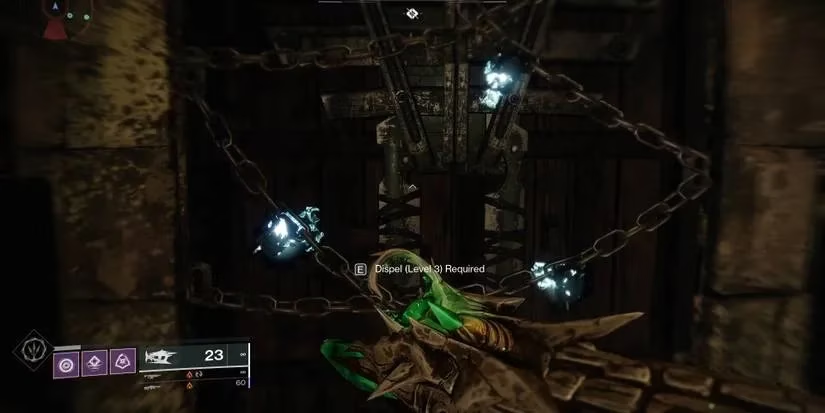
Dispel Level 3: Awarded after you collect the three bones hidden behind the Level 2 doors. This final level grants access to the last three bones.
So, it's a chain reaction: one key leads to more bones, which leads to a better key, and so on.
Alright, with the 'how' out of the way, let's get to the 'where.' There are nine sealed rooms hiding these precious bones. I've lost count of how many times I've guided clanmates through these corridors, so let me break down the locations for you.
Before the First Boss - Dispel Level 1 Room
This one is nice and early. After you cross the first bridge and deal with that initial wave of Scorn, you'll enter a temple structure. Instead of heading straight for the boss, look for a corridor leading forward from the main path. Follow it, and you'll find your first sealed door waiting for you. A great warm-up!
After the Prison Section - Dispel Levels 1, 2, & 3
This is where it gets fun. After you escape the prison cell and enter the maze-like network of corridors, you need to put on your explorer's hat. Three separate locked rooms are hidden in this labyrinth, each requiring a different Dispel level. My advice? Methodically check every branching path. One might be down a dark side passage, another behind a seemingly dead-end wall. It's easy to miss one if you're rushing through.
The Platforming Gauntlet (Between Boss 2 and the Final Boss)
This is the home stretch and where the majority of the bones are hidden—five of them, to be exact. This area is a long, vertical climb with plenty of nooks and crannies. You've got to keep your eyes peeled. Let me list the specific spots that have tripped up many a Guardian:
| Location Clue | What to Look For |
|---|---|
| Right after the trap chests room | Once you navigate the room with the deceptive chests, immediately start checking the surrounding walls and alcoves. The door is often tucked away. |
| After the small corridor back to the mountain | When you leave a tight corridor and re-emerge onto the open mountainside, don't just jump forward. Scout the edges of this new platform. |
| At the end of the giant bridge | This one feels epic. Cross the huge, ominous bridge, and before you make the final jump to the next section, search the platform at the bridge's end. |
| In the cave with the giant Blighted Ball | You'll know this cave. It's hard to miss a massive corrupted orb. The bone isn't right next to it; check the cave's perimeter. |
| Mountain area with floating rocks & a small Blighted Ball | In the section where you jump across floating rocks, look for a smaller Blighted Ball hovering in the middle of the path. The door is in the cliff face nearby. |
Finding all these rooms can be a test of patience. I highly recommend playing with a fireteam and splitting up to scout during your collection run. A second pair of eyes is invaluable. And remember, the images and clips from the original guides are still incredibly accurate landmarks, even now.
So, what's the payoff for all this hunting? Beyond the sheer satisfaction of completion, collecting all Hefnd's Bones is tied to unique triumphs, lore, and that sweet, sweet sense of mastery over a dungeon. In 2026, with so many new activities vying for our attention, taking a nostalgic trip back to fully conquer Warlord's Ruin feels more rewarding than ever. So gear up, plan your two-run strategy, and happy hunting, Guardian! Those bones aren't going to collect themselves. 😉