As a seasoned Guardian who's danced with death more times than I've had hot meals at the Tower, let me tell you about my latest adventure - the Equilibrium Dungeon. When I first heard the Praxic Temple was under siege by Bael's Dredgen and the Imperium, I knew it was time to dust off my favorite weapons and rally my fireteam. This ain't your grandma's strike mission - we're talking about a proper challenge that'll test your skills, your patience, and maybe even your friendship when someone accidentally launches you off a platform with a poorly timed grenade.
The Temple Approach
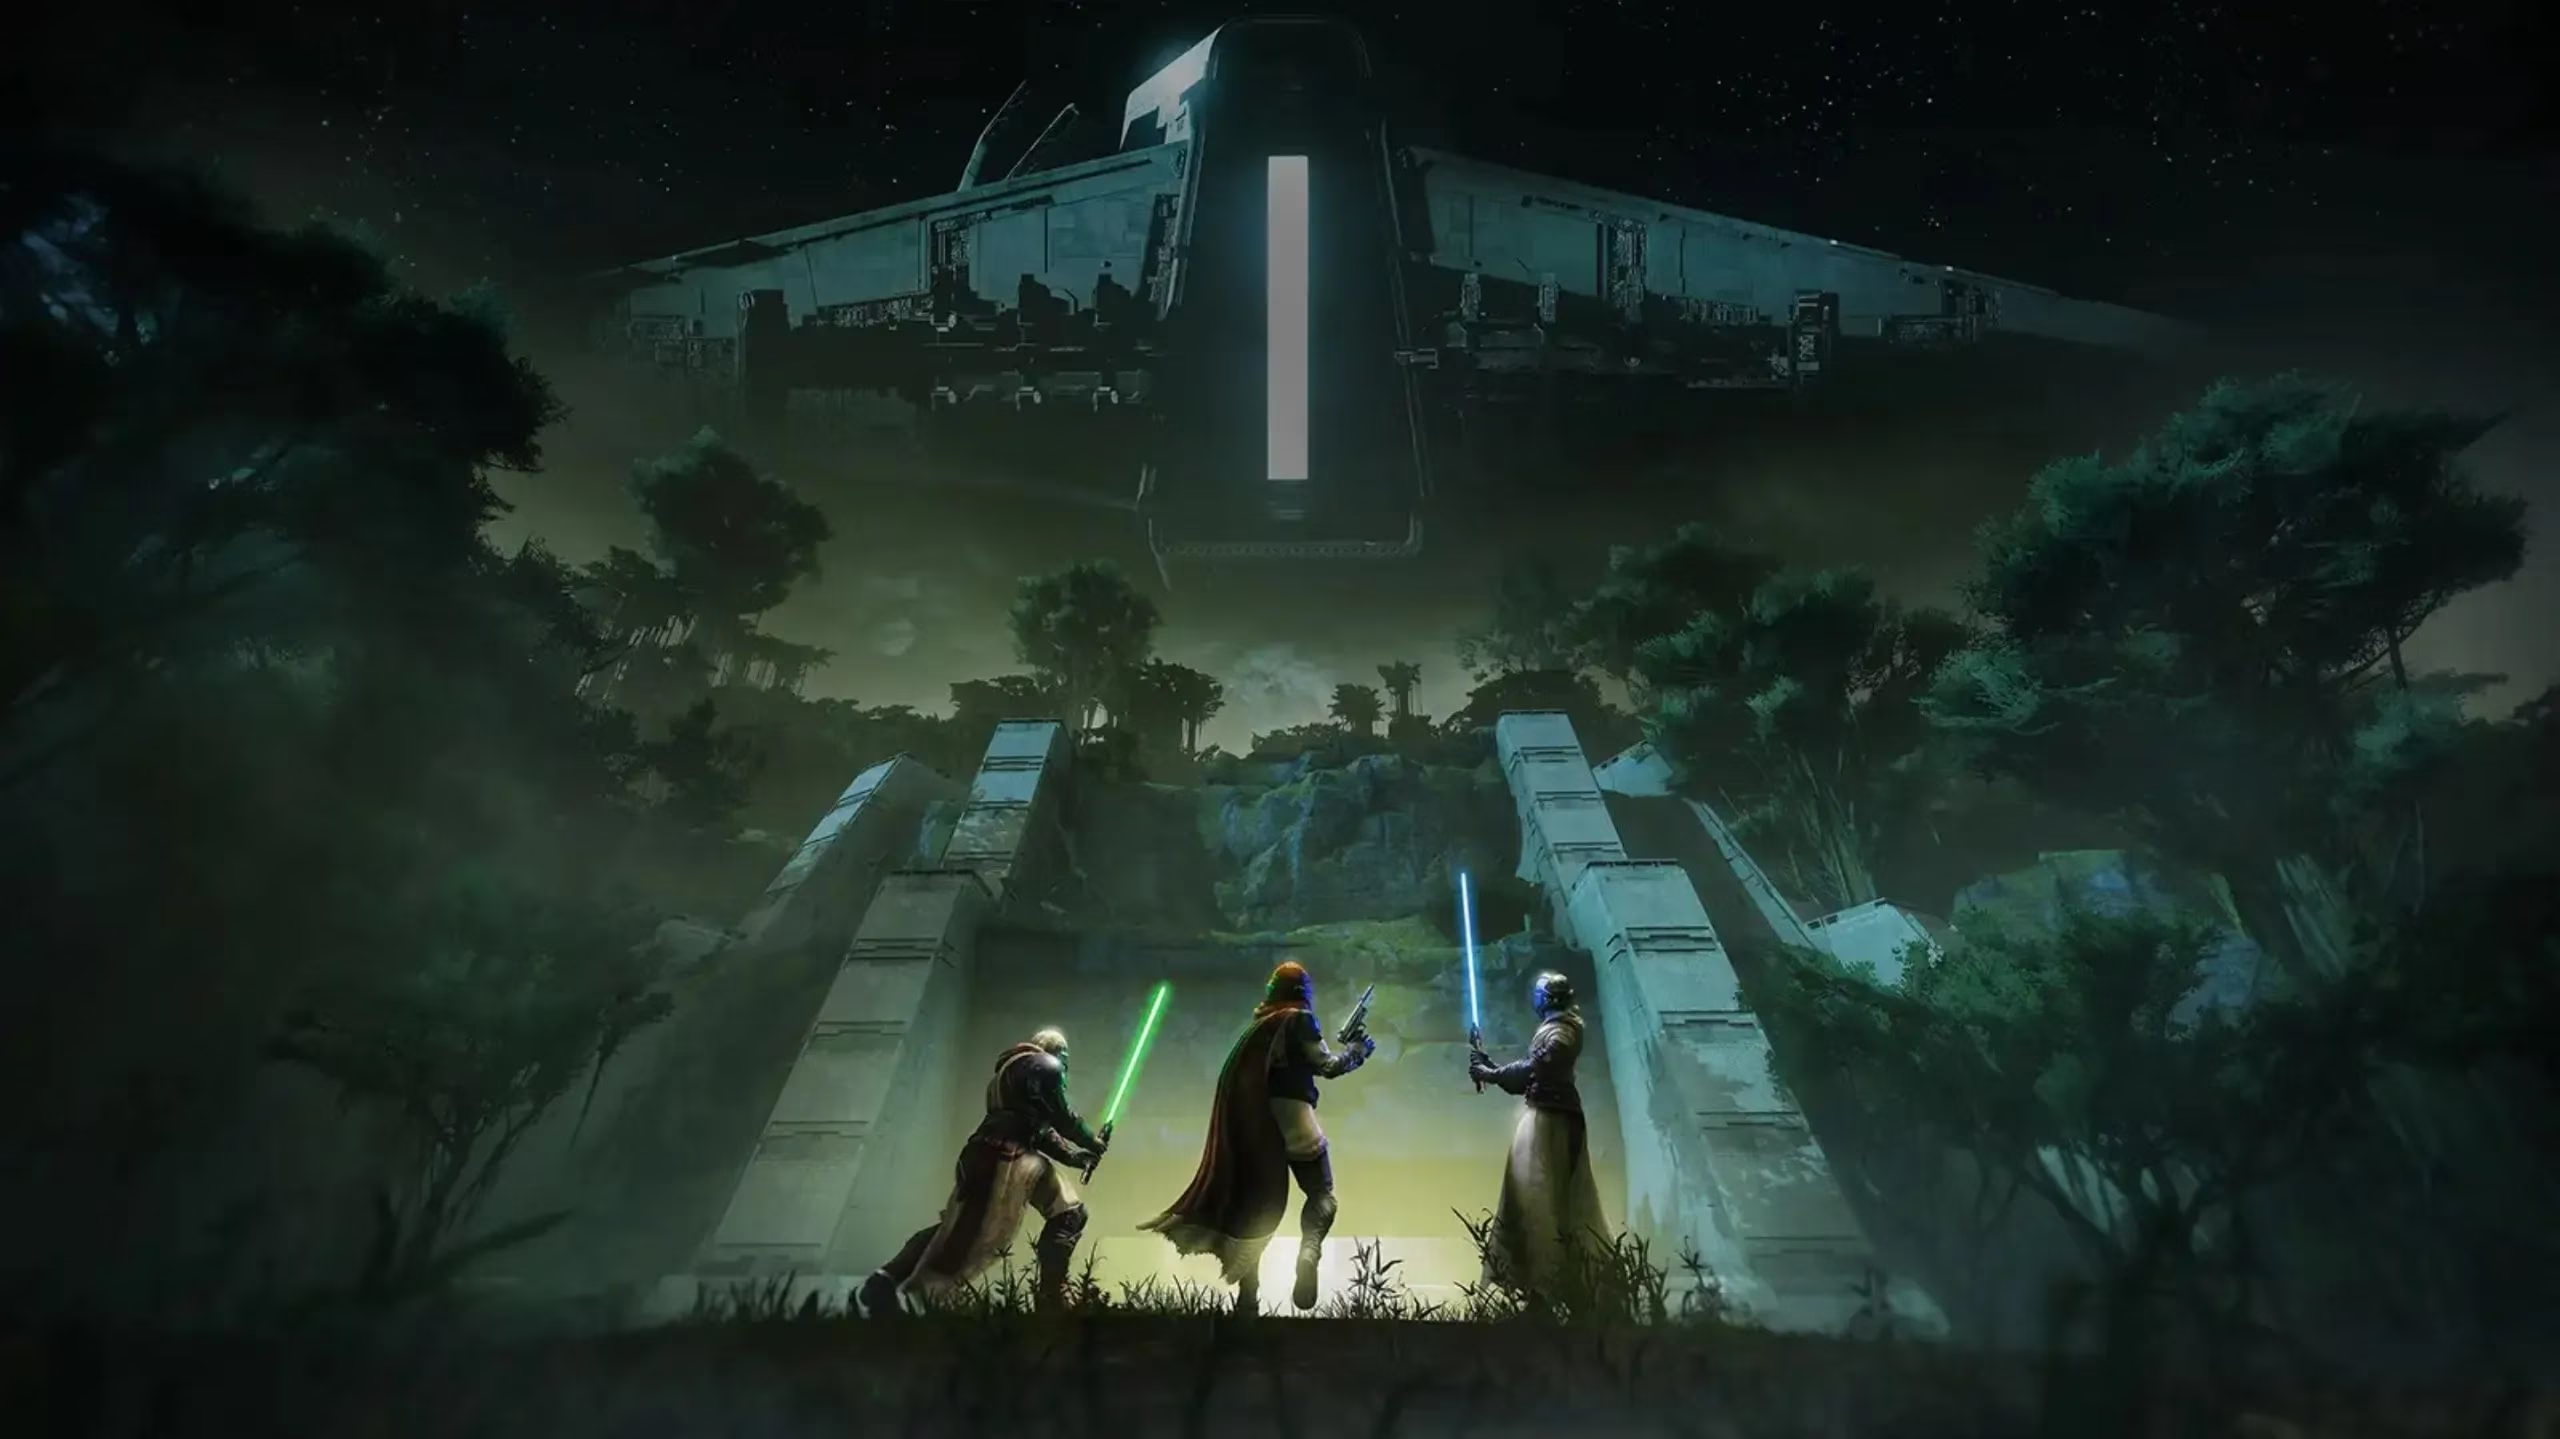
Finding this beauty is simpler than you'd think - just head to the Lawless Frontier section in The Portal on Venus. Once you land, you'll immediately notice something's wrong. The place is crawling with Cabal who clearly didn't get the memo that they're not welcome. I pushed through the Temple Grounds, dropped near the waterfall (quite scenic, if you ignore the imminent danger), and followed the linear path until I found the Praxic Temple standing defiant against the darkness. There's a rally banner there - use it! Trust me, you'll need every advantage you can get.
First Encounter: Learning the Shadows
The real fun begins when you interact with the Harvester ship outside the temple. This encounter taught me two crucial lessons:
-
Gathering Shadows turns you into a Shadow Novice
-
Behemoths appear after you break Nameless Apprentice shields
To get that sweet Gathering Shadows buff, you need to interact with the antennas around the room. The arrays reveal batteries that only explode when a Nameless Apprentice detonates nearby. Pro tip: stand close and watch the fireworks! Once the shielded room opens, you'll find a Sparrow that makes your regular ride look like a child's tricycle. This bad boy has guns and speed - what more could a Guardian want?
Race around collecting those shadow pools until your meter fills. With Shadow Novice active for 45 seconds (refreshable!), you gain access to Shadow Power grenades. These are your key to breaking Nameless Apprentice shields when they're charging explosions. Take down all six apprentices, defeat their Behemoth buddies, and you're golden!
The Ship Infiltration
After boarding the Harvester, you'll find yourself inside the massive Imperium ship. Look up immediately - the path upward begins with platforms leading to a vent. The ship's NLS drive activates, creating a hilarious/terrifying scenario where you're fighting momentum while platforming. Stand on the leftmost edge to counter the rightward push - it's like trying to walk straight during a Cabal earthquake.
You'll encounter locked doors requiring you to shoot blue batteries, fuse rooms, and eventually reach the second encounter area. Don't forget to place a rally banner before facing the first boss!
Harrow: The Blade-Wielding Menace
Harrow greeted me with his fancy Praxic Blades and an annoying immune shield. My initial instinct was to shoot everything that moved, but sometimes discretion is the better part of valor. When Cabal forces burst through, doors open allowing you to escape temporarily.
Inside these rooms, you'll need to:
-
Kill Psion Lackeys for Gathering Shadow
-
Find Centurion Lackeys for the buff boost
-
Become a Shadow Apprentice
-
Use Shadow Power on the three taken-imbued batteries in each outer room
Once all three rooms have their green lights lit, Harrow's shield becomes vulnerable. The blue fuses on the walls drop floor hatches that Harrow can be baited into - each successful bait removes a third of his shield. After two baits, use your Shadow Apprentice ability on the wall batteries to activate generators around the room. Lure Harrow into these for the final shield break and damage phase.
When Harrow reaches his final stand, he'll attempt to retreat through the ship. The chase is on! Turrets and Cabal forces will try to stop you, but persistence pays off. In his final room, shoot blue fuses to drop hatches that remove his regenerating shields. Victory rewards you with that sweet, sweet loot chest!
The Final Approach
After Harrow's defeat, a lever in the room center opens a bay door leading to lightspeed exit. Jump to the ship on the left, follow the path, and activate the two red light switches to board properly. The shipping hangar presents moving platforms activated via console - navigate carefully upward.
The tank area contains four vents, but only one leads forward. Choose wisely, Guardian! The final area requires more Gathering Shadow collection and platform climbing. Use Shadow Power grenades on taken-imbued panels to open hatches in red pipes, leading to the grand finale.
Dredgen Sere: The Final Confrontation
Dredgen Sere isn't messing around. Start the encounter from distance - his opening attack can obliterate unprepared Guardians. Watch for "Face your death!" warnings - he'll target players with deadly lightning that only stops when you're, well, dead. Counter by shooting his hands to stun him.
The strategy here involves:
-
Killing Centurions for Gathering Shadow
-
Becoming a Shadow Master
-
Using Shadow Power grenades on Nameless Apprentices (5 total)
-
Destroying taken orbs that lose immunity after each apprentice death
If you take too long, "Lure of the Dark" activates, sending you to the Ascendant Realm. Here, hunt down five Blistered Shadow enemies. The first four appear around the arena, while the fifth spawns above after the others are defeated - climb the Taken platforms to reach it.
Each Blistered Shadow death allows you to destroy Taken blights on the center pillar, buying more time. Once all orbs are destroyed in both realms, the DPS phase begins. Sere summons lightning from pylons - disable them by shooting panels with Shadow Power. With enough damage phases, Sere falls, and the final chest appears as your hard-earned reward.
This dungeon reminded me why I became a Guardian - the challenge, the teamwork, and that incredible feeling of triumph against impossible odds. Whether you're a seasoned veteran or a New Light, the Equilibrium Dungeon offers an experience you won't soon forget. Now if you'll excuse me, I need to go show off my new loot at the Tower!