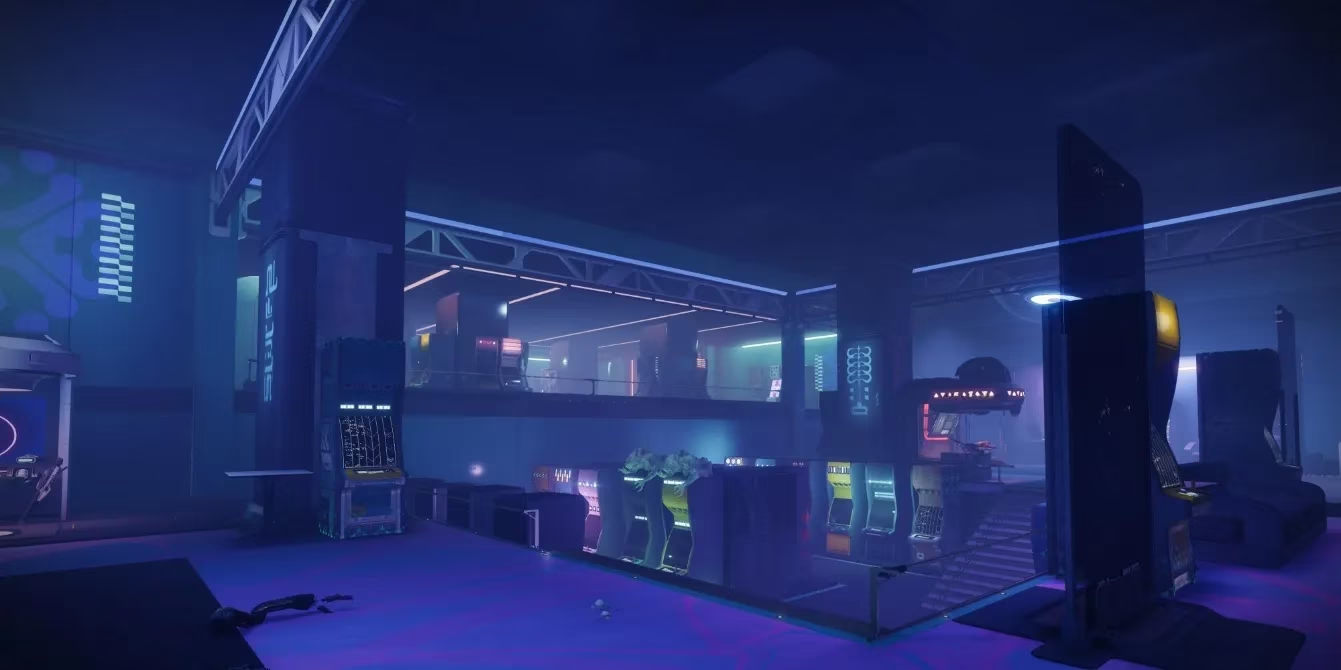
Every Guardian who’s serious about collecting Exotic armor knows the value of a fast, reliable Legendary Lost Sector. Since Lightfall dropped in 2023, the neon-soaked arcade of Thrilladrome on Neptune has been one of my go-to spots. As a professional player, I’ve run this Lost Sector hundreds of times, tweaking loadouts and strategies until every run feels like a well-oiled machine. For 2026, with the meta shifts from recent Episodes, Thrilladrome still stands as a top-tier farm—if you know the tricks.

Thrilladrome is part of the daily rotation on Neomuna, featuring a mix of Vex, Barrier Hobgoblins, and Overload Minotaurs. The activity throws nearly a hundred enemies at you, yet the number of Champions is surprisingly low, which means a well-prepared fireteam can clear it in under three minutes. The real draw is the boss arena, where a clever trick with beam weapons can melt the Hydra boss in seconds. Let me walk you through the exact loadout and tactics I use to turn this arcade into a loot conveyor belt.
Modifiers and Loadout: What I Bring Every Time
The current modifiers for 2026 still lean heavily into Void Threat, which makes those Harpy blasts and Minotaur cannons extra lethal. You’ll also see the usual Legend Lost Sector suspects: Limited Revives, Match Game, and extra shields. I’ve found that building around a single workhorse weapon covers all Champion types while leaving your Heavy slot free for pure boss damage.
My ideal loadout:
-
Kinetic: Arbalest (Anti-Barrier intrinsic)
-
Energy: Any good Void bow or auto rifle for Overload rounds (I love a crafted Pointed Inquiry for its range)
-
Heavy: A linear fusion or rocket launcher with Vorpal Weapon
-
Subclass: Solar Warlock with Well of Radiance for safety, or Void Hunter for invisibility if you’re going solo
-
Armor mods: Double Arc Resistance, Concussive Dampener, and a Charged with Light setup for more Heavy ammo
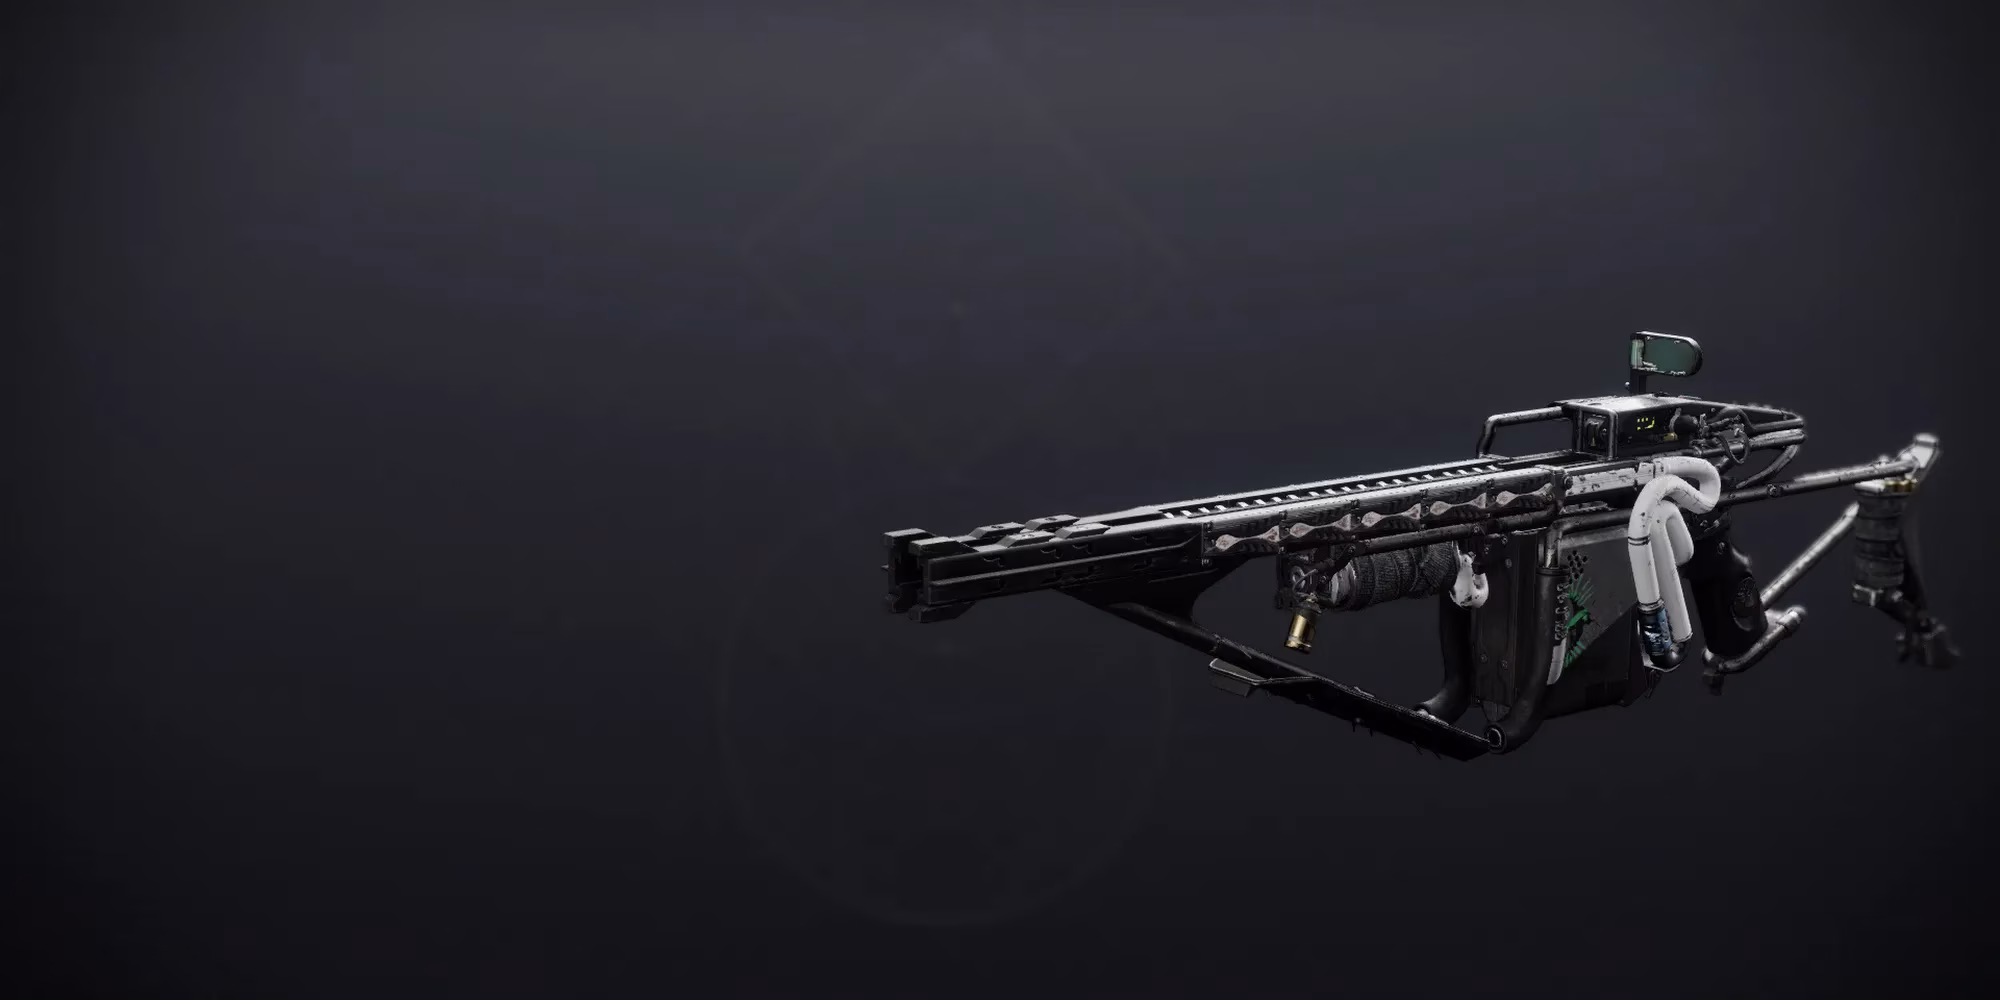
Arbalest is the star here. It breaks Barrier shields instantly and hits hard enough to chunk down both red bars and Champions. If you don’t have it, a solid scout rifle with Anti-Barrier mod can work, but you’ll lose speed. For Overloads, I prefer a bow because it stuns reliably at range, and you can swap to a void SMG if you want to add-clear faster.
The Gaming Arcade: Clearing the First Two Rooms
You spawn just outside the arcade entrance. That first orange-bar Goblin? Ignore it. Sprint past and drop into the lower level where four normal Goblins wait. Kill them to trigger a Barrier Hobgoblin that spawns on the upper platform. I jump up, tap it once to force the shield, then switch to Arbalest to stagger it. A burst from my linear fusion or a well-placed fusion rifle shot deletes it before it can recover. After that, mop up the remaining Goblins.
A fresh wave spawns immediately: a Hydra and several Goblin squads. I toss a grenade or a Forbearance shot into the cluster and watch them explode. Once the Hydra dies, the door to your right unlocks, but hold your ground for a moment—explosive Goblins will rush you from the left. Deal with them before moving forward.
The connecting corridor has a few Goblins and an Overload Minotaur. Stun it right away, then kill the adds around it. When the Minotaur recovers, I backpedal into the previous room to avoid any surprise flankers, stun it again, and finish it with heavy. The next room contains a Barrier Hobgoblin and a second Overload Minotaur that only spawns after you kill the initial pack. Don’t get greedy; retreat slightly, bait the adds, and handle the Champion last. With all Champions down, hop through the portal to the boss arena.
Boss Arena: The Beam Weapon Trick
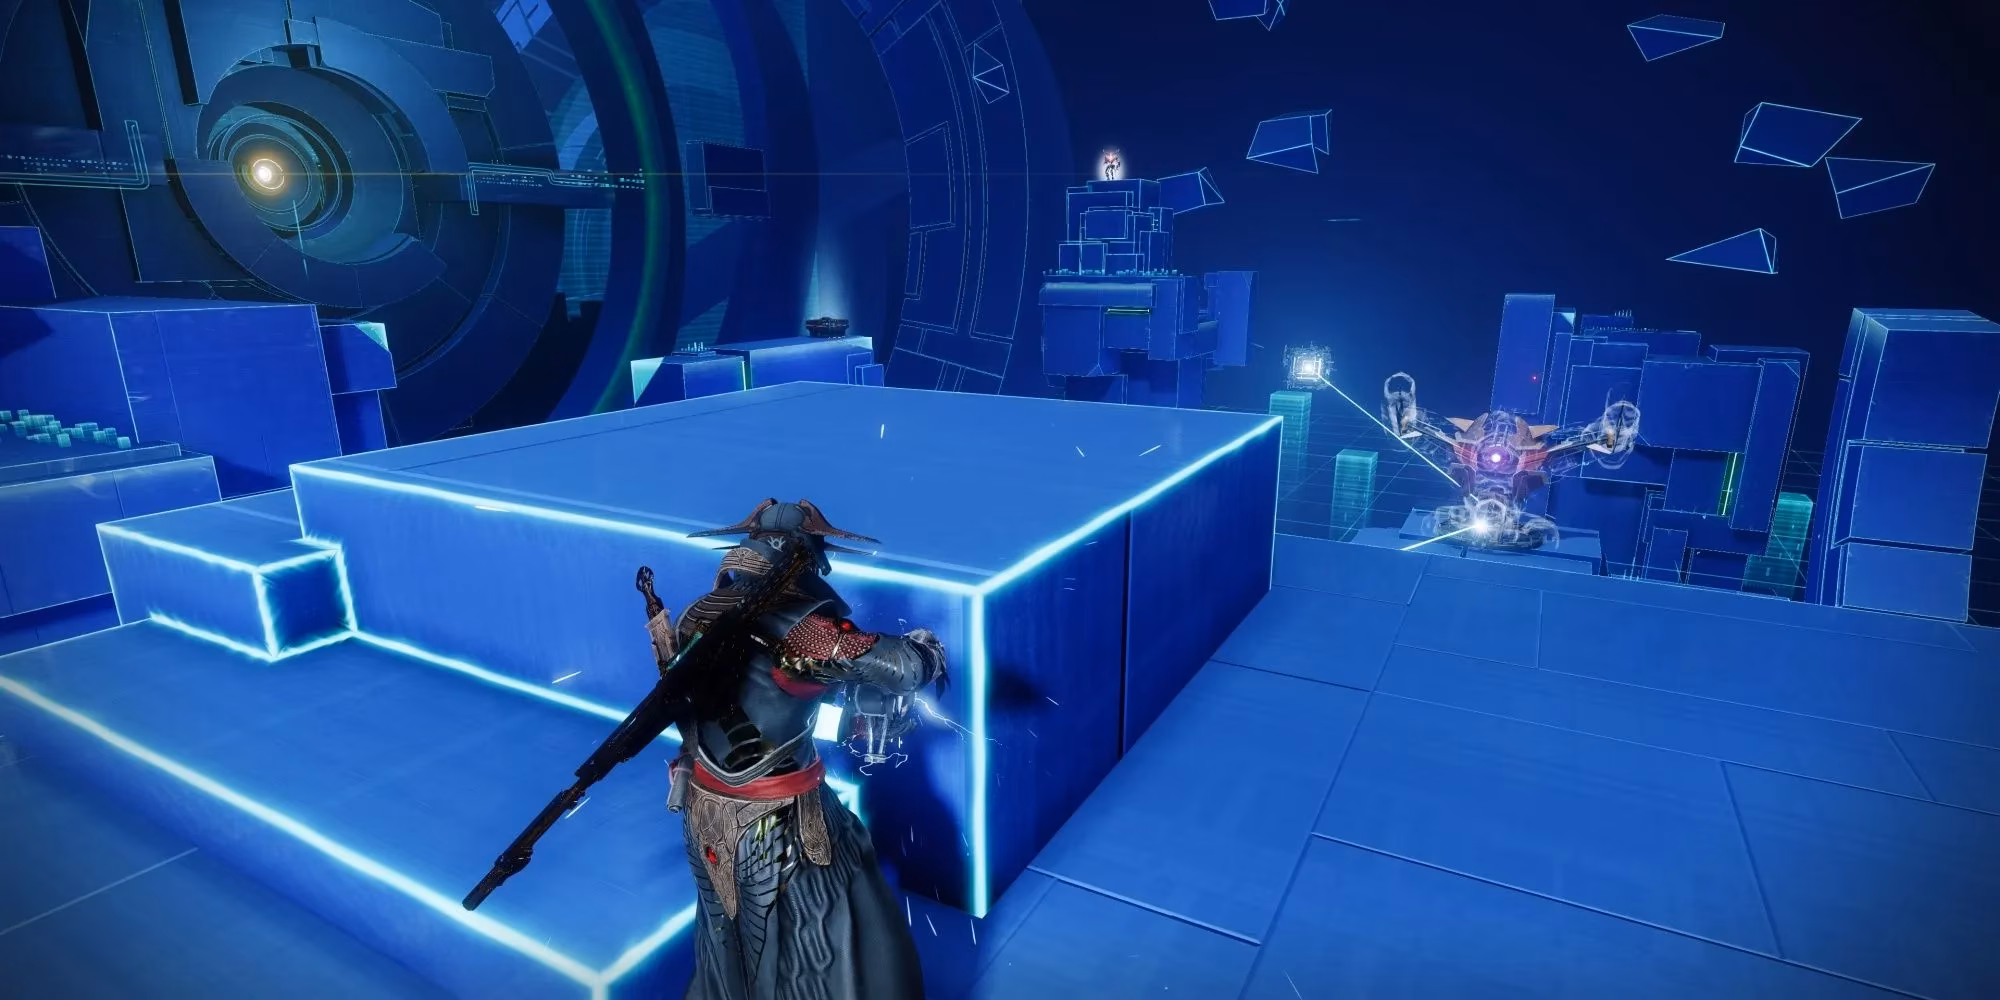
The moment I teleport in, I immediately jump left onto the first floating platform. The goal is to reach the static island above, where a Hobgoblin stands guard. Kill it, and it drops one of those Vex beam weapons—the purple lasers that deal massive damage to Vex. Do not pick it up yet.
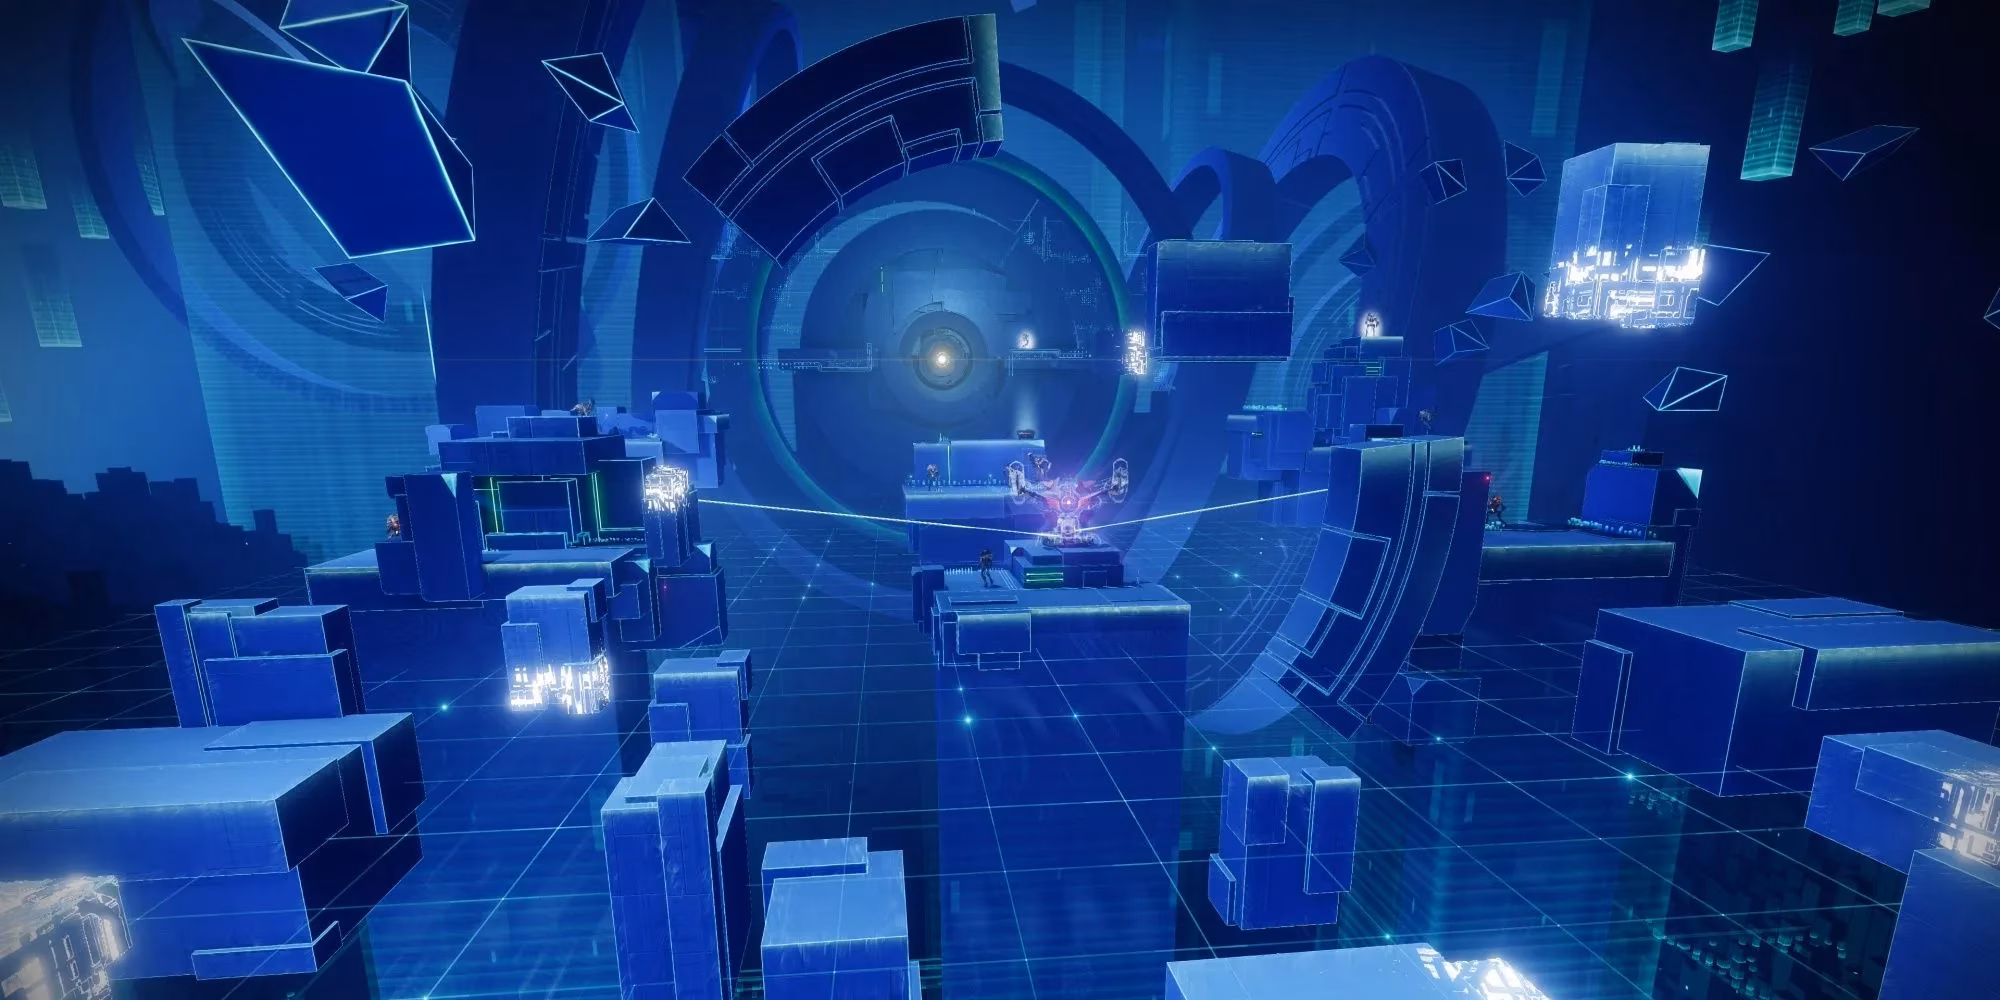
First, clear the immediate area of red-bar Harpies and Goblins. The Cyclops in the back of the arena is a menace, but leave it alive; it spawns the boss only after it dies, and we need to set up first. Pick up the beam weapon and train it on one of the two Barrier Hobgoblins hovering near the center. I burn roughly 15% of its health and drop the laser. Then, switch to Arbalest to break its shield, pick the laser back up, and finish it. Repeat for the second Champion.
If you want a backup beam, I always cross to the platform where a second laser-carrying Hobgoblin waits. I chip down half the Cyclops’s health to reduce its accuracy—it’s a lot less accurate when damaged—then kill the Hobgoblin and drag the beam weapon to a safe corner facing the boss portal. Destroy the Cyclops now, and the massive Hydra boss spawns.
Here’s the magic: hug cover with the beam weapon. Peek out, fire a burst at the boss’s head, and duck back. The laser will not kill the boss alone, but it chunks about two-thirds of its health in one magazine. When the beam runs dry, I finish with my linear fusion or rockets from a distance. Watch out for the Harpies that flood the arena; with Void Threat active, they can delete you in a heartbeat. Stay mobile, use the cover shown in the image below, and you’ll take the boss down before it even starts its second phase.
Once the boss falls, the classic Lost Sector chest appears. I’ve pulled some of my best Exotics—rolls like a god-tier Osmiomancy Gloves or Phoenix Cradle—from this very chest. With a tight rotation, I can clear the whole thing in just over two minutes from launch to loot. In an hour of dedicated farming, that’s easily 20-30 drops.
Thrilladrome rewards aggression tempered with a solid plan. The arcade setting is a blast, but the real thrill is the efficiency. If you’re chasing that elusive 68-stat Exotic with perfect spikes, give this Lost Sector a try next time it’s in rotation. Stick to the loadout I’ve outlined, master the beam weapon tactic, and you’ll be swimming in golden engrams faster than you can say “Loot Cave.”