I have run The Last Chance more times than I care to admit, and even in 2026 it remains one of the most punishing missions in Destiny 2's Witch Queen campaign. Dozens of Knights, multiple Lightbearers, and relentless Wizards turn this penultimate mission into a test of patience, loadout discipline, and survival instincts. If you are chasing a solo flawless clear on Master difficulty, you need more than raw damage—you need a plan for every room, every Champion, and every Ghost crush. This is the guide I wish I had during my first attempt.
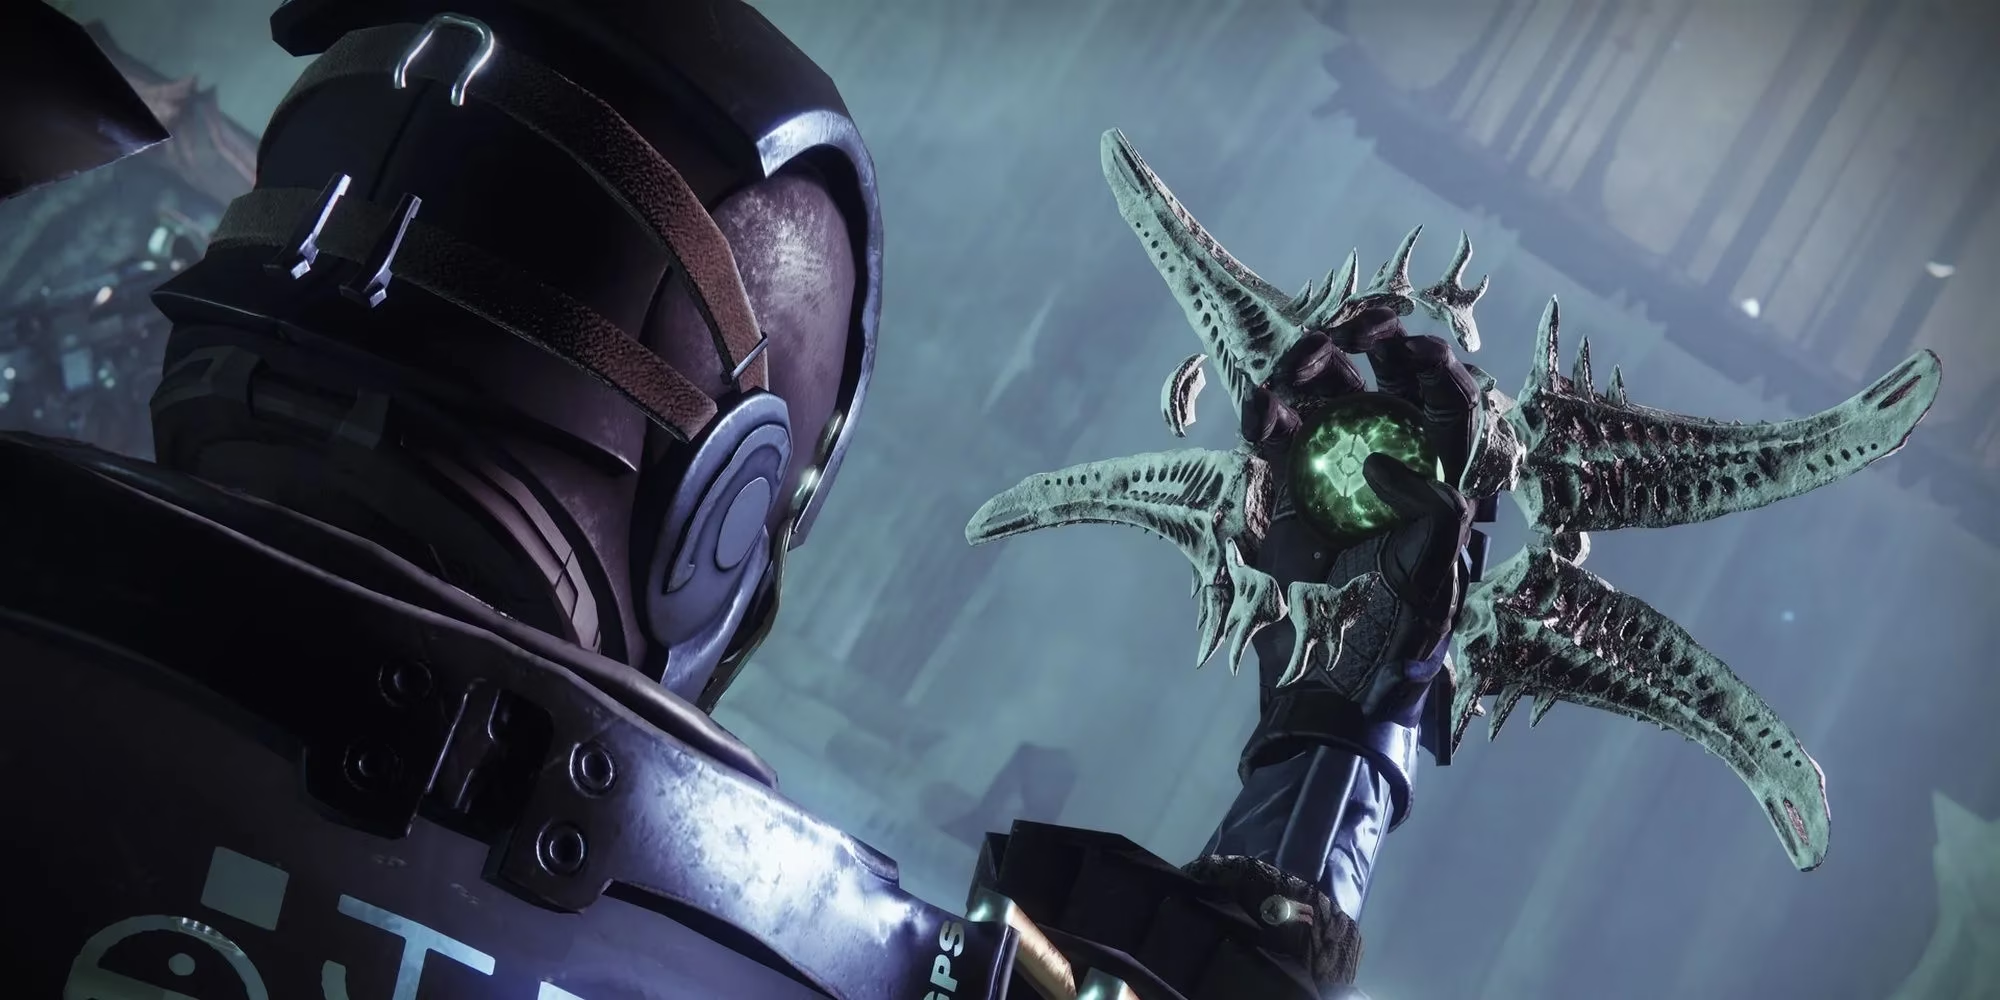
Modifiers And My Recommended Loadout
Master difficulty adds Barrier and Unstoppable Champions, and the enemy shields are Arc and Solar. I lean heavily into Arc damage for add clear and keep a reliable anti-Champion toolkit ready. Trinity Ghoul is still a monster here because the Hive clump together constantly. For Champions, I bring a weapon or ability that can handle both Barrier and Unstoppable without swapping mid-fight.
| Slot | My Pick | Why |
|---|---|---|
| Kinetic | A solid anti-Barrier scout or pulse | Safe Barrier breaking at range |
| Energy | Trinity Ghoul | Chain lightning clears Acolyte packs instantly |
| Heavy | A rocket or linear fusion | Burn Ogres, Knights, and Lightbearers |
| Subclass | Arc with strong survivability | Matches shields and keeps me alive |
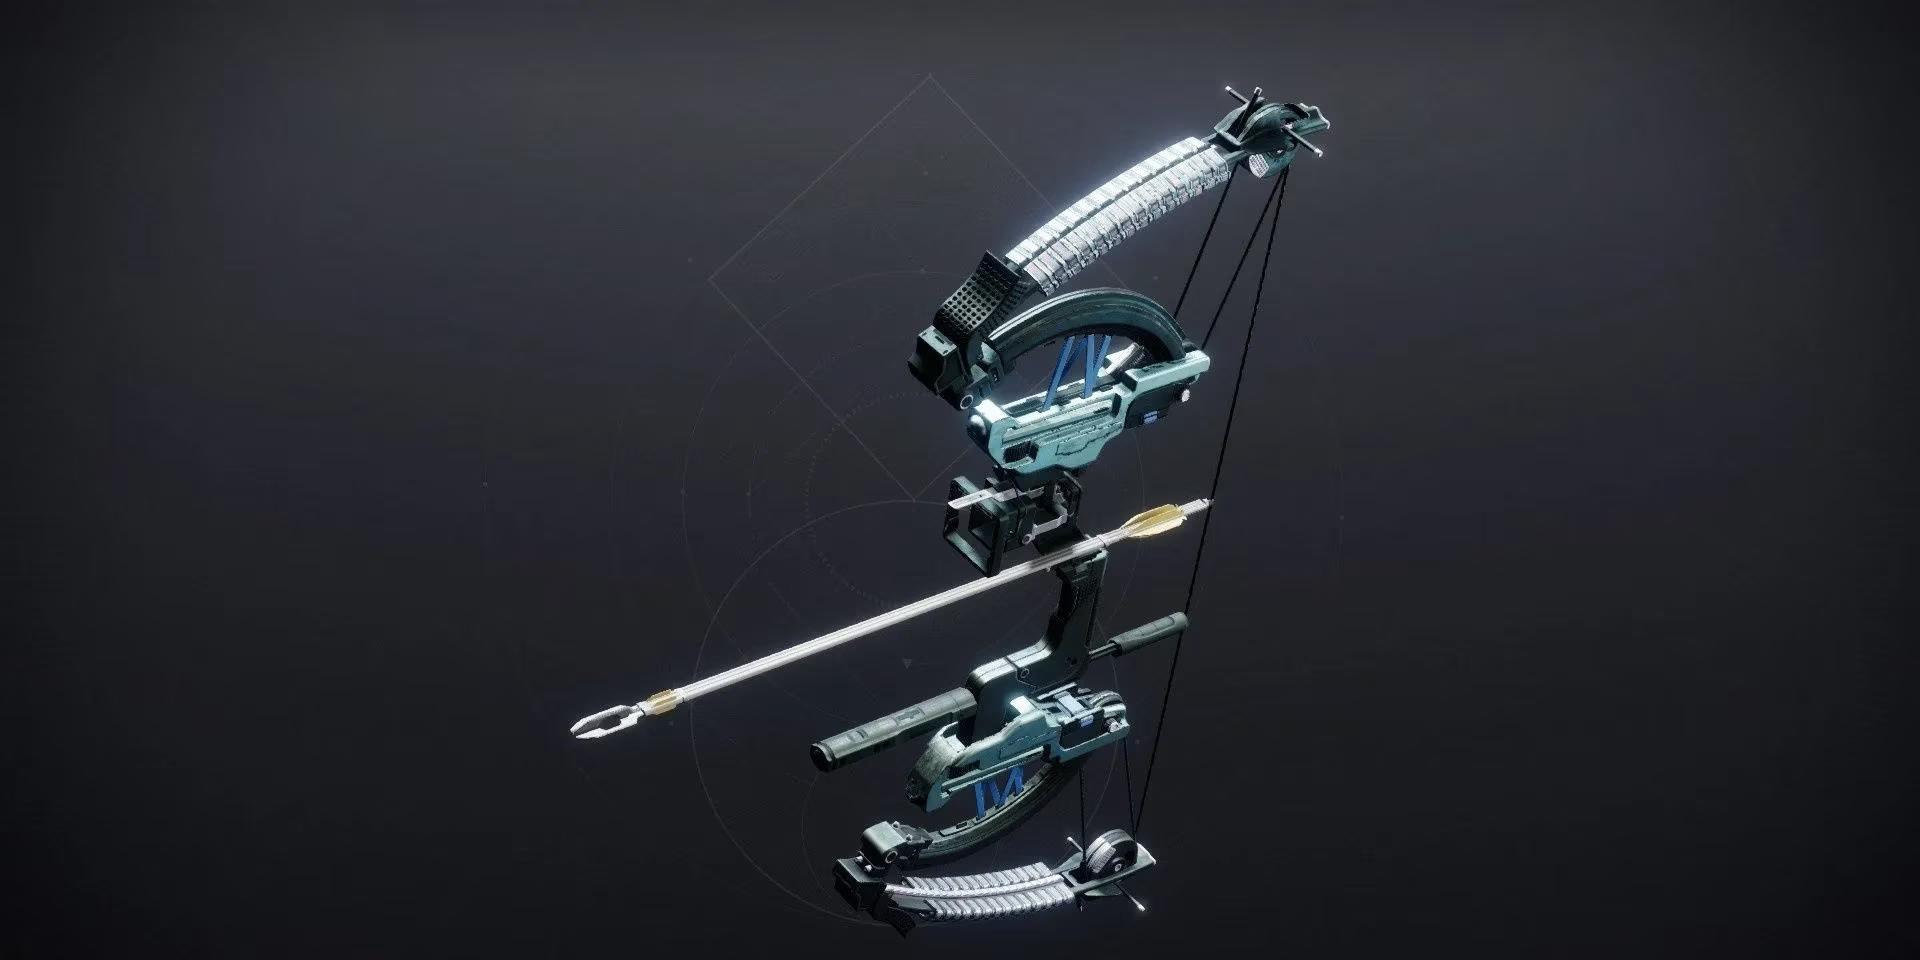
I also prioritize resistance mods, recovery, and any fragment or aspect that gives me an escape button. On Master, one bad push into a Wizard's line of sight can end the run. Play slow when adds are dense, then burst down priority targets.
Breach The Apothecary Wing
The opening section is a warm-up, but it punishes careless movement. I follow the platforms into the first zone and clear the Acolytes guarding the Hive gunk. A Knight spawns shortly after most of the Acolytes die. Kill it, take its Sword, and destroy the gunk. That reveals a Deepsight Orb. Interact with it, turn around, and climb the new platforms. I usually snipe the small Hive pack from the high ground before dropping down.
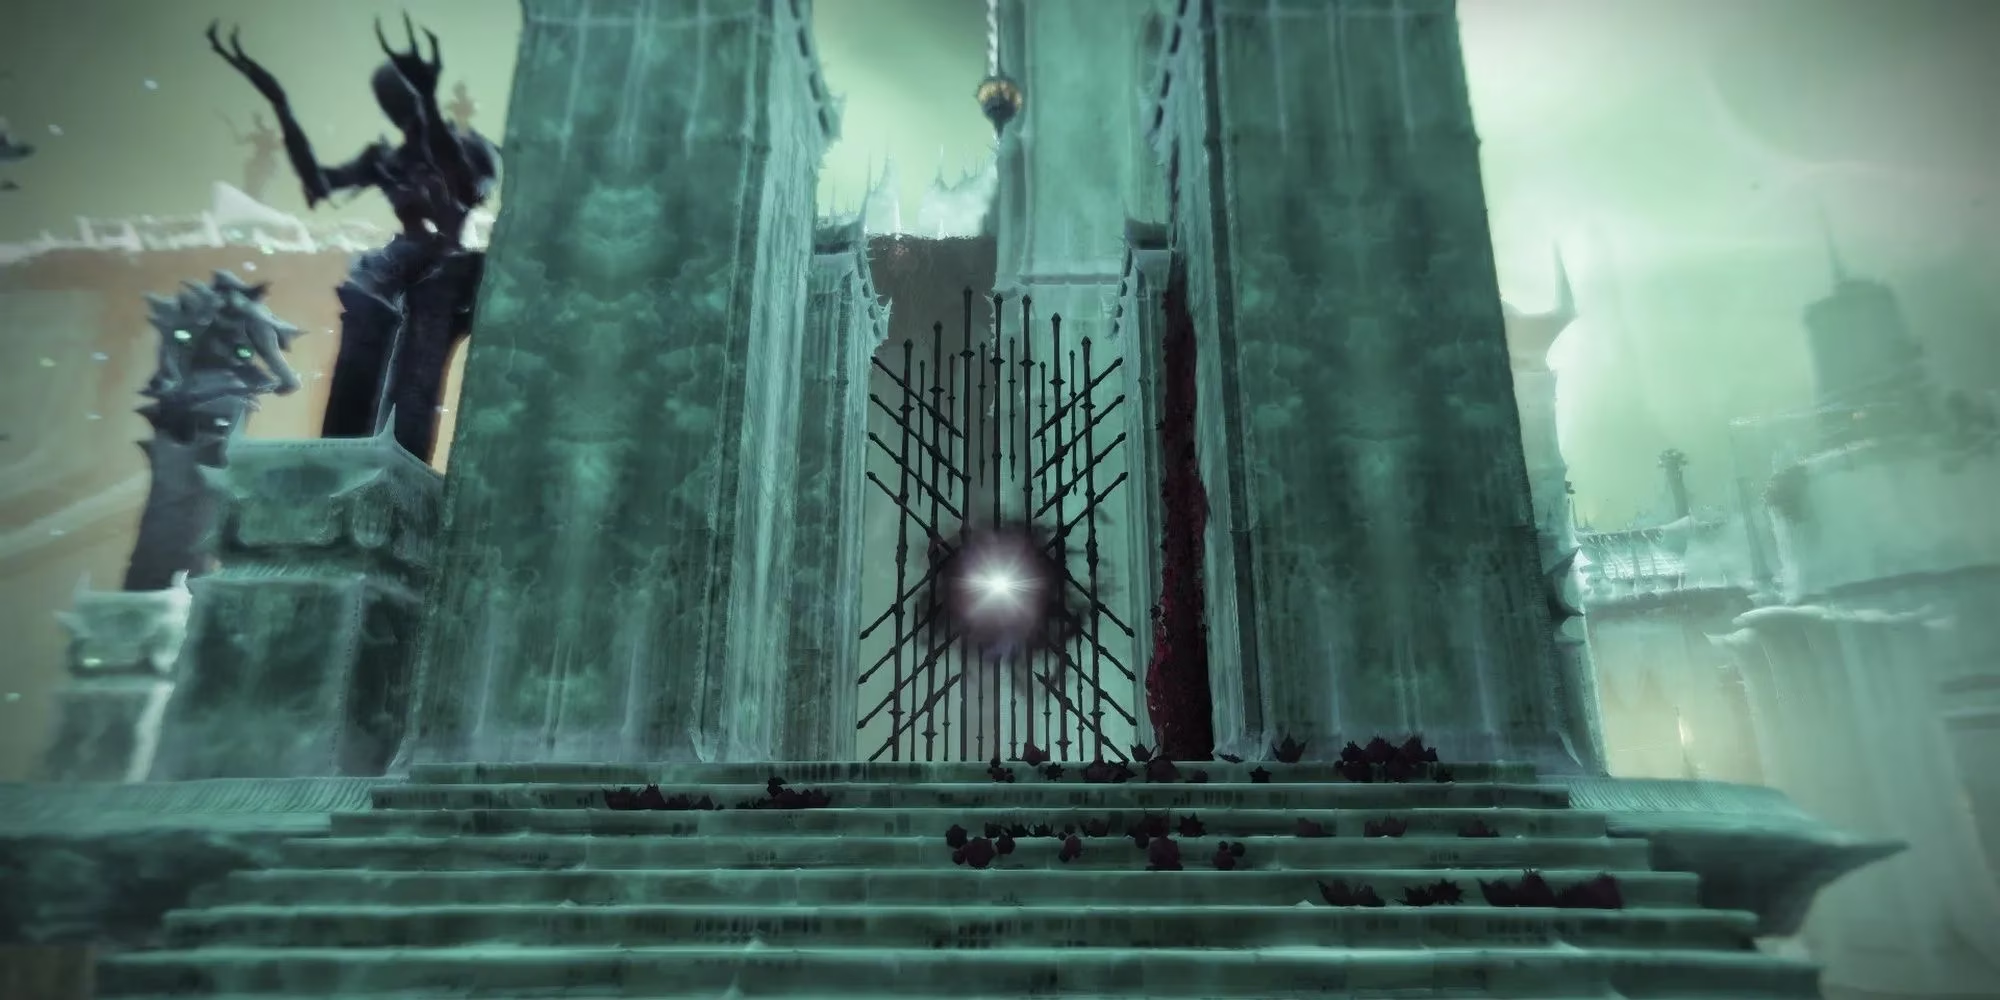
The next arena has Wizards, Knights, and Acolytes. On Master, the Knights are Barrier Champions, so I keep my anti-Barrier option ready. Most enemies rush toward the entrance, which gives me a chance to use cover and throw a grenade before committing. I do not waste Heavy here because a Rally Flag appears in the next area. Grab the Knight's Sword, break the gunk, and follow the Deepsight path.
A small band of Hive guards the stairs ahead. Up top, another Knight—Barrier on Master—waits with Acolytes. I repeat the same routine: clear safely, take the Sword, and destroy the Hive gunk to the left. The path forward opens.
Enter The Alluring Curtain
This encounter is where the mission stops being polite. Once I plant the Rally Flag, I expect an Unstoppable Ogre on Master. On Legendary, the immediate threat is the swarm of Acolytes, Wizards, Knights, and an Ogre. I Super the first pack immediately, then find cover and pick off enemies from range. One Knight drops a Sword; I use it to open the building entrance.
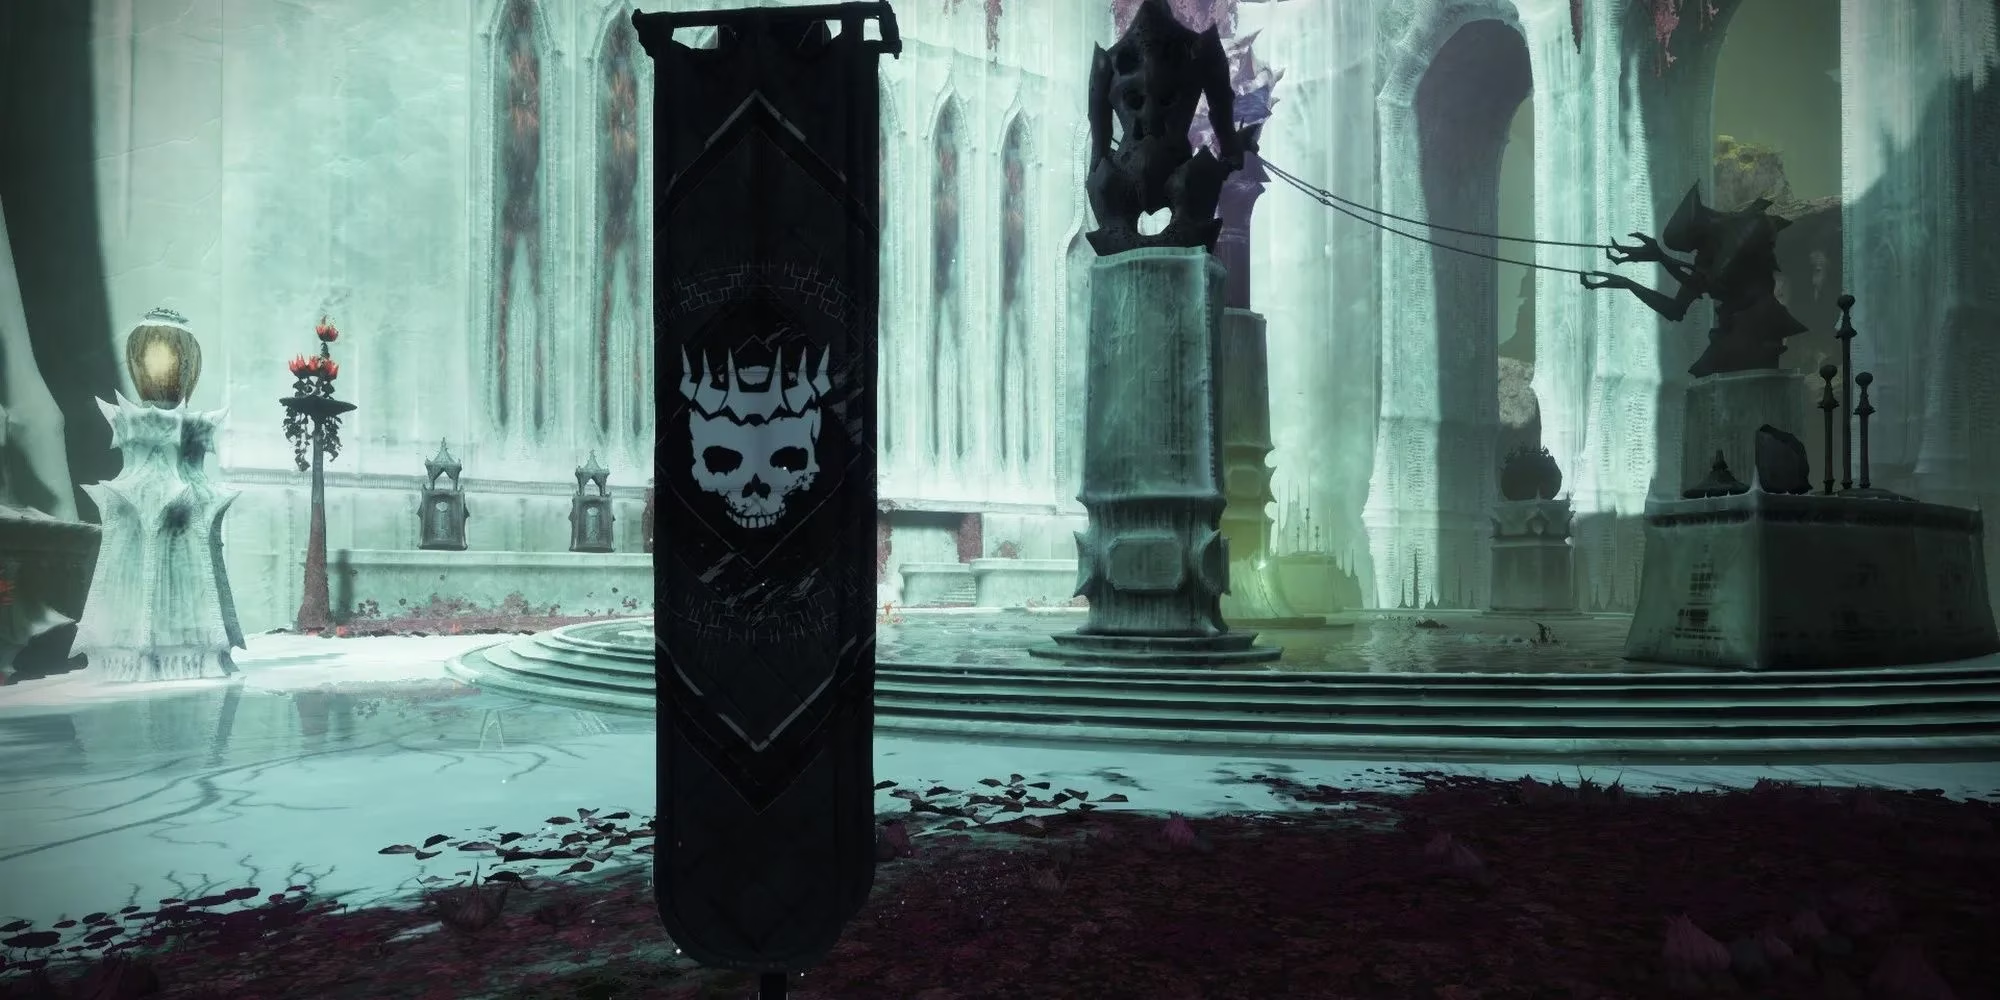
Inside, a Lucent Lightbearer Hunter uses Blade Barrage. When it casts, I hide behind the nearby pillars. The room also has plenty of Acolytes and Knights, plus a Barrier Knight on Master. I clear from the entrance when possible, then crush the Lightbearer's Ghost as soon as it is safe.
Break The Locks Outside The Apothecary
This is the most tedious part of the mission, and it is where many solo runs fall apart. Two locks sit at opposite ends of the platform outside the Apothecary. I need Hive Swords from slain Knights to break them. The fight starts with a Knight, a Wizard, and Acolytes. If the Knight is not immediately present, I push toward the Apothecary bridge to spawn it, then backtrack to kill it and take the Sword.
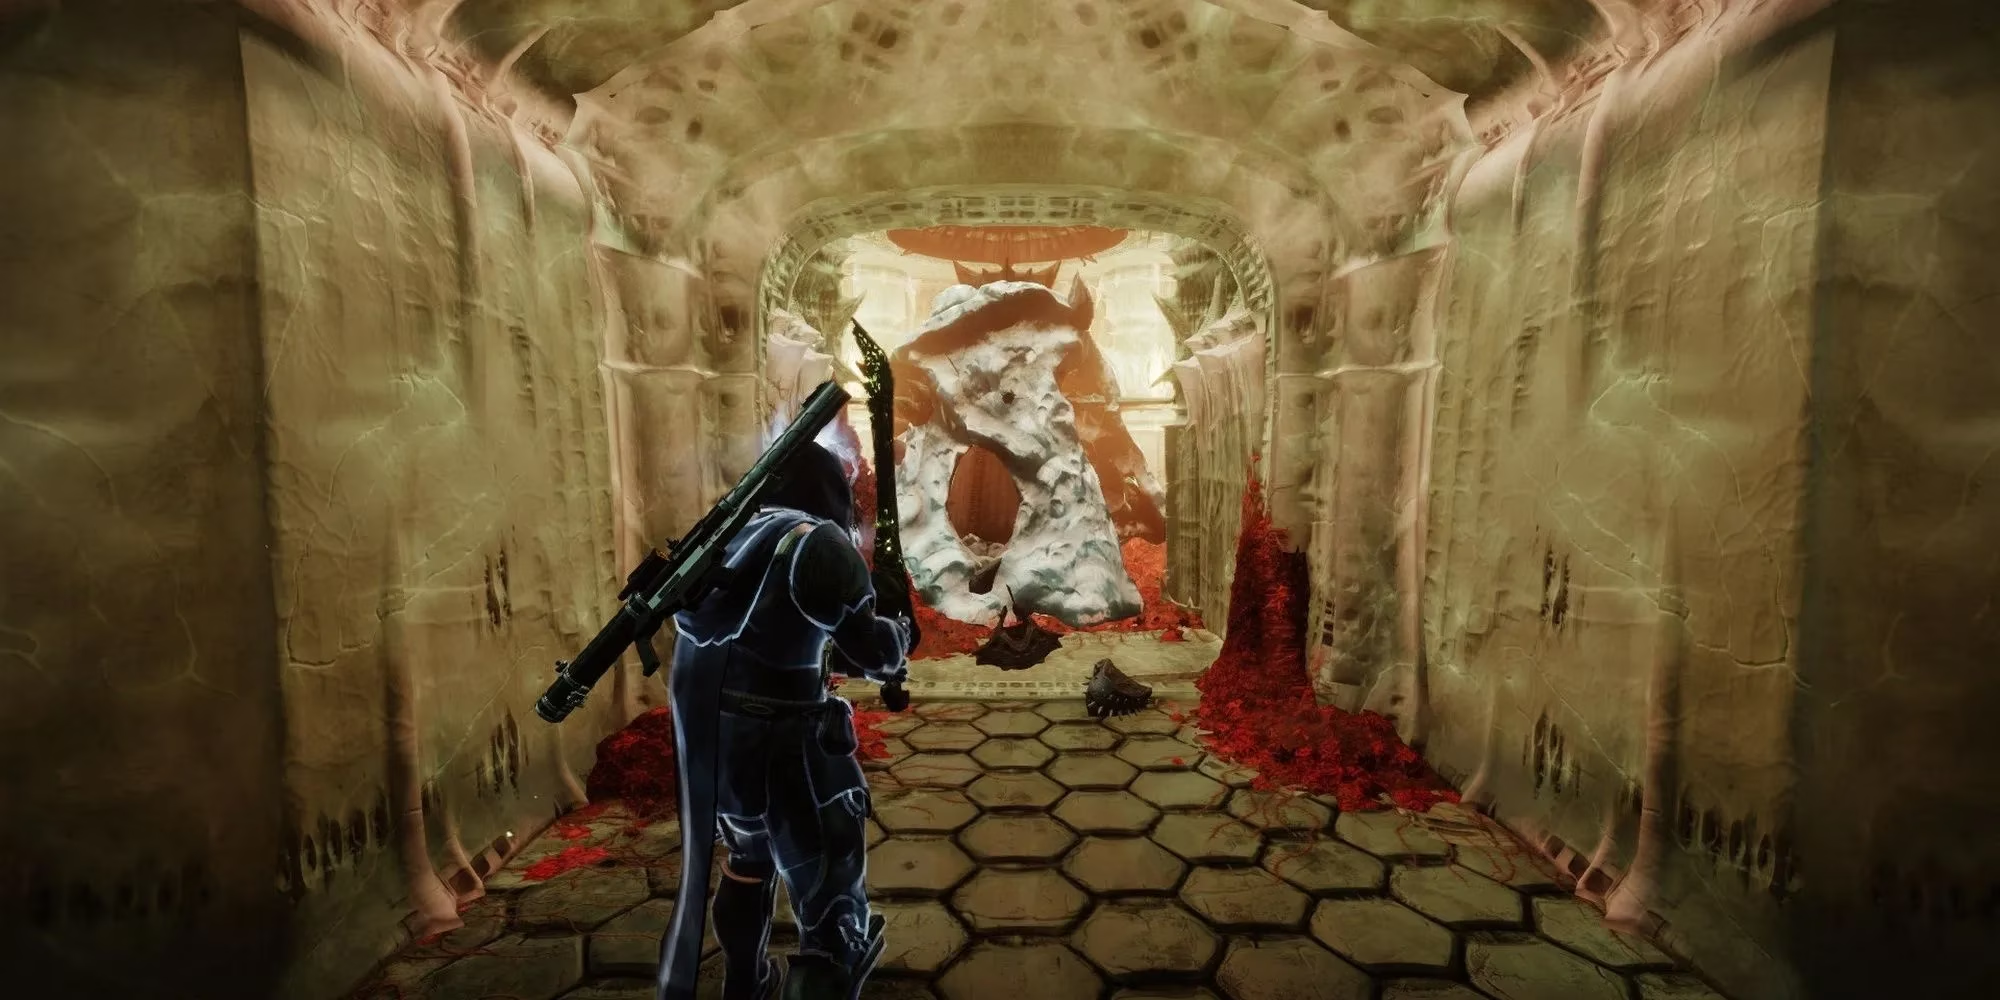
Breaking a lock spawns an Ogre—Unstoppable on Master—and the lack of cover makes this dangerous. A Lucent Lightbearer Titan also appears near the middle. I kill the Ogre first, then deal with the Lightbearer. Crushing its Ghost requires cover, invisibility, or heavy damage resistance. I save the Wizard near the bridge for later because dumping Heavy into it too early leaves me exposed.
The other end has multiple Knights and Acolytes, including a Barrier Champion on Master. I kill the Knights, grab the Sword, break the lock, and handle the Unstoppable Ogre that spawns. Only then do I kill the Wizard and move inside. I always check that the room is safe before entering because a stray Knight can end the run.
Locate Savathun's Right Hand
The Apothecary has three floors, and each one asks me to kill a Knight, take its Sword, and break a Hive lock. On the first floor, I run up the right ramp and clear the two Knights—one is a Barrier Champion on Master. The corridor beyond has Acolytes and an Unstoppable Ogre on Master. I clear the Acolytes first, then the Knight at the back, then turn around for the new add wave. The Sword breaks the lock outside the room, and Deepsight platforms take me upward.
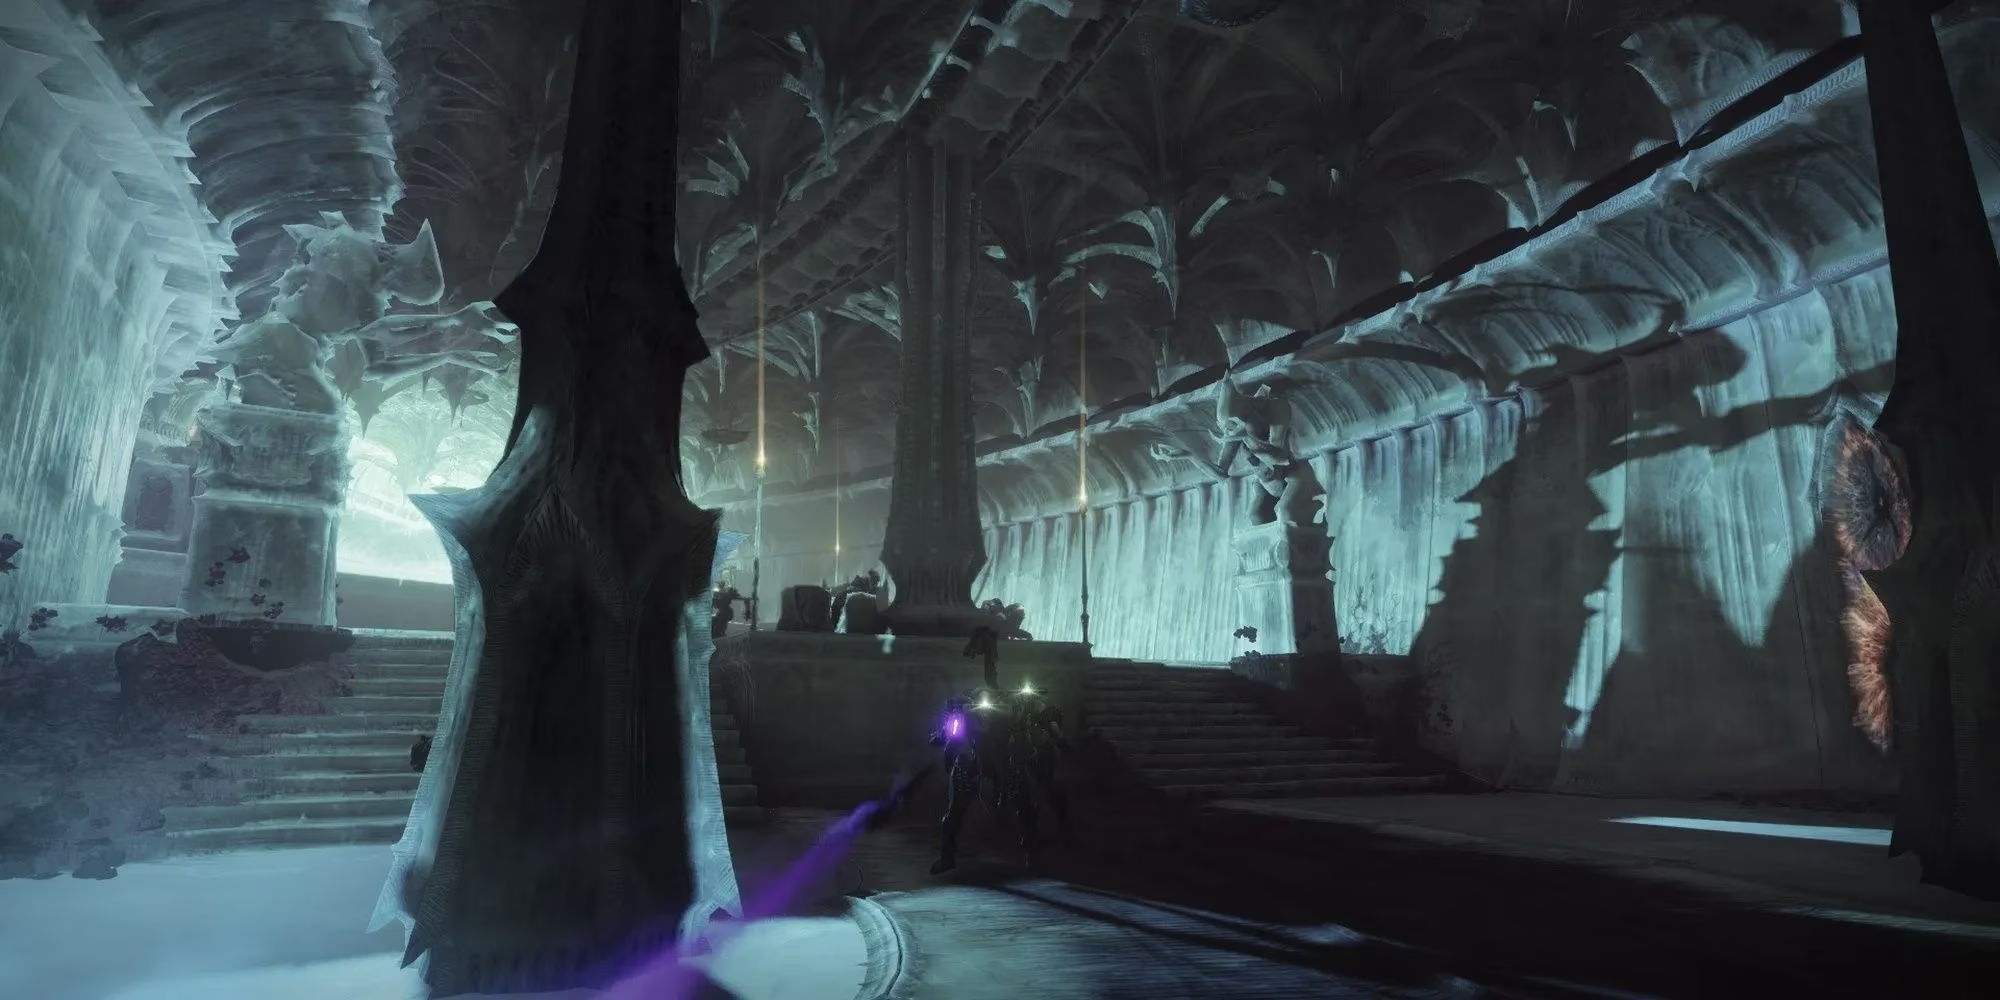
The second floor is easier because it has more cover and vertical platforms. I kill the Ogre and fodder enemies, then find the Knight on the top platform. After taking the Sword, I drop down and drop the Sword before entering the next room—an Unstoppable Ogre ambush waits on Master. A grenade or Heavy shot handles most of the pack. I pick the Sword back up, break the lock, and head to the final floor.
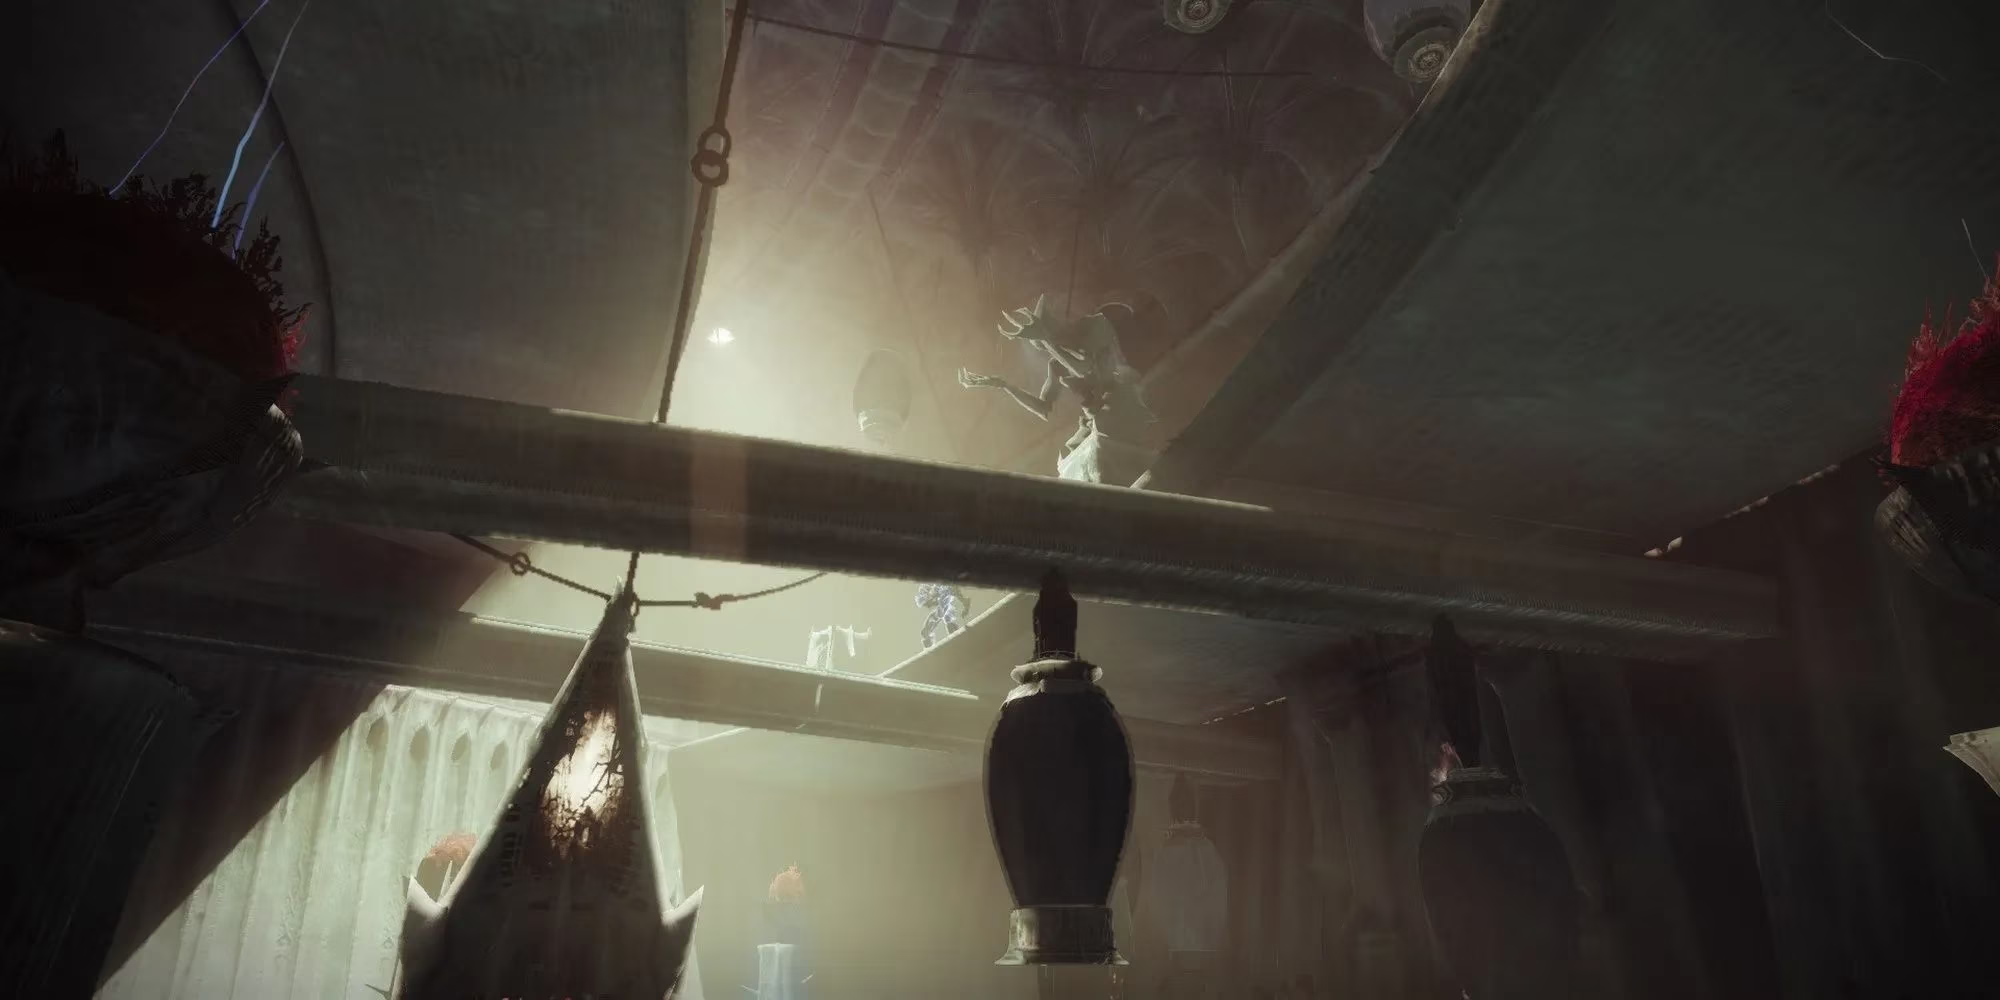
Defeat Savathun's Right Hand
The final encounter is a three-room gauntlet with two Lightbearers and a Wizard that refuses to stay dead. I start by killing the praying Acolytes near the exit. A Lucent Lightbearer Wizard spawns shortly after. I immediately damage it to about 33 percent health—Super, Heavy, whatever I have. A large Hive wave spawns beside it, so I backtrack to the other side of the room and let the Knights and Acolytes charge into my add-clearing weapons. On Master, an Unstoppable Ogre joins the fun. Once the room is clear, I take the Sword and break the lock.
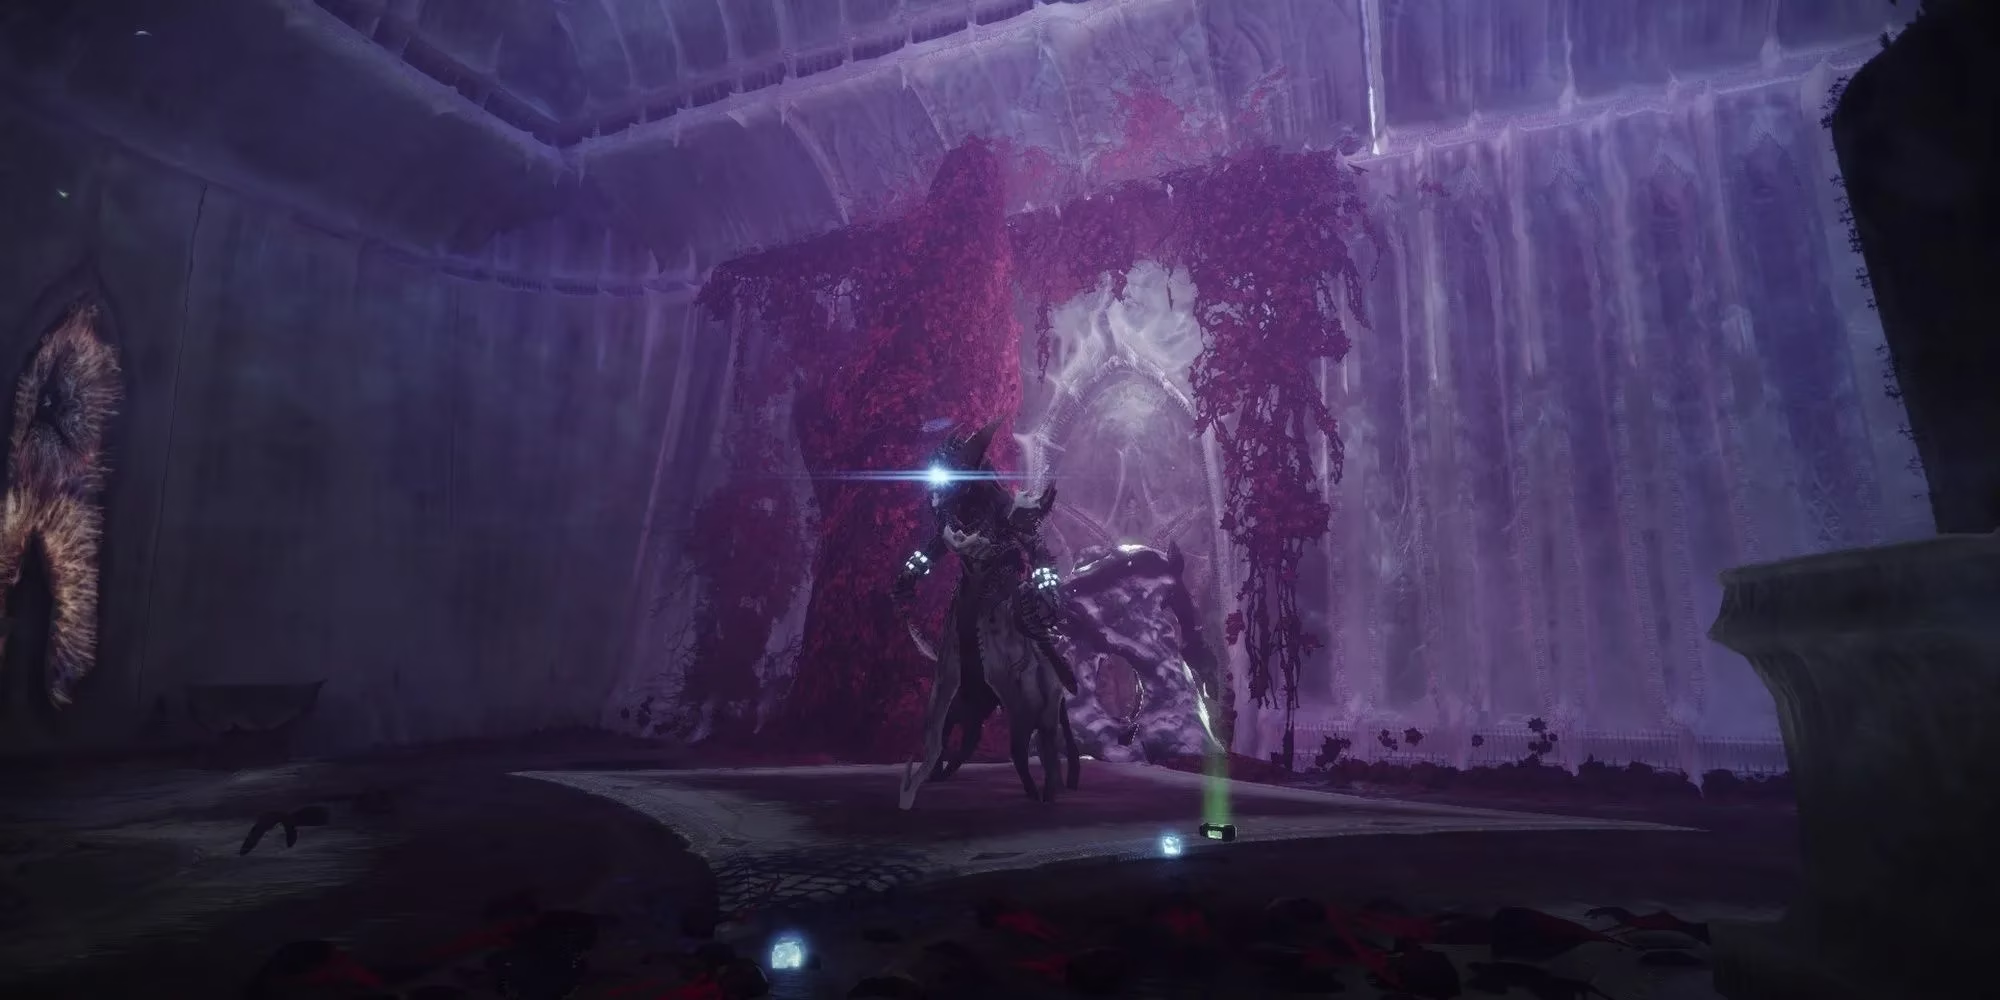
The second room has two Hive Knights. Killing them respawns the Wizard, and this time it will use Stormtrance or Storm Grenades. I burn it to 33 percent immediately. Another wave of Knights and Acolytes spawns with it, including a Barrier Knight on Master. I use Super and Heavy to stabilize the room, then open the third room with the Sword.
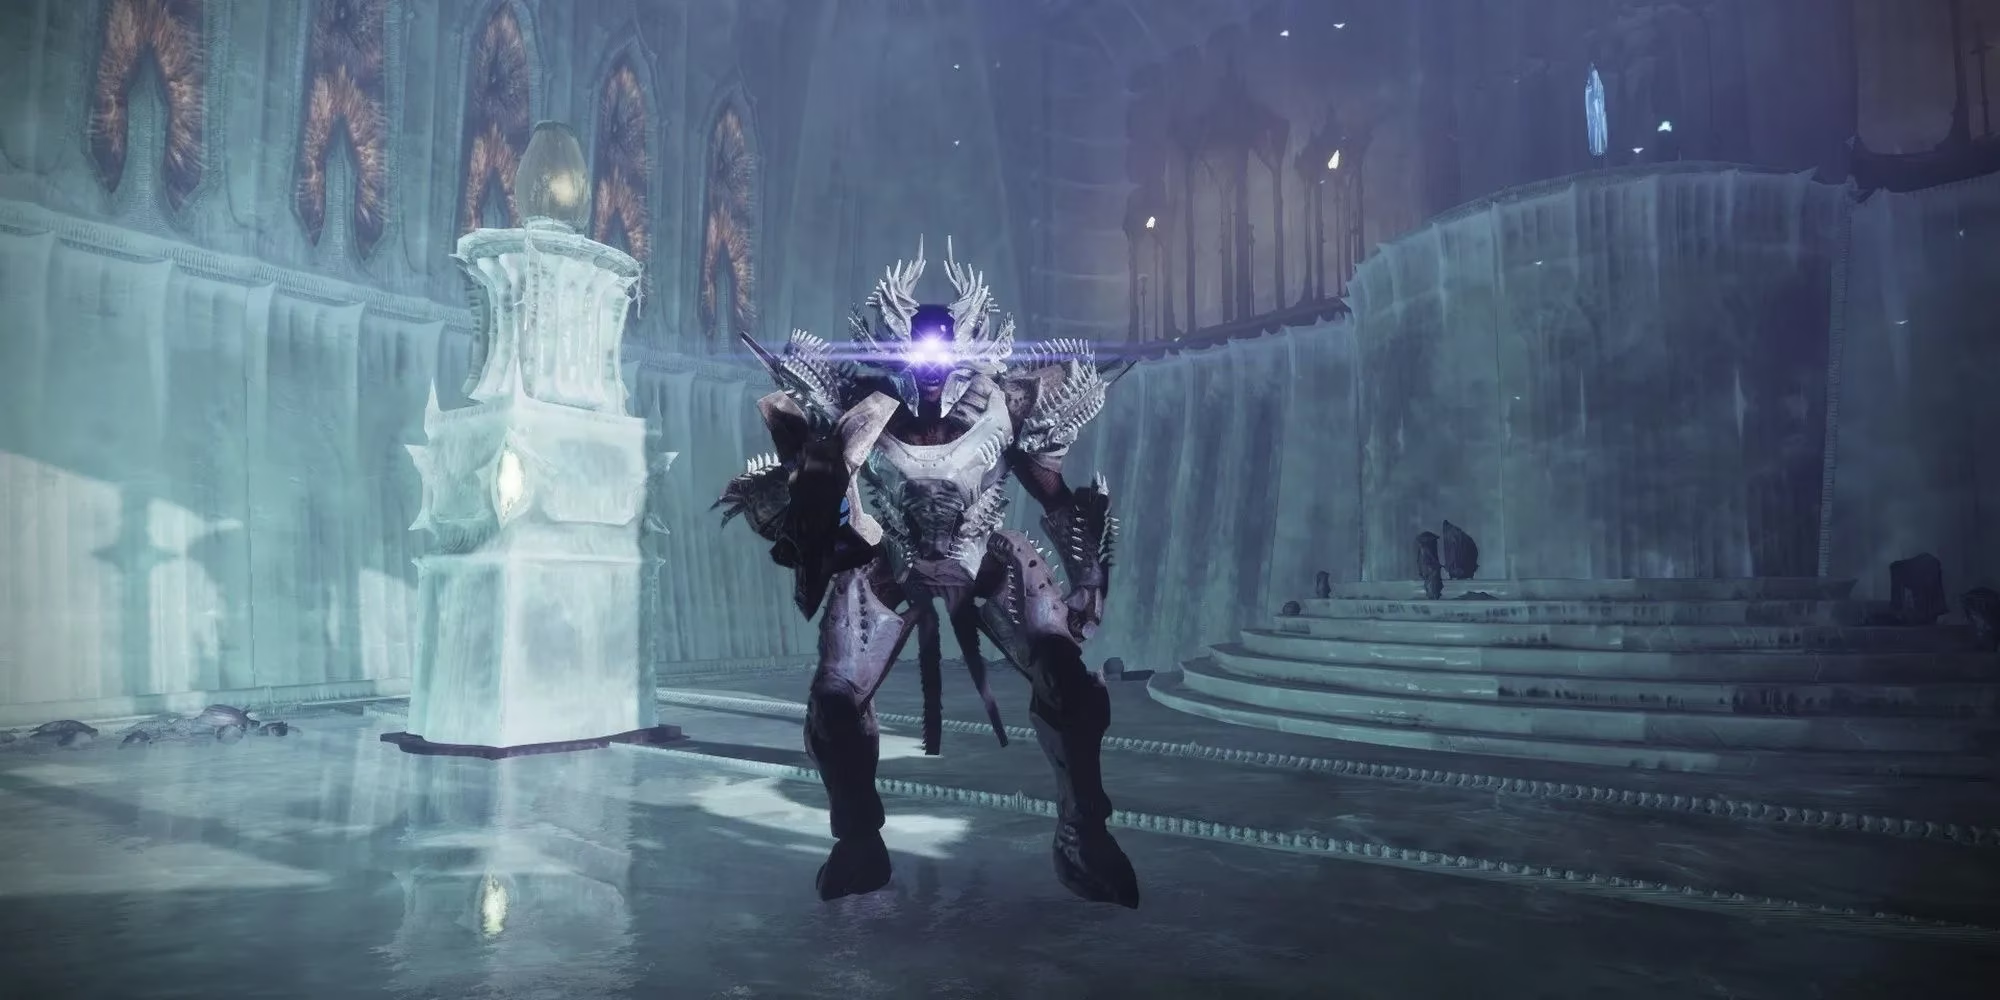
The third room holds a Lucent Lightbearer Titan. It is alone when I enter, so I take my time and save Heavy for the final Wizard. If the Titan Supers, I hide or suppress it. I avoid its shields and run from Suppressor Grenades. After crushing its Ghost, the Wizard spawns one last time. This is the burn phase: Super, Heavy, and every ability I have. The moment the Wizard dies, the encounter ends. I crush its Ghost, grab the crystal, and breathe.
Even in 2026, The Last Chance rewards preparation over aggression. Bring Arc add clear, respect the Champions, and never rush a Ghost crush without cover. Do that, and the mission becomes a puzzle you can solve instead of a wall you slam into.