After clearing Week 1 of Season of the Seraph, I flew back to the H.E.L.M. to continue the race against Xivu Arath. The second weekly quest chain asks Guardians to secure another Warmind core, push through a fresh Heist Battleground on Mars, and finish a surprisingly tense solo operation. Here is my full walkthrough.
| Order | Task | Activity Type |
|---|---|---|
| 1 | Return to Clovis at the Exo-Frame | H.E.L.M. narrative step |
| 2 | Speak to Clovis about Charlemagne | H.E.L.M. dialogue |
| 3 | Complete Heist Battleground: Mars | Co-op playlist activity |
| 4 | Spend Seraph Key Codes on a Seraph Chest | End-of-activity unlock |
| 5 | Complete Operation: Diocles | Solo mission |
| 6 | Speak to Ana Bray | H.E.L.M. Holo-Projector |
| 7 | Speak to Clovis again | Exo-Frame reward step |
| 8 | Continue collecting Submind Data | Post-quest progression |
Return To Clovis At The Exo-Frame In The H.E.L.M.
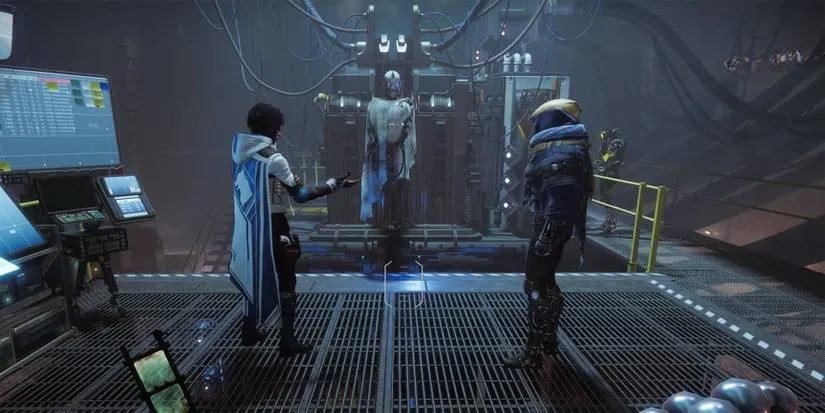
The first thing I did was land in the H.E.L.M. and approach the Exo-Frame. A short cinematic plays out between the Bray family members, so I waited for their dialogue to finish before the quest advanced. This step is purely narrative, but it sets up the next Warmind target.
Speak To Clovis At The Exo-Frame In The H.E.L.M.
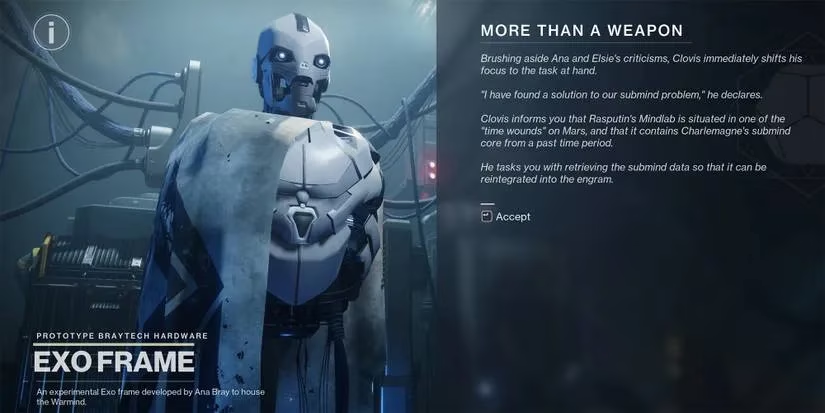
Clovis then briefed me on Charlemagne, the lost Warmind core located on Mars. This conversation formally unlocks the next Heist Battleground and points the weekly story toward the Martian facility.
Complete Heist Battleground: Mars
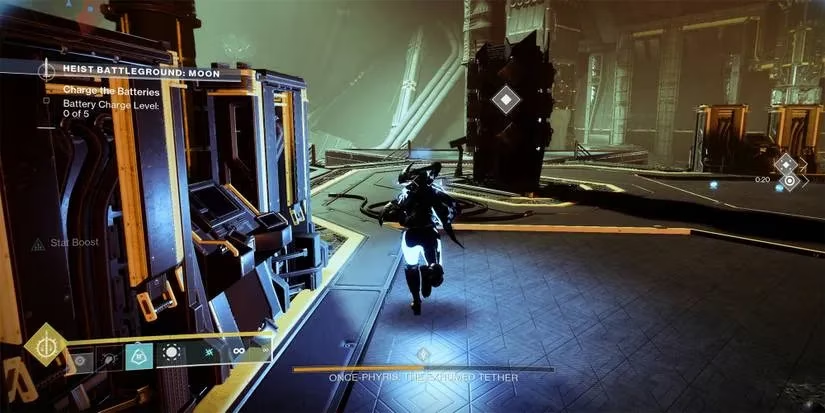
This is the core co-op activity for the week. I queued into the Heist Battlegrounds playlist, remembering that enemies are always five Power levels above my Guardian. I brought a solid PvE loadout, Anti-Champion mods, and a heavy weapon suited for boss damage and clearing Hive Knights. The Mars version is more vertical than the Moon, with laser grids and entrenched turret positions. I focused on surviving the opening segment, destroying security nodes, and pushing into the depths to reach the Warmind vault. A fireteam of three made the final encounter manageable, though solo players should play cautiously and use high-damage supers when the boss pushes forward.
Spend Seraph Key Codes To Unlock A Seraph Chest
After completing the Heist, I looked for the Seraph Chest near the final reward area. This step requires 500 Seraph Key Codes, so I checked my inventory first. I earned Key Codes by completing playlist activities, bounties, and the seasonal content itself. If you are short, run another ritual activity or Heist before opening the chest, because you do not want to lose the completion. The chest appears at the end of any Heist Battleground, so this step pairs naturally with the previous objective.
Complete The Mission: Operation: Diocles
This is the most involved solo step of the week. I launched Operation: Diocles from the H.E.L.M. It reuses the same Warmind launch facility from Week 1, but the entrance and enemy layout change significantly.
Breach The Facility
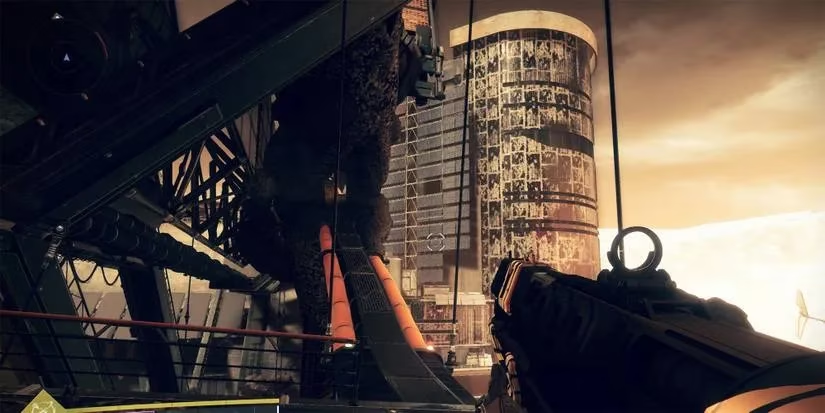
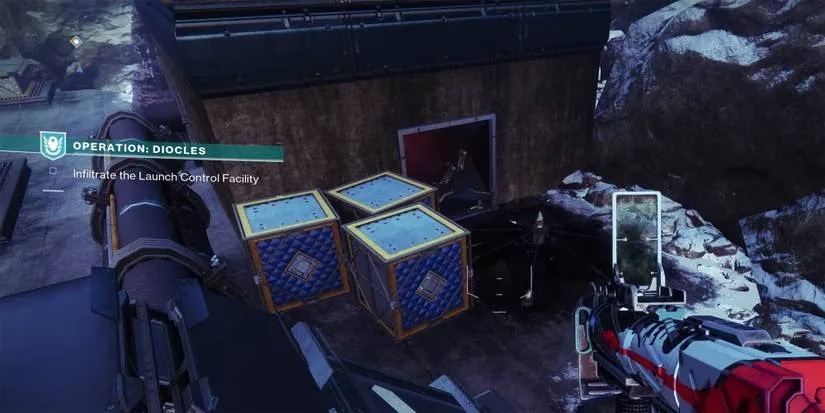
The first obstacle is avoiding the defensive energy beams outside. I used the rock face in the center of the map to climb onto the roof of the structure on the right side. Timing is everything: I mapped my jumps, waited for beam rotations, and sprinted across exposed sections. Once on the roof, I destroyed a grate to drop inside the facility.
Navigate The Laser Maze
Inside, a series of lethal laser beams blocks the tunnels. I crawled under some beams, slid past others, and jumped over the lower traps. Taking a hit here kills quickly, so patience beats speed in this section. I treated the maze like a short platforming puzzle rather than a combat sprint.
Clear Crystal Singer Wizards And Barriers
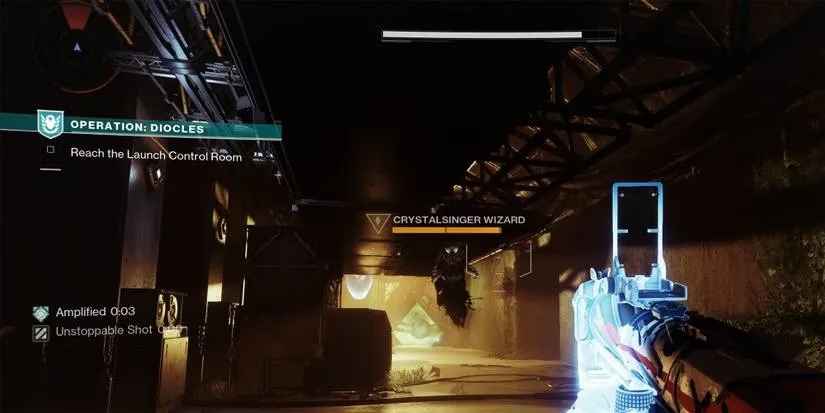
Further in, I had to defeat Crystal Singer Wizards to drop the protective barriers around Hive crystals. Destroying the crystals unlocked sealed doors. The rooms also contained Wardens of Xivu Arath, the Hive Shrieker turrets that can shred an unprepared Guardian. I prioritized those turrets first and used cover aggressively.
Defeat The Scourges Of Xivu Arath
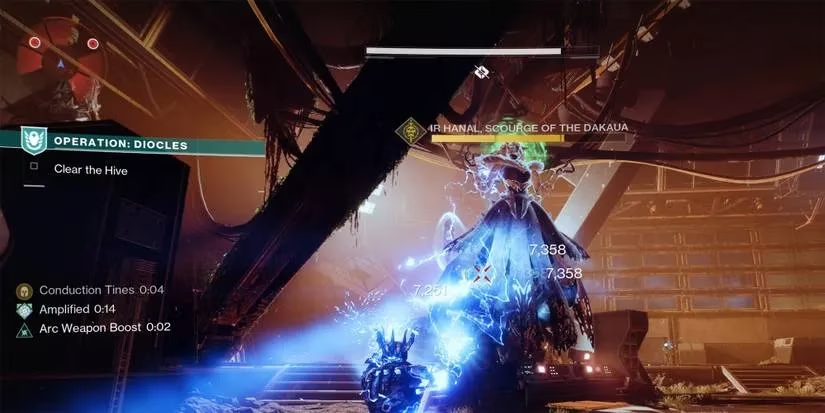
The finale throws waves of Hive minions alongside two Wizard bosses called the Scourges Of Xivu Arath. Both bosses become invulnerable at half health. I shot the glowing crystals scattered around the room to dispel their shields, then burned each Wizard down. Clearing the room let me interact with the terminal and seize control of the facility.
Speak To Ana Bray At The H.E.L.M.
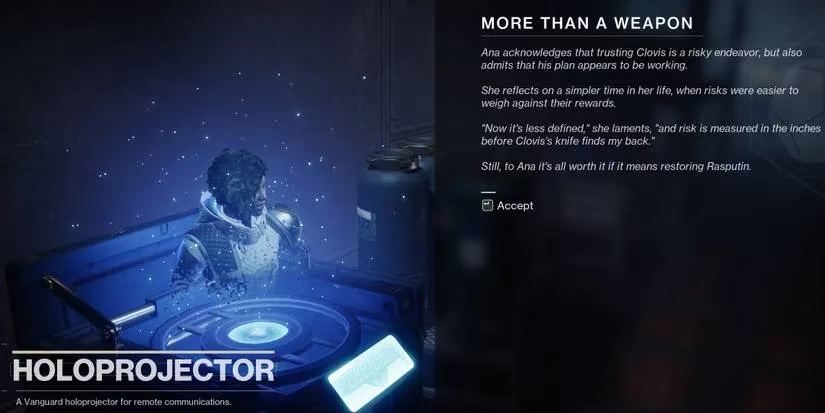
After finishing the mission, I returned to the H.E.L.M. and used the Holo-Projector to receive Ana Bray's updated intelligence. Her dialogue ties the mission to the broader race for Warmind control and gives more context on the submind data we are collecting.
Speak To Clovis At The Exo-Frame In The H.E.L.M.
Back at the Exo-Frame, Clovis handed over additional rewards, including Seraphic Umbral Energy used for seasonal focusing. Completing this step also finished one Weekly Seasonal Challenge, granting an Exo Frame Module and another unlock choice for the Exo-Frame.
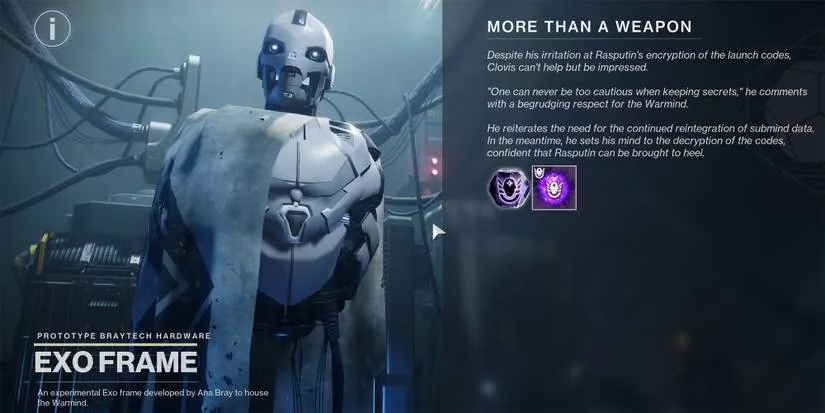
Continue To Collect Submind Data
With the main quest chain done, I continued collecting Submind Data from various activities to further power up the Exo-Frame. That wrapped Week 2, and I saved my progress for the next weekly reset.
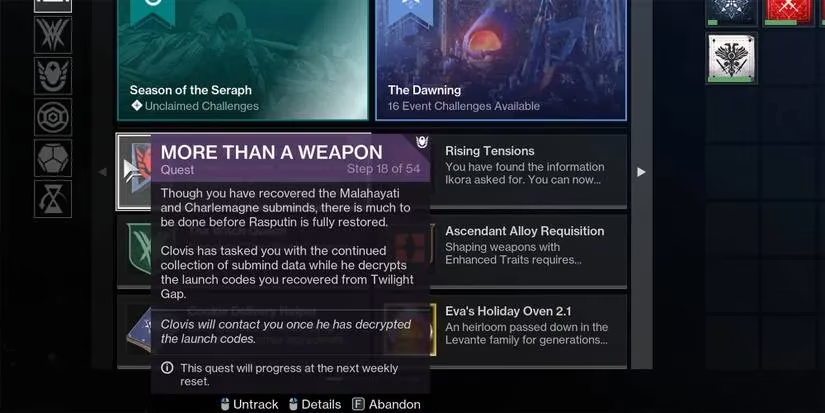
Overall, Week 2 is manageable if you come prepared for higher-level Heist enemies and treat the Diocles mission as a mix of stealth, platforming, and crowd control. Keep your Seraph Key Codes stocked and bring weapons that can handle both Solar and Void shields while you work through the Hive defenses.
Community guidance is collected from GameFAQs, where player-written walkthroughs and Q&A threads often pinpoint the practical friction points in seasonal Destiny 2 steps—like budgeting 500 Seraph Key Codes for the end-chest, routing safely through laser-grid platforming in Operation: Diocles, and selecting reliable anti-Champion options for the Mars Heist Battleground when enemies spawn above your effective Power.