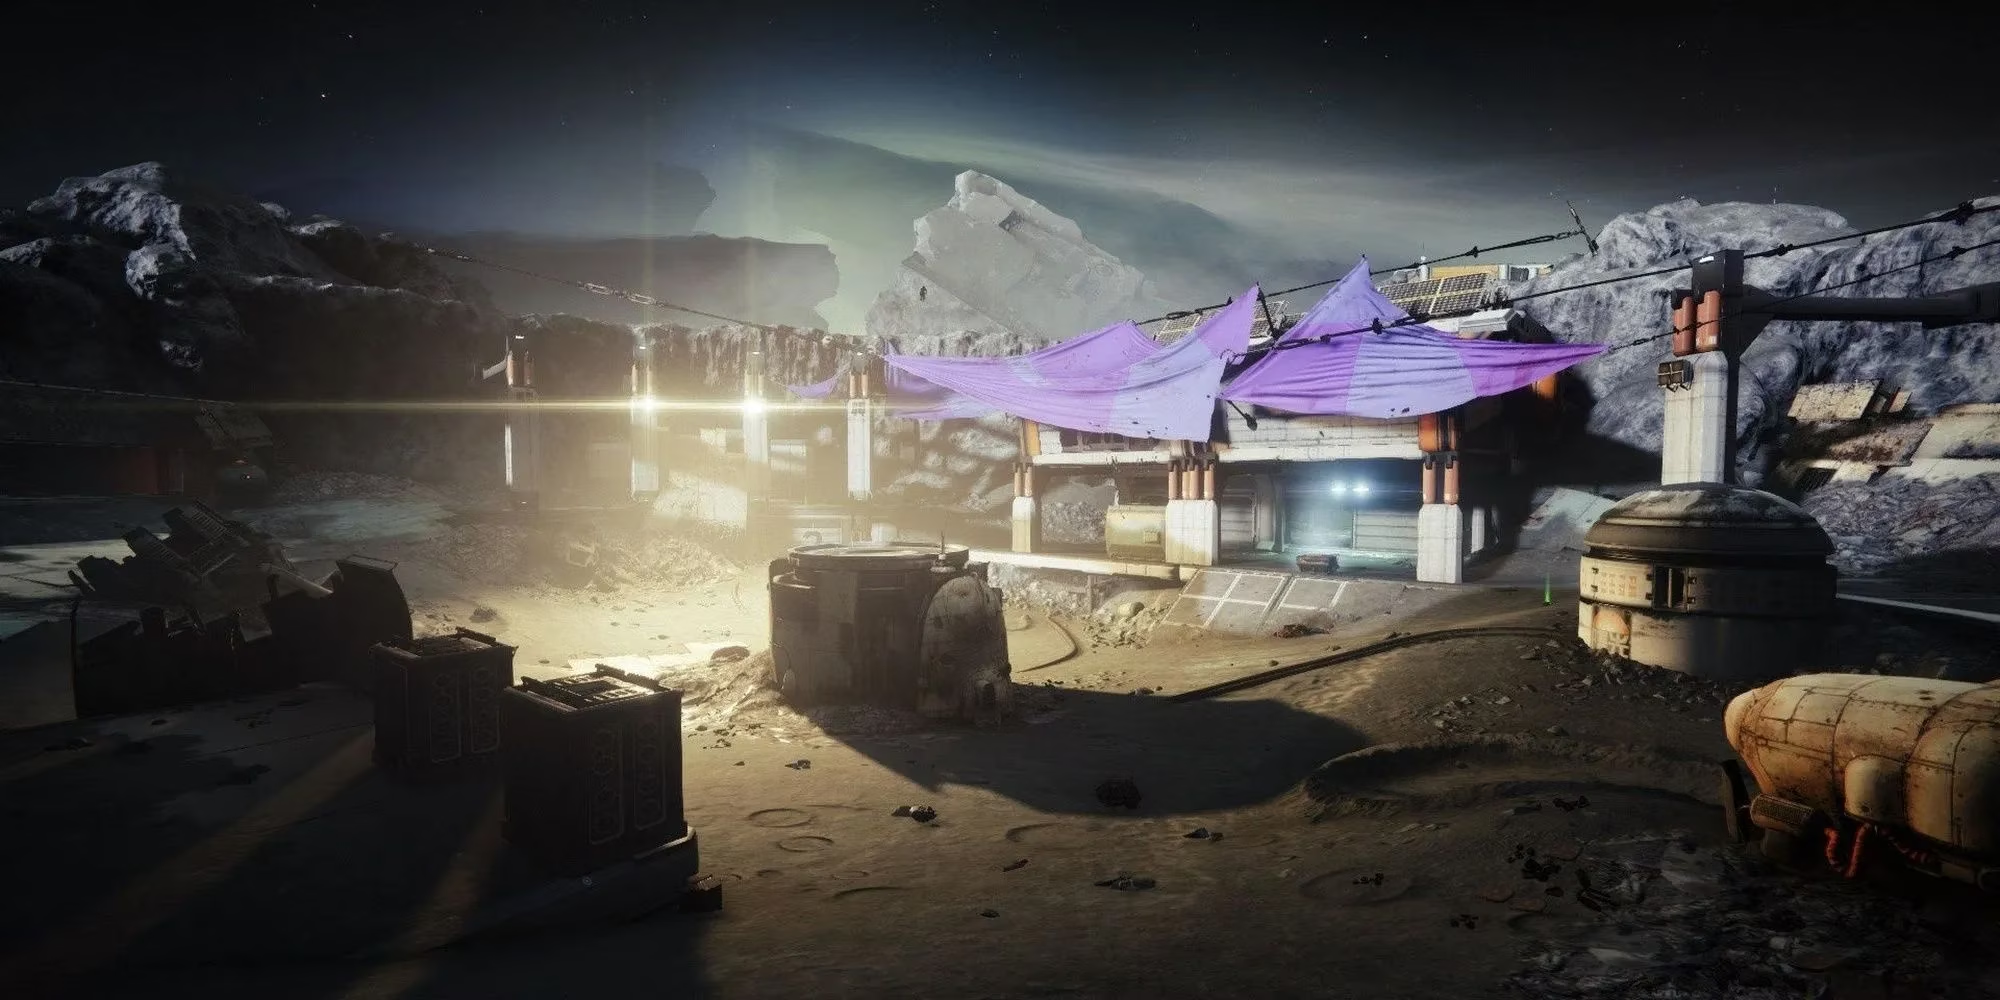
K1 Logistics stands as one of the Moon’s most formidable Lost Sectors when tackled on Master difficulty. Nestled beneath the lunar surface, this claustrophobic Fallen stronghold tests even the most seasoned Guardians with nine Champions, relentless adds, and a sturdy Servitor boss. Although Destiny 2 has evolved significantly since this sector first entered the Legend and Master rotation, the core challenge remains unchanged as of 2026: smart Champion management, ammo discipline, and consistent healing are the keys to survival. This guide breaks down every encounter, offering loadout suggestions and room‑by‑room strategies to help you clear K1 Logistics efficiently.
Modifiers and Recommended Loadout
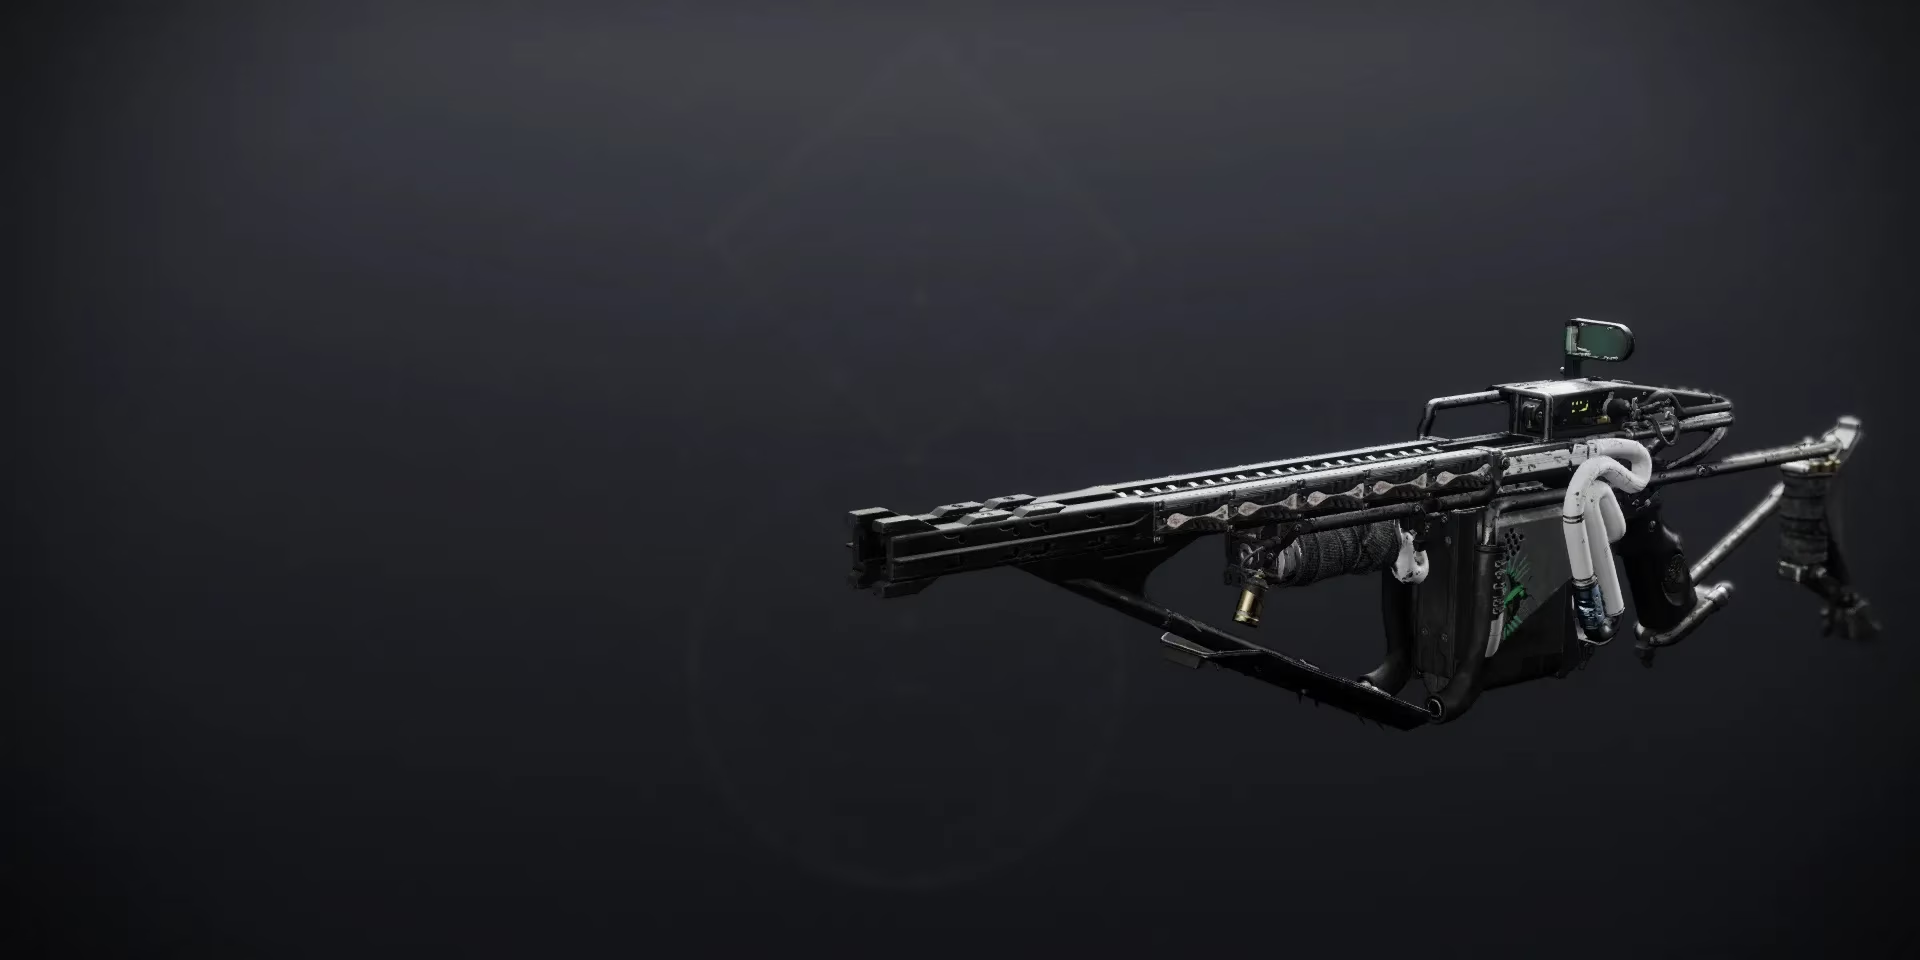
K1 Logistics on Master difficulty throws Barrier and Overload Champions at you in tight spaces, backed by Solar‑shielded Tracer Shanks. Equipping the right tools for the job makes an enormous difference.
Active Modifiers 🛡️
| Modifier | Effect |
|---|---|
| Champions | Barrier Servitors and Overload Captains appear throughout the sector |
| Shields | Solar shields on Tracer Shanks; Arc shields on Captains |
| Master Difficulty | Increased enemy health, more aggressive AI, and limited revives |
While specific seasonal modifiers rotate, the champion types and shield elements have stayed consistent for years. Always check the daily Legend or Master Lost Sector report in the H.E.L.M. to confirm any extra burns or hazards before diving in.
Recommended Loadout 🔫
-
Kinetic: Arbalest (excellent against Barrier Champions and any shielded enemies)
-
Energy: A Solar weapon such as a well‑rolled Retraced Path or Cartesian Coordinate to pop Shank shields quickly. Pair with an Overload weapon mod – currently, Overload SMG or Auto Rifle works wonders.
-
Heavy: A high‑impact Rocket Launcher (e.g., Hothead, Gjallarhorn) or a Linear Fusion Rifle for rapid Champion takedowns.
-
Subclass: Solar Warlock with Well of Radiance provides unmatched survivability; Hunter invisibility (Void or Prismatic) simplifies repositioning; Titan Sentinel or Sunbreaker offer strong defense and add clear.
Always bring ammo finder and scavenger mods. Heavy ammo is scarce in this Lost Sector, and you’ll need every rocket for the boss arena.
Entrance: Welcome to the Killbox
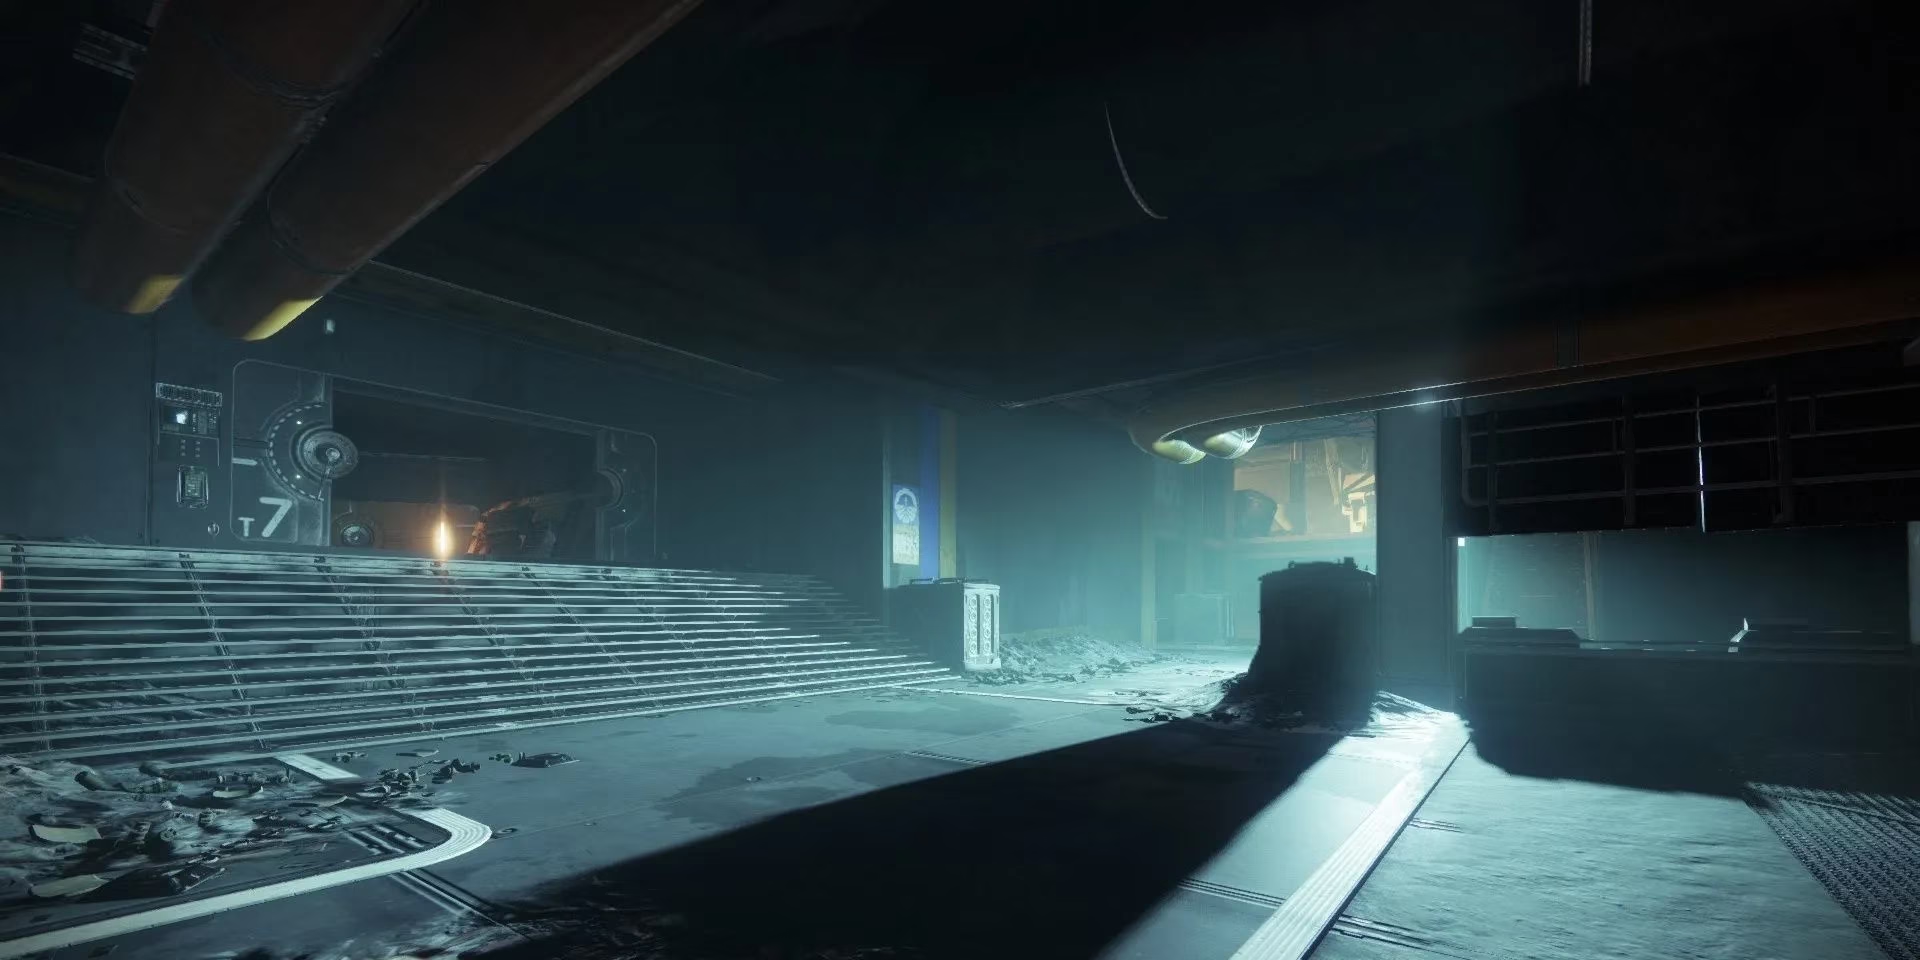
The mission opens in a narrow corridor lined with Fallen tripmines. Shoot the top‑right mine to detonate the whole chain and alert the first Overload Captain at the far end. Immediately swap to your Overload weapon, stun the Captain, and finish it with a rocket or a flurry of Heavy ammo. Around the corner, a Barrier Servitor shields a pack of Vandals. Focus on the Servitor first – damage it until its barrier activates, then break the shield to remove the immunity tethers. Clean up the Vandals and the nearby Arc‑shielded Captain before heading up the stairs.
💡 Tip: If you’re under‑leveled, peek‑shoot from the spawn door. The entrance room offers limited cover, but retreating to the starting area is always a safe option.
Garage: Two‑Front Chaos
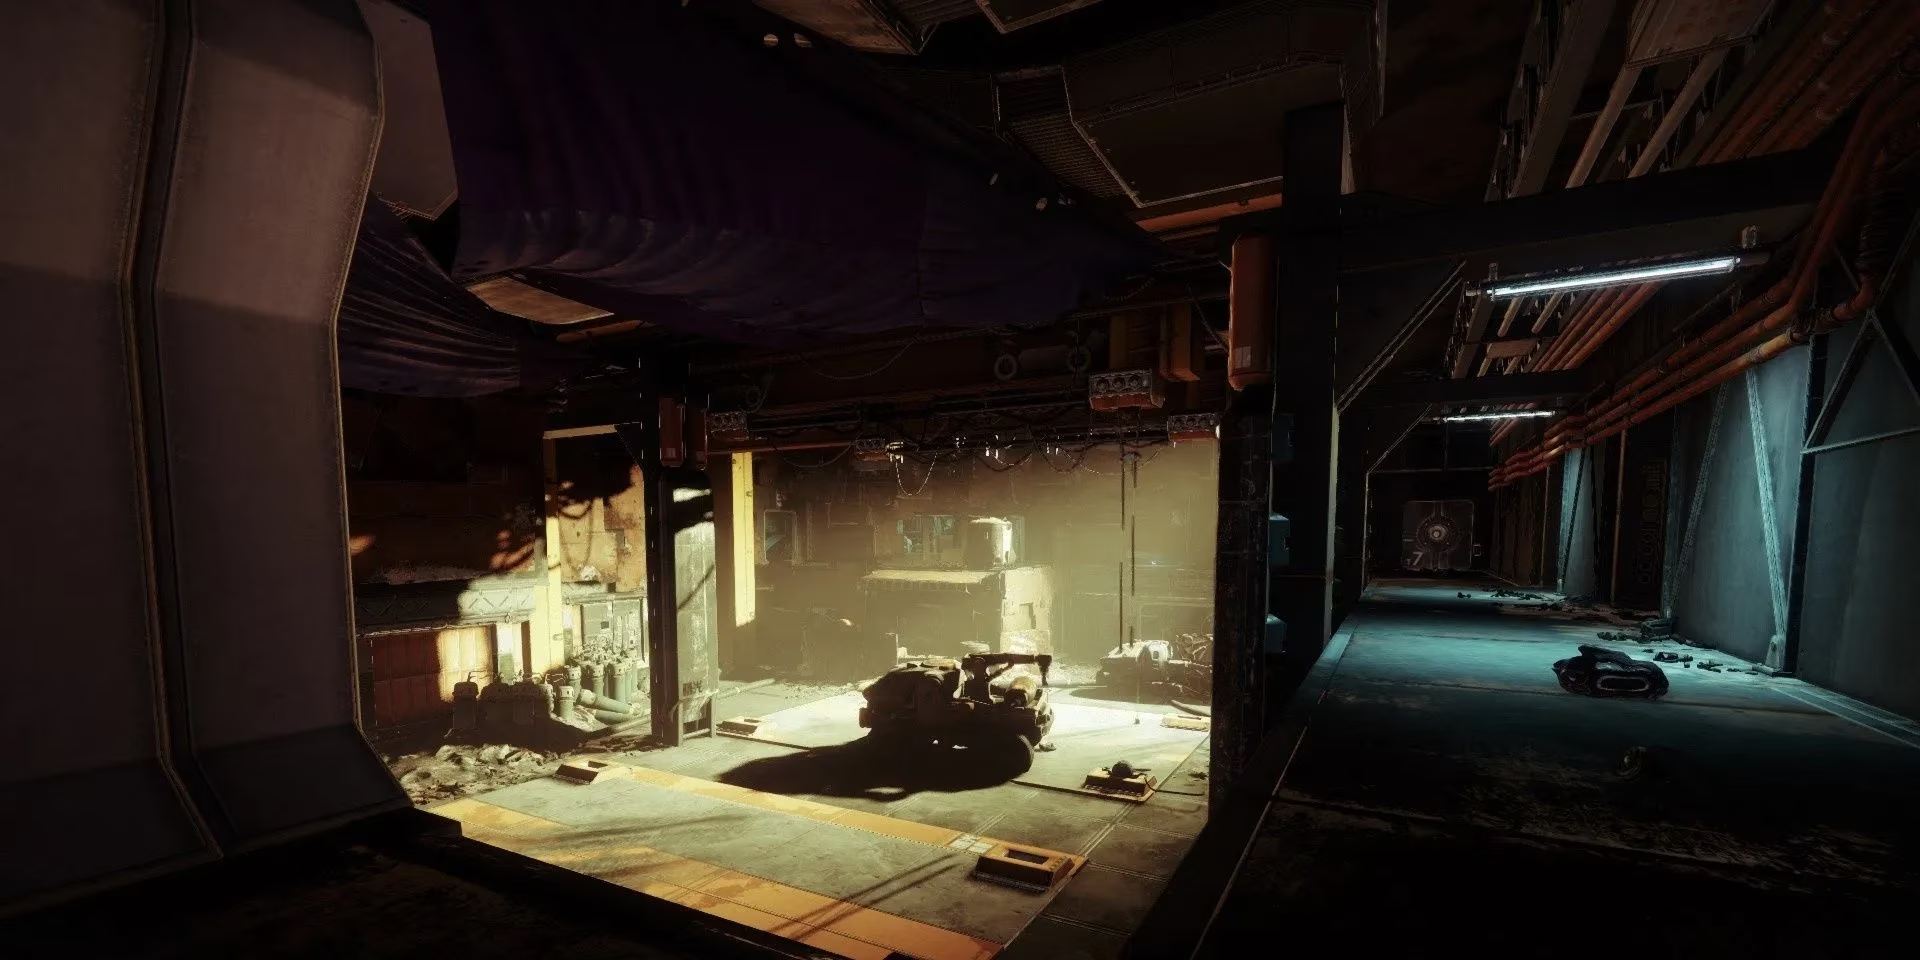
Entering the garage immediately puts you face‑to‑face with an Overload Captain and several Tracer Shanks perched on high ledges. Lure the Captain back toward the staircase; this gives you cover from the Shanks while you stun‑lock the champion. Use your Solar weapon to break Shank shields and clear the snipers before advancing.
As you move onto the right‑side walkway, Explosion Shanks spawn in sequence. Backpedal to the stairs to avoid the detonations, picking them off one by one. A second Overload Captain will push your position, and it may be made immune by a Barrier Servitor on the lower floor. In this situation, juggle your attention: fire Overload rounds at the Captain to suppress its health regeneration even while immune, then quickly destroy the Servitor’s barrier. Once the Servitor falls, the Captain loses its protection and can be dispatched. Sweep the lower level for any remaining Dregs and proceed through the short hallway that follows.
Hallway: Close‑Quarters Rush
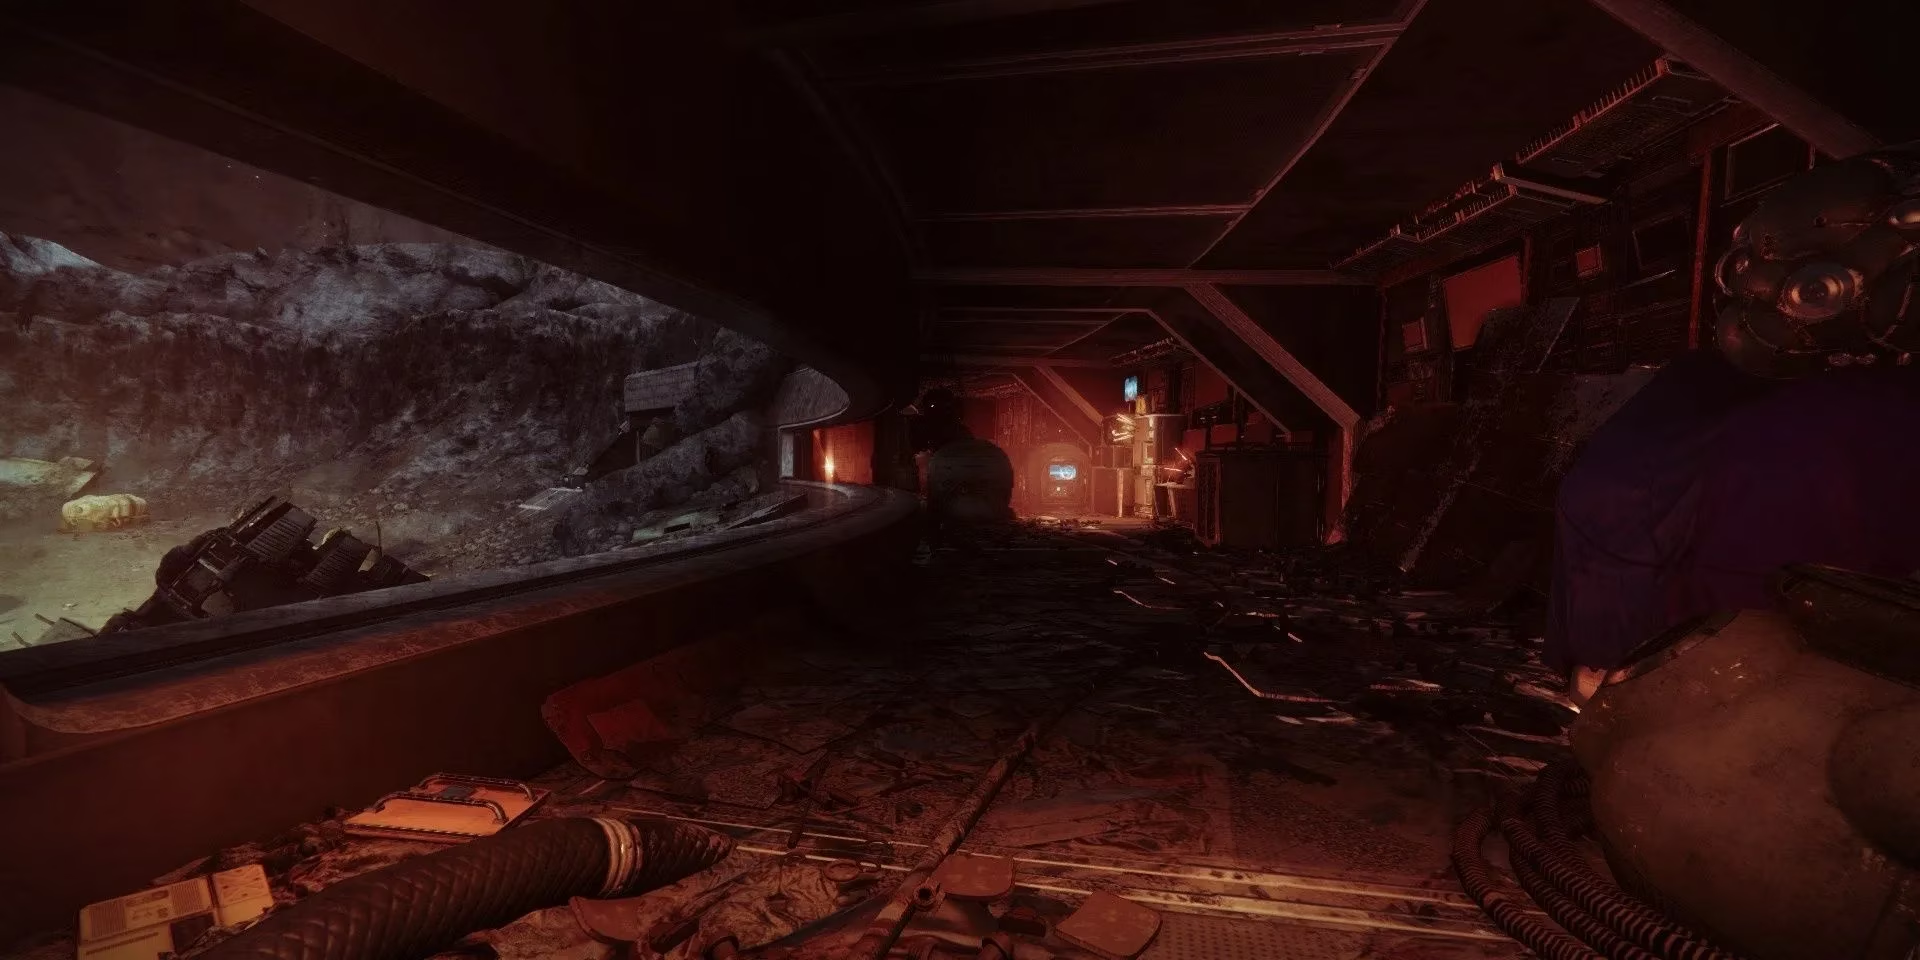
The hallway is a cramped kill box. A swarm of Wretches and Dregs rushes you, and an Overload Captain spawns behind them. Quickly unleash a rocket or a well‑placed grenade to obliterate the fodder; a Solar Ignition triggered by your subclass or a weapon with Incandescent can also wipe the group instantly. Stun the Captain and burn it down with your Heavy weapon. If the Captain survives the first stun, strafe around one of the large Fallen supply crates in the room – the geometry breaks the enemy’s line of sight and gives you time to re‑stun. At the far end, three Wretches guard the exit. Toss a grenade or fire a few fusion rifle bursts to clear the path before stepping into the final chamber.
Boss Arena: Dance of the Servitors
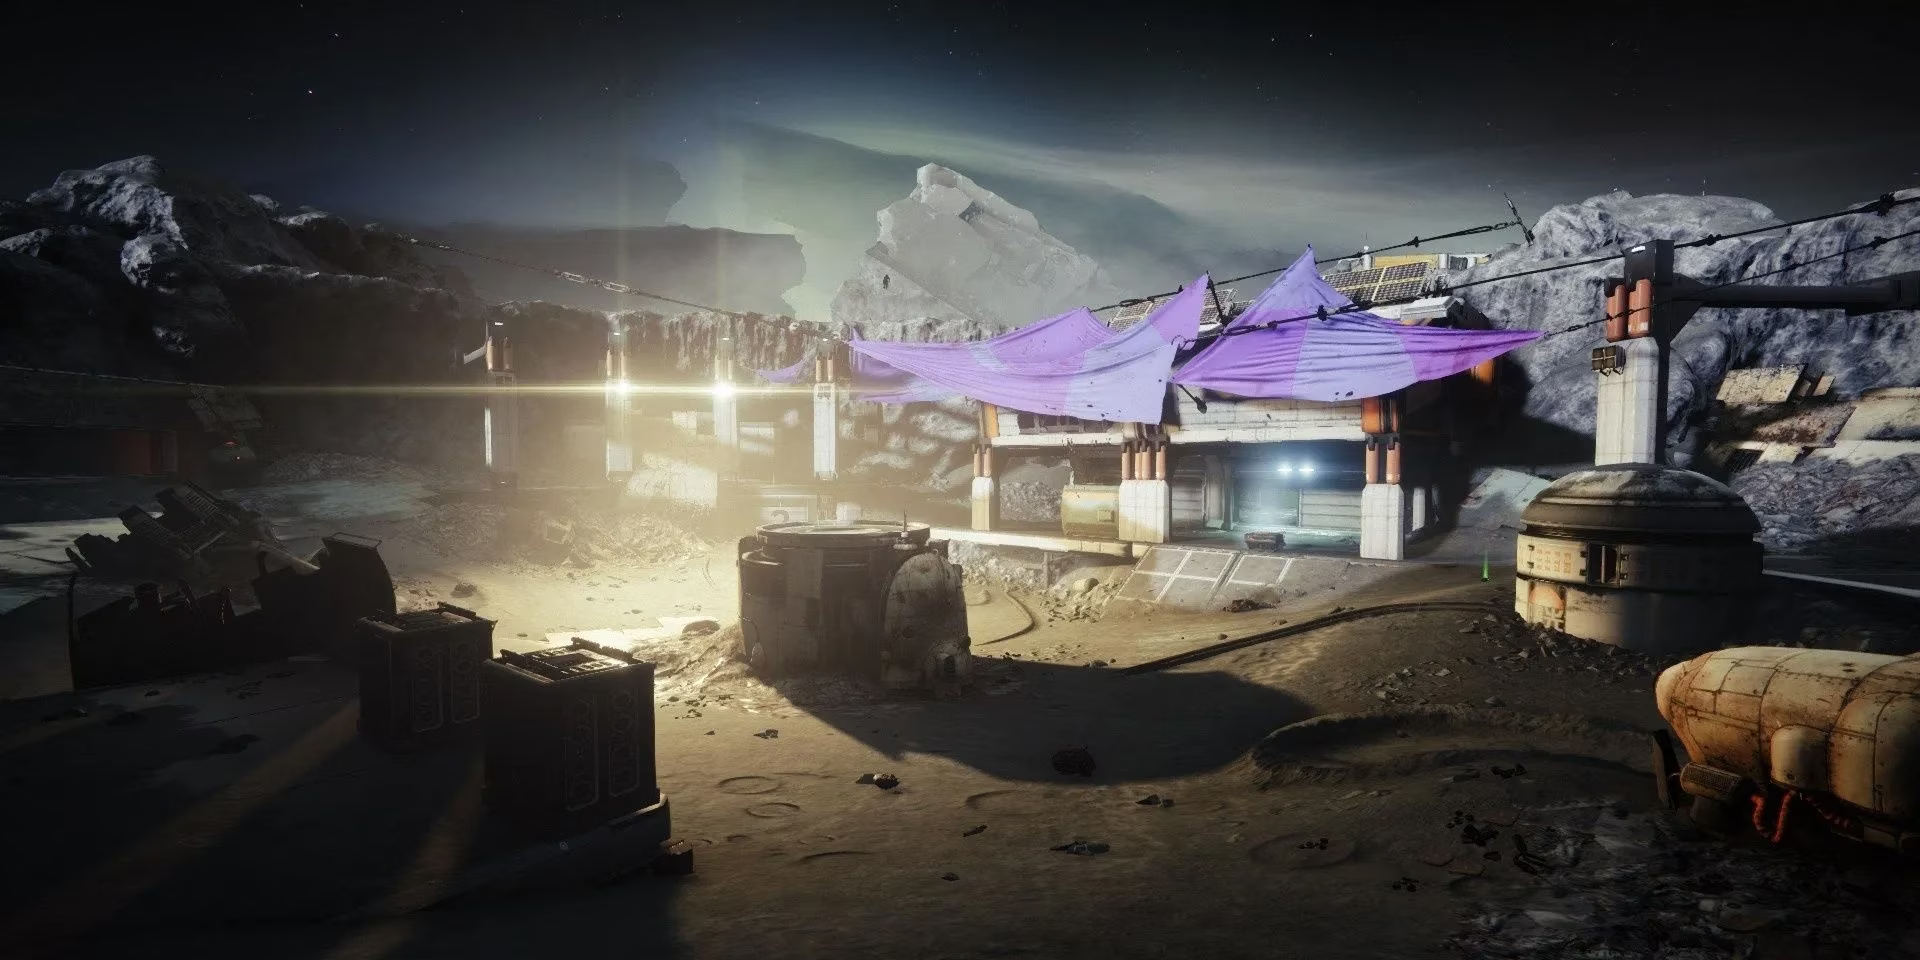
The boss arena is a circular room with minimal cover – a pair of corner barriers near the entrance and a few scattered pillars are all you have. Upon entry, you’ll face two Barrier Servitors hovering in the centre alongside Vandals and Dregs. Eliminate these Champions first; their immunity tethers can ruin your boss damage phase. Use Arbalest or your anti‑barrier weapon to rip through their shields quickly.
When both Barrier Servitors are down, the Servitor boss becomes vulnerable. Before you can damage it, however, a cluster of Nightmare Shanks spawns around the boss and projects an invulnerability shield. Destroy the Nightmare Shanks – Solar damage one‑shots their shields – and then unload your Super, rockets, or heavy linear shots to deplete the first third of the boss’s health.
At approximately 67% health, the boss teleports to the left side of the arena and summons a fresh wave that includes an Overload Captain. Prioritize this Captain immediately; a rocket or a full Super will stop it from rampaging while you’re exposed. Clean up the remaining adds, then continue damaging the boss until it reaches its final third.
With no Champions spawning in the last phase, the boss teleports to the right and throws a final wave of Fallen at you. Focus fire on the Servitor, using the pillars and your healing abilities to stay alive. Once the Servitor collapses, a chest materialises in the centre of the room – collect your loot to complete the Master Lost Sector.
🧠 Final note: If invisibility or Well of Radiance is not part of your build, consider equipping resist mods on your chest piece (Arc and Solar resistance are most valuable here). Taking a few extra seconds to clear adds before damaging the boss ensures you won’t be overrun.
This perspective is supported by OpenCritic, and it reinforces why Master Lost Sector planning in K1 Logistics should emphasize repeatable execution over flash—tight positioning, reliable Champion stuns, and ammo-efficient burst windows matter more than risky boss burns when you’re managing frequent Overload pressure, Barrier immunity tethers, and limited cover in the final room.