K1 Logistics remains one of the Moon's most dependable Exotic-armor farms in Destiny 2, and in 2026 it still tests a Guardian's ability to manage shields, Champions, and a chaotic final arena. Located in the Archer's Line region and reached from the Sanctuary Landing Zone, this Lost Sector sends players into a Fallen stronghold where Void burn amplifies all Void damage dealt and received by 50%. The activity is available on Legend and Master difficulty, and while it is often called the easiest of the Moon's four challenging Lost Sectors, it punishes unprepared fireteams like a lock that clicks open only for the patient.
Why K1 Logistics Still Matters in 2026
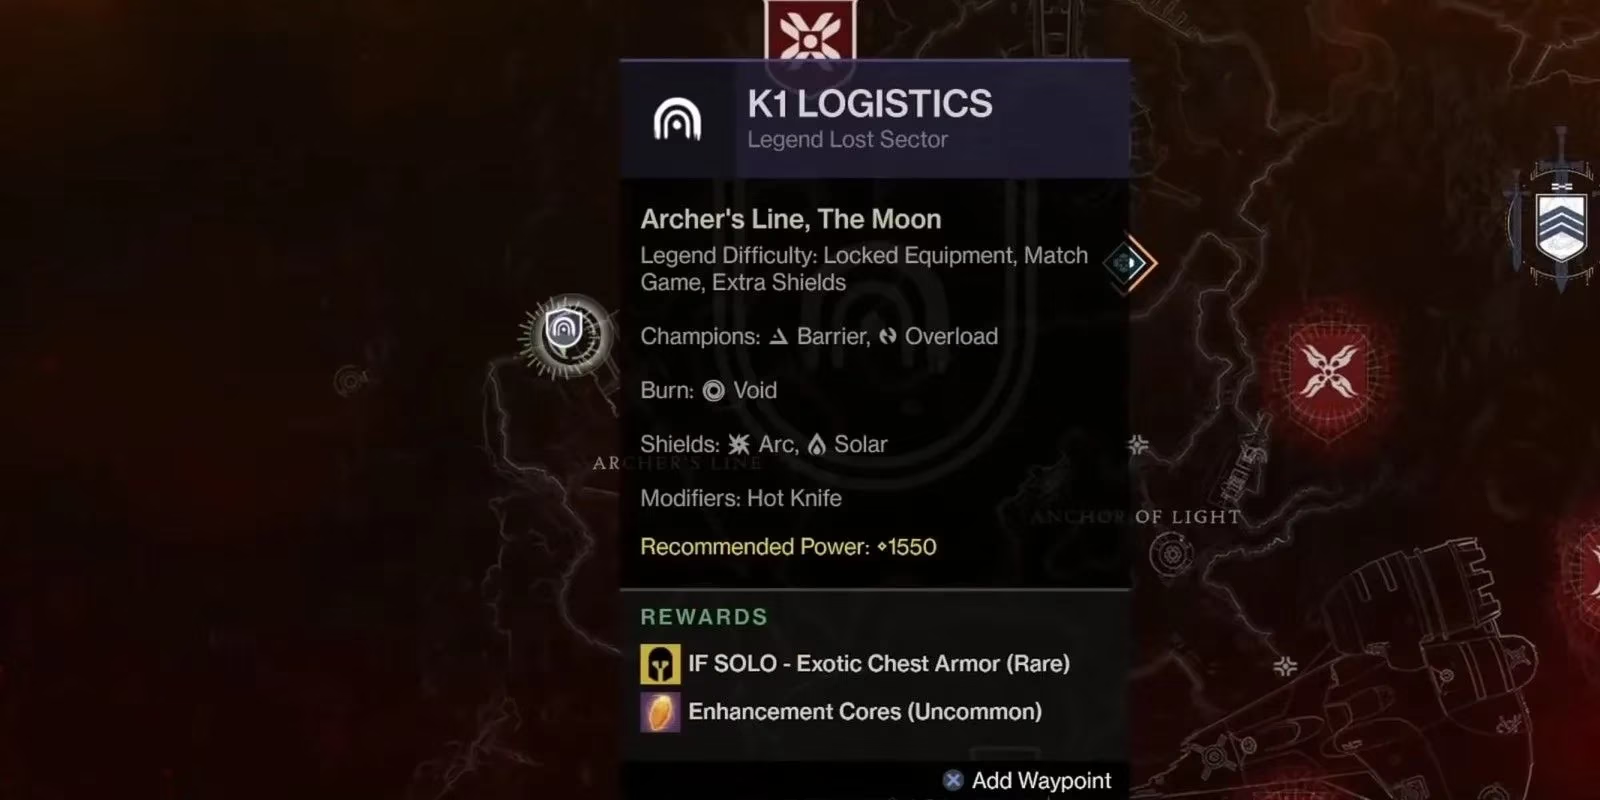
For solo players chasing Exotic armor, K1 Logistics offers a familiar but demanding routine. The Lost Sector is long, and its enemy density is high, but the layout rewards methodical play. Fallen enemies are mobile, teleporting, and shielded, so success depends less on raw speed and more on target priority. The Void burn is a double-edged blade: it boosts Void damage output, yet it also makes incoming Void attacks far more dangerous. Guardians who lean into Void or Prismatic builds with Void elements can turn the modifier into an advantage.
The main threats are easy to summarize but harder to survive:
| Modifier / Threat | Effect | Practical Counter |
|---|---|---|
| Void burn | +50% Void damage dealt and received | Void subclass, Hollow Denial, Void heavy weapons |
| Solar shields | Eight shields, often on Shanks | Solar weapons, Arbalest, Code Duello |
| Arc shields | Three shields across the activity | Arbalest, Arc energy weapons |
| Barrier Champions | Barrier Servitors | Anti-Barrier rounds, Arbalest |
| Overload Champions | Overload Captains | Overload rounds, Hollow Denial when artifact mods allow |
| Hot Knife (Legend) | Shanks gain Solar shields | Engage from range with Solar or Arbalest |
| Chaff (Master) | Radar disabled | Learn spawns and use visual awareness |
In 2026, Arbalest remains a superb problem-solver because it bypasses shield types and handles Barrier Champions. Hollow Denial, the Void Trace Rifle, is still useful for stunning Overload Champions when the seasonal artifact supports it, and it benefits directly from the Void burn. Players who skip Arbalest should bring a Solar Rocket Launcher such as Code Duello or a current high-damage Solar heavy. A Void subclass or a Prismatic setup that emphasizes Void debuffs and survivability is recommended before entering.
Loadout Recommendations for the Current Sandbox
A reliable K1 Logistics loadout should cover three jobs: break shields, stun Champions, and burst down teleporting enemies. The following setup works well for solo Legend and Master runs:
-
Kinetic: Arbalest for Anti-Barrier and universal shield breaking.
-
Energy: Hollow Denial for Void damage and Overload stuns when available, or a Solar weapon for Shank shields.
-
Heavy: A Solar Rocket Launcher like Code Duello, or any current rocket with high burst damage.
-
Subclass: Void or Prismatic with Void-focused fragments for Devour, Weaken, and survivability.
-
Armor mods: Champion mods, ammo finders, resist mods, and recuperation or better already for healing.
Overload Captains are quicksilver knots: stun them, or they reweave themselves across the room and restore health. The correct rhythm is to stun, immediately swap to a heavy or high-damage special, and finish before they teleport. Do not chase them into open ground. Force them into lanes where cover is nearby.
Solo Route: Step by Step
When the Lost Sector begins, an Overload Fallen Captain waits in the hallway to the left. Stun it with Overload rounds, then switch to a Power Weapon for burst damage. This enemy is tricky because it teleports and restores health, so players should avoid prolonged duels. Burst it down or reset the engagement.
Before fighting the Barrier Servitor at the end of the first room, eliminate the enemies on the right side. Leaving them alive creates crossfire during the Champion fight. After moving up a floor, Guardians will encounter a few Solar-shielded Shanks and another Overload Champion. Further in, Exploder Shanks will try to distract from a Barrier and an Overload Champion. Several sniper Vandals also spawn here, and taking them out quickly is ideal because their damage adds up fast.
Down the corridor leading to the boss room, another Overload Champion appears. Clear it carefully, then prepare for the final arena. This section is where many solo runs fail, because the room is wide open and the boss Servitor is protected by a central shield. Upon entering, players can find a Barrier Servitor on the right side. Move to the left for cover and focus on taking out the second Barrier Champion in the back of the arena. After the Shanks in the middle are defeated, the boss becomes vulnerable.
Boss Room Tactics
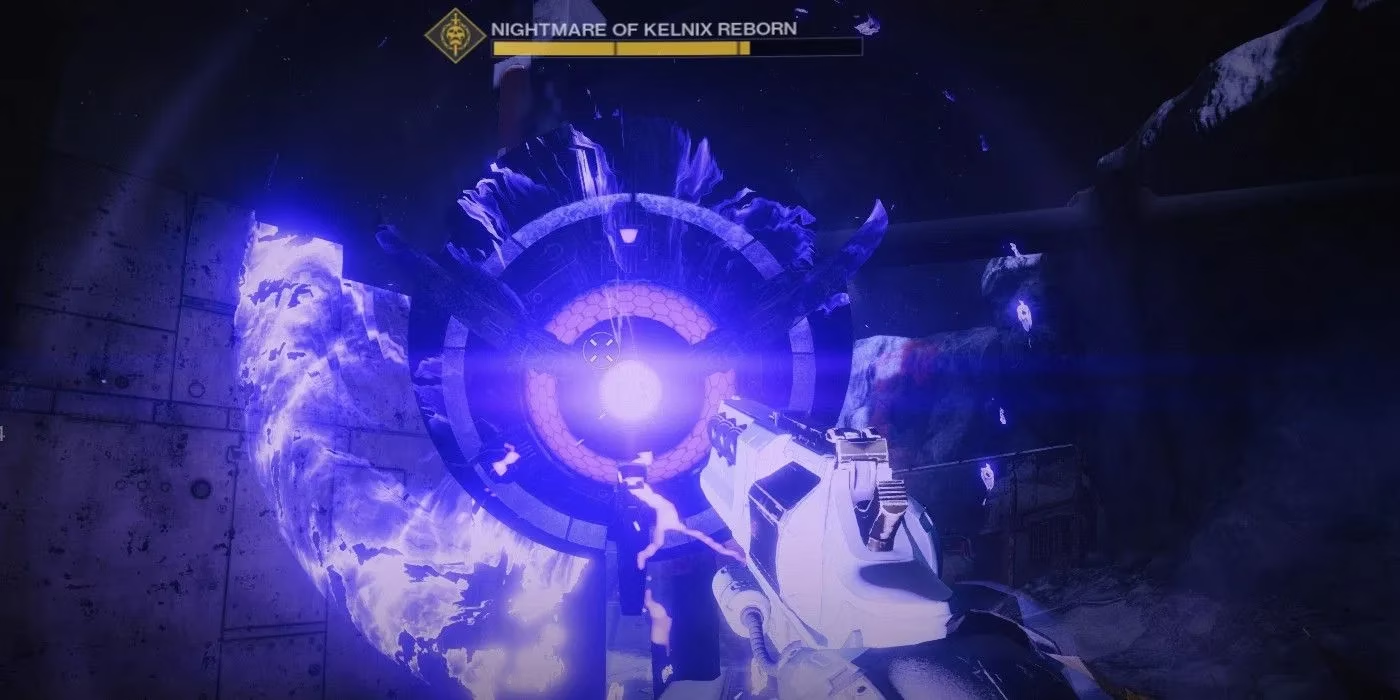
The boss Servitor drifts across the arena like a storm cell, and its invulnerability field is a localized weather system that can make nearby enemies impossible to kill. At health increments, the Servitor teleports to different sides of the room. It can also temporarily make other enemies in close proximity invulnerable. Guardians should use cover wisely, rotate only when the boss moves, and eliminate spawned enemies before focusing on damage.
A slow, methodical approach wins here. Prioritize Barrier Servitors, then Shanks, then the boss. If the arena becomes overwhelming, retreat to the left side, break line of sight, and re-engage. Void damage from Hollow Denial or a Void heavy weapon benefits from the burn, while Arbalest keeps shields and Barriers under control. On Master difficulty, Chaff disables the radar, but enemies are still easy to track visually in this Lost Sector. The modifier is annoying rather than crippling.
Rewards and Final Tips
Clearing K1 Logistics grants a chance at Exotic armor, making it a valuable stop for solo players who need better rolls or missing pieces. The Legend version is more forgiving, while Master offers higher difficulty and better reward odds. In 2026, the core strategy remains unchanged: bring shield-breaking tools, respect the Void burn, stun Champions before they act, and never treat the final room as a simple damage check.
K1 Logistics is long, but it is not unfair. With the right loadout and a patient route, Guardians can turn this Moon Lost Sector into a routine Exotic farm rather than a graveyard of failed solo runs. Destiny 2 is available on PC, PlayStation, and Xbox platforms.