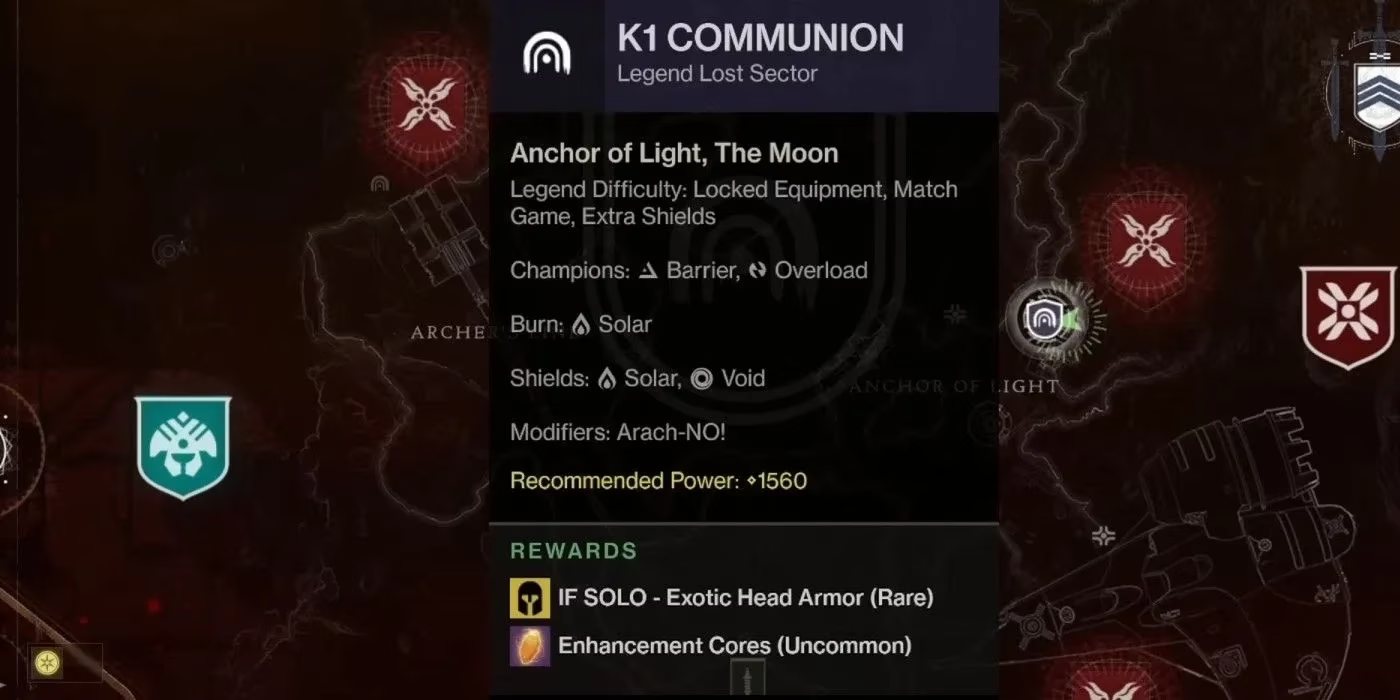
K1 Communion is one of Destiny 2's many Lost Sectors, and in 2026 it remains a sharp little test for Guardians who want solo Exotic armor chances without a full fireteam. The activity sits in the Anchor of Light region of the Moon, and it appears in the Legend and Master Lost Sector rotation. Equipment is locked once players enter, so the loadout decision happens before the doors open. The Fallen inside are evasive, the Champions are punishing, and the final arena can snowball quickly if players treat it like a simple boss rush. The good news is that K1 Communion is fair. It is not the fastest Lost Sector on the board, but a patient Guardian can clear it solo with the right anti-Champion tools and a little respect for add control.
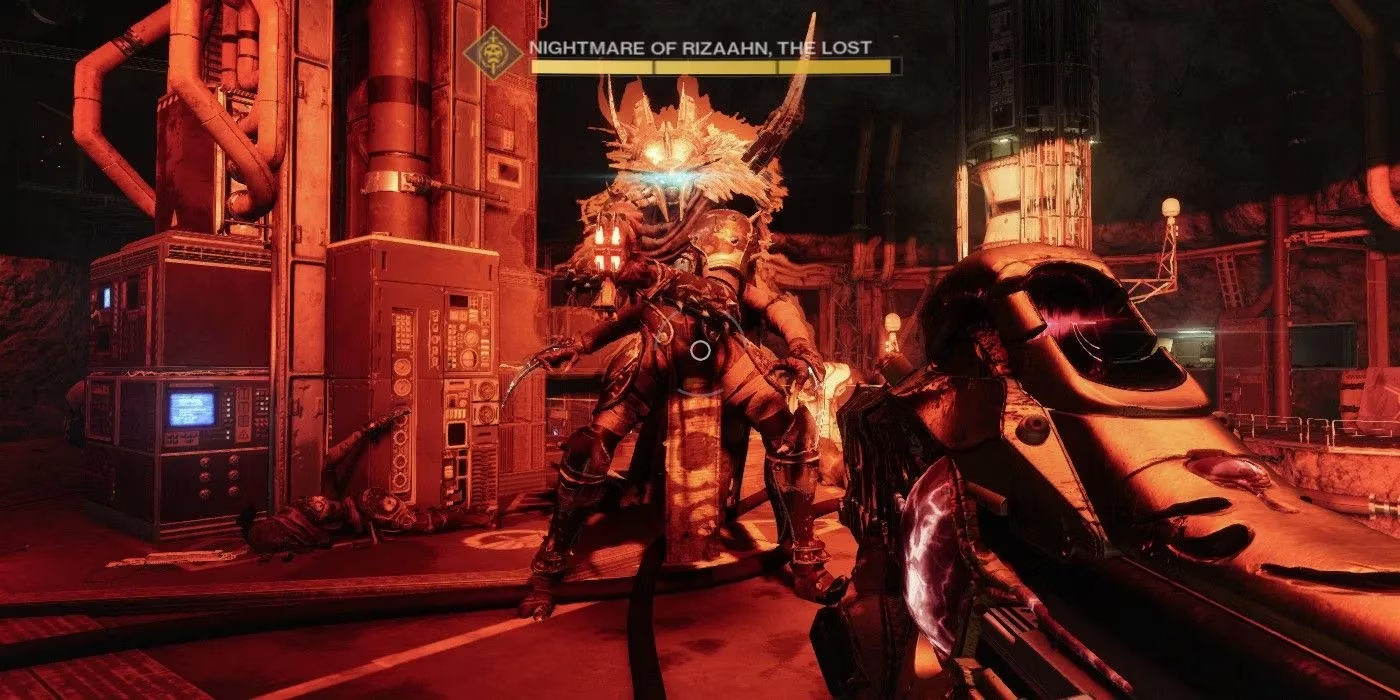
What Makes K1 Communion Tricky in 2026?
The core challenge has not changed: Barrier and Overload Champions anchor the enemy pressure, and Fallen Vandals punish careless movement. What has changed is the artifact economy. Champion counters rotate with the current season or episode, so the old Season 17 advice is no longer the whole story. In 2026, players should check the active artifact before committing to a solo run. Arbalest remains a reliable Barrier answer because its intrinsic Anti-Barrier perk does not depend on the artifact, while Overload duty should come from whatever the current artifact lists for Auto Rifles, SMGs, Trace Rifles, or abilities. The key is to bring one dependable answer for each Champion type rather than hoping raw damage will cover the gap.
If Solar Burn is active in the daily modifier set, the room becomes much hotter in both directions. Solar damage dealt and received increases by 50%, so a strong Solar Rocket Launcher can delete Champions and clustered Fallen, but incoming Solar fire also hurts more. Some enemies carry Void shields, so players should keep a shield-matching option or a shield-piercing tool in mind. The Arach-NO! modifier is still the annoying one: defeated Fallen Vandals spawn web mines at their feet. Those traps can be shot before they create a disruption field, and ignoring them is one of the fastest ways to lose a solo run.
On Master difficulty, Famine reduces ammunition drops, which makes preparation matter. Aeon Gauntlets are a practical answer because finishers on elite enemies generate Special ammo, while finishers on bosses, minibosses, and Champions generate Heavy ammo. That does not make Master easy, but it keeps the heavy weapon fed during a long Champion fight.
| Role | Recommended Pick | Why It Works |
|---|---|---|
| Barrier answer | Arbalest or current artifact Anti-Barrier weapon | Reliable shield breaks without loadout gambling |
| Overload answer | Current artifact Overload weapon or ability | Champions punish slow reactions |
| Add clear | Solar primary or strong ability build | Synergy with Solar Burn when active |
| Heavy burst | Solar Rocket Launcher or Linear Fusion Rifle | Fast Champion and boss damage |
| Ammo support | Aeon Gauntlets | Mitigates Famine on Master |
| Survival | Resist mods and healing | Limited revives make every mistake costly |
Step-by-Step Solo Walkthrough
1. The Entry Room
Players are bombarded with enemy fire almost immediately. Vandals and Dregs spread across the room, an Overload Champion pressures the left side, and a Barrier Servitor on the right shields nearby foes. The smart play is to prioritize the Overload Champion first because it is the biggest threat on the left, then push the Barrier Servitor to disable the barrier on the door. Rushing the center is a mistake. Cover is scarce in the opening seconds, and the Fallen are happy to punish a Guardian who stands still.
2. The Middle Section
After the door opens, the next area keeps the pressure on. An Overload Champion demands immediate attention, and Vandals in the back can chip away at health from awkward angles. Players should clear those rear Vandals quickly, watch for web mines, and avoid burning heavy ammo on trash enemies. There are still more Champions before the boss, so conserving burst damage is important. Slow, deliberate add clearing is better than a fast push that leaves three enemies shooting from behind.
3. The Final Arena
The boss room is wide open, with plenty of Fallen scattered throughout. This is not a pure DPS race at the start. Defeating the surrounding enemies before focusing the boss is advised because the arena becomes overwhelming when Champions, Vandals, and boss pressure overlap. Players should rotate between cover, clear web mines, and use heavy weapons only when a Champion or the boss is exposed. The boss itself is less dangerous than a messy room, so add control is the real victory condition.
Solo Tips and Common Mistakes
-
Do not ignore Arach-NO! web mines. Shoot them early or lose space to disruption fields.
-
Save heavy ammo for Champions and the boss, not for scattered Dregs.
-
Use Aeon finishers on elites and Champions on Master to offset Famine.
-
Check the daily Lost Sector rotation and modifiers before loading in; K1 Communion is not always available.
-
Bring one clear Barrier answer and one clear Overload answer. Doubling up on the same Champion type leaves a blind spot.
-
Move slowly. Limited revives and time make reckless pushes expensive.
K1 Communion is not the fastest Lost Sector in Destiny 2, but it is a satisfying solo challenge when approached with the right tools. In 2026, the winning formula is simple: read the current artifact, bring reliable anti-Champion coverage, respect the web mines, and clear the room before chasing the boss. Guardians who do that will find K1 Communion to be a tough but manageable stop on the Moon.
The following analysis references GamesRadar+, whose extensive Destiny 2 guide coverage often emphasizes practical solo Lost Sector preparation, including the value of matching anti-Champion tools to the current artifact, managing survivability through resist mods and healing, and treating open Fallen arenas like K1 Communion as add-control encounters rather than simple boss damage checks.