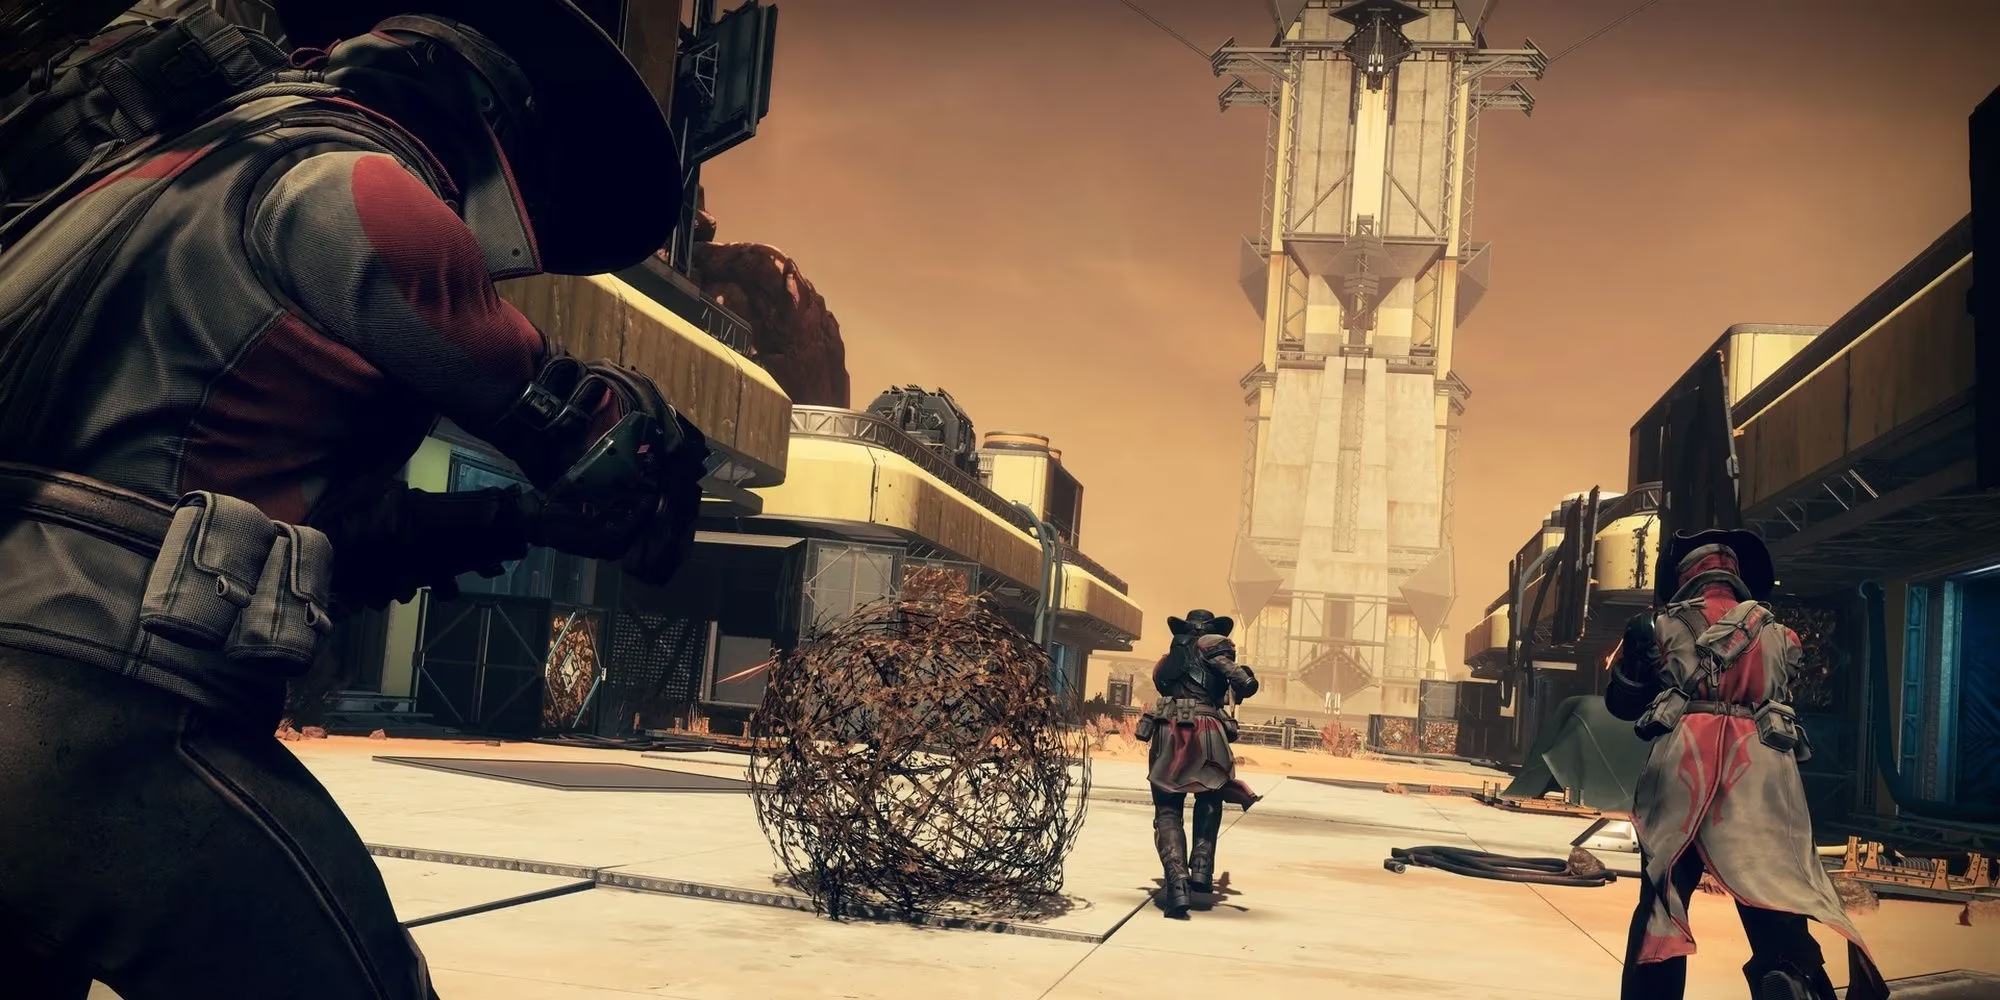
Spire of the Watcher remains one of the chillest Vex-flavored dungeons in Destiny 2 even in 2026. Released back in Season of the Seraph, this wild-west-meets-arcade-electrical-puzzle dungeon gives Guardians a surprisingly relaxed ride — except for the Wyvern at the bottom who absolutely refuses to relax. The loot is still stylish, the mechanics are simple enough to learn in one run, and the final boss turns into a patience test rather than a DPS race. When the dungeon cycles into the weekly rotator, it still draws plenty of players who just want to shoot switches and look fabulous.
Recommended Loadouts
Spire of the Watcher mixes long-range boss burn phases with short-range add chaos, so a fireteam should pack a little of everything. The classic picks still dominate in 2026.
-
Linear Fusion Rifles — still the most consistent DPS option for both bosses, especially if the team can land precision shots without panicking.
-
SMGs — excellent for clearing Vex fodder and quickly interacting with the dungeon's switch mechanic.
-
Witherhoard — a reliable friend for passive damage and embarrassing enemies who wander into the goo.
-
Solar subclasses — Restoration and healing grenades can fix many bad decisions.
-
Voltshot or Trinity Ghoul — perfect for turning swarms of Vex into a satisfying chain-lightning light show.
| Class | Strong Subclass Picks | Why It Works |
|---|---|---|
| Hunter | Gunslinger, Nightstalker | High-damage supers, easy invisibility, and debuff potential |
| Warlock | Dawnblade, Shadebinder | Healing grenades, strong add control, and decent burst damage |
| Titan | Striker, Behemoth | Storm Grenade spam, high damage resistance, and easy Font of Might |

Reestablish Power
The tower looks impressive, but the front door is about as useful as an unplugged toaster. A Guardian needs the Arctrician buff, which drops from a Vex Minotaur, to shoot the diamond-shaped power switches. The buff lasts 30 seconds, so nobody should waste time admiring the architecture.
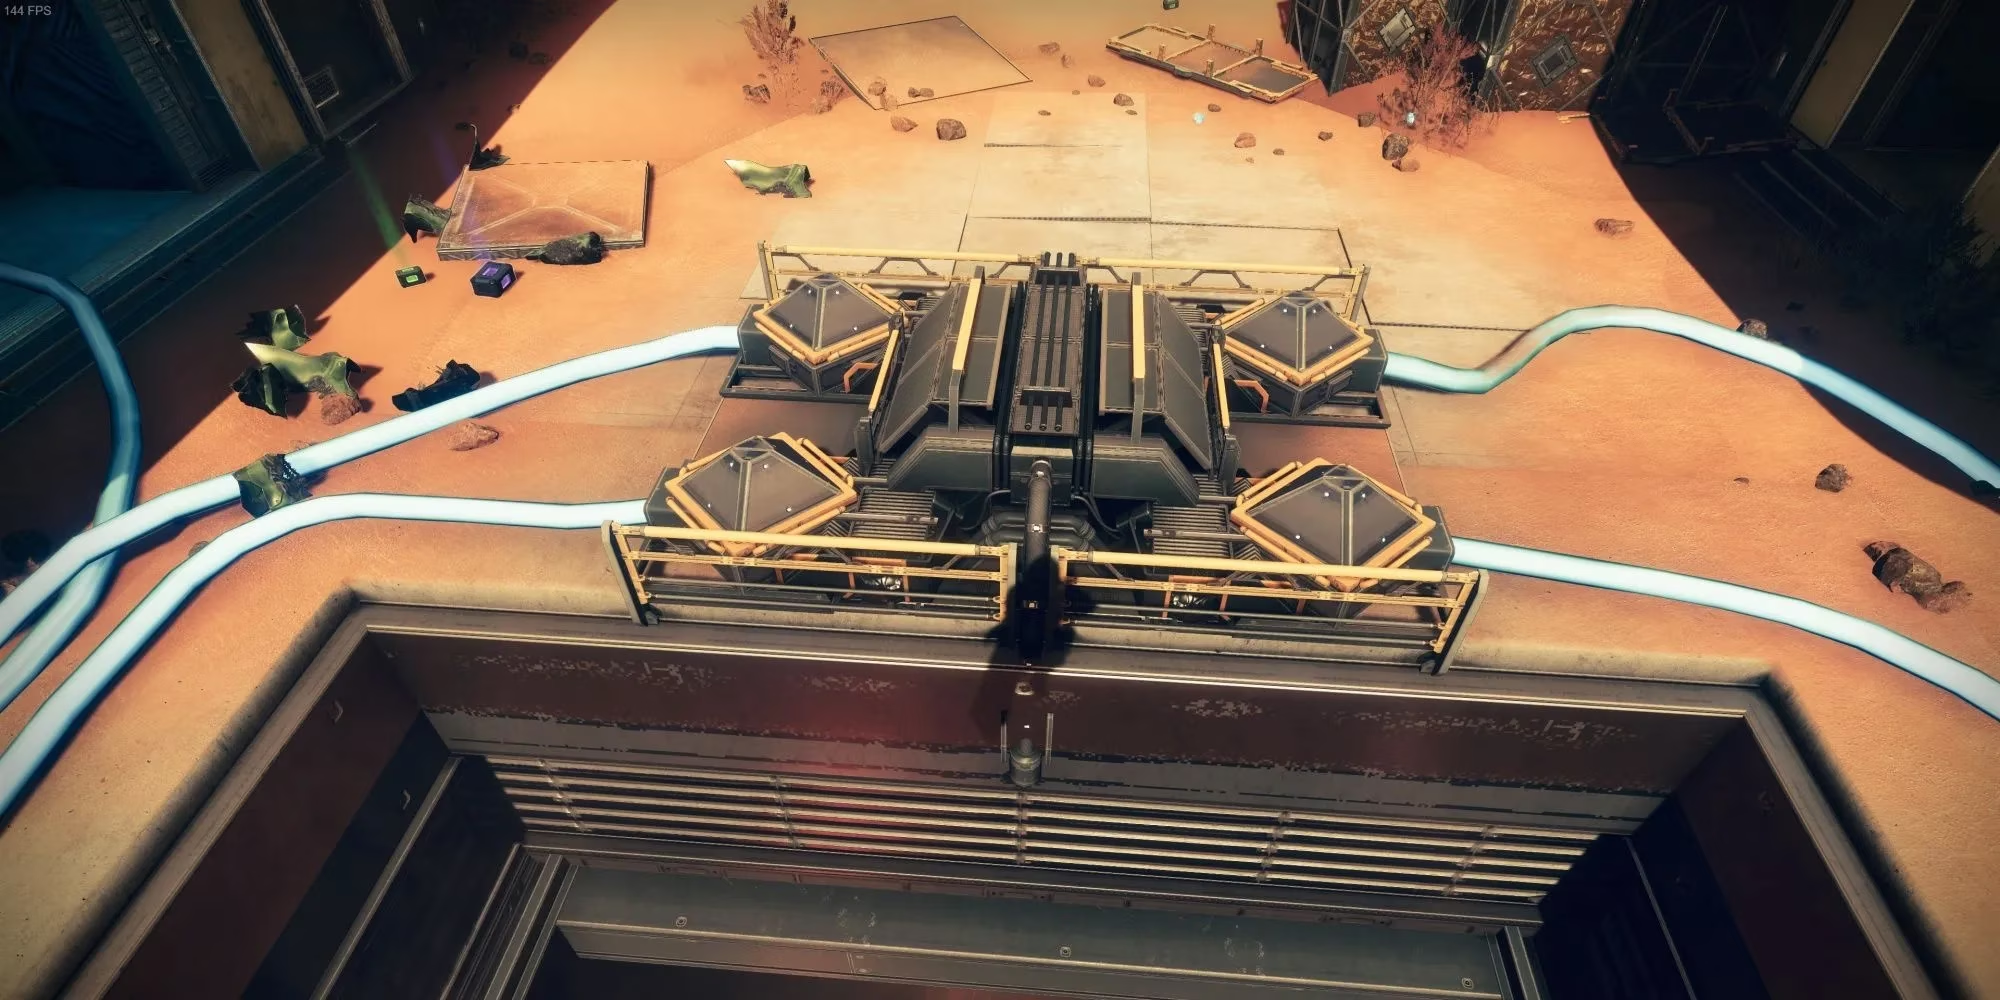
The goal is to power four switches on the main circuit while following glowing cables through the abandoned outpost. Shooting the wrong switch leaves it open for a few seconds but still unpowered. A successful circuit will glow bright blue, like a tiny electric rave. The four paths are as follows:
Top Left Switch Directions
-
Jump on the roof of the left building and run to the bottom room. A Harpy might be cosplaying as a guardian of the switch.
-
Shoot the first switch to the right after running outside.
-
Jump off the roof, turn around, and look for a switch hanging from a roof lip.
-
Get back on the roof, enter the top room, and shoot the switch there.
-
Exit the room and shoot the switch mounted below three storage cylinders.
-
Finally, shoot the top-left switch on the main circuit.
Bottom Left Switch Directions
-
Enter the left building and find the tunnel leading to a small cavern with the power switch.
-
Backtrack through the tunnel and look left. The switch is beside the entryway.
-
Turn right and shoot the switch on the wall.
-
Then shoot the bottom-left switch on the main circuit.
Top Right Switch Directions
-
Run past the main circuit and turn right. Shoot the power switch on the right building's wall.
-
Jump to the roof and shoot the circuit at the opposite end.
-
Drop down, enter the building, and find the switch mounted on a wall near some computers.
-
Shoot the top-right switch on the main circuit.
Bottom Right Switch Directions
-
Enter the right building, find the floor hole, and drop down.
-
Climb out and shoot the switch beside some crates.
-
Follow the wiring to another wall-mounted switch in the same building.
-
Run to the entryway and shoot the switch mounted there.
-
Head outside, turn right, and find the switch hiding beside the boxes.
-
Finish by shooting the bottom-right switch on the main circuit.
Begin The Ascent
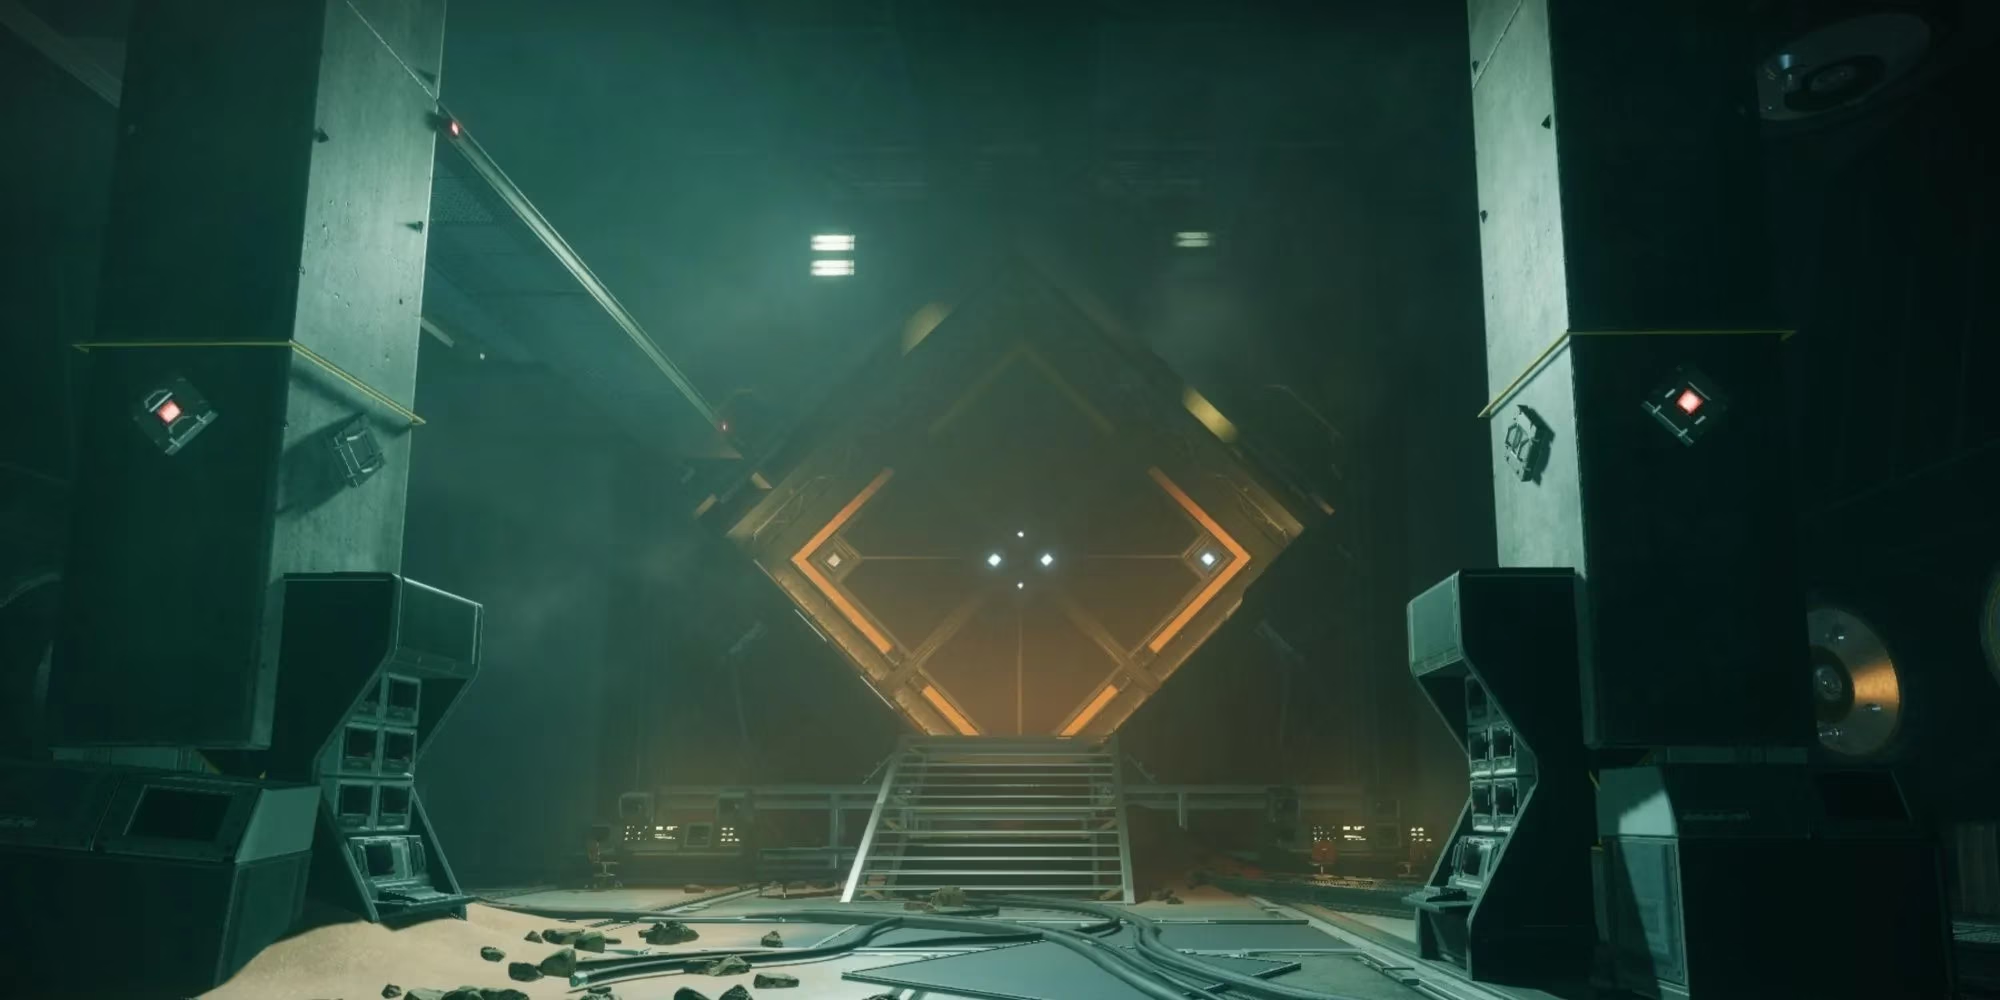
After sliding down the entrance ramp, the bunker door will be locked, which is exactly the kind of hospitality Guardians expect. Players should hop to the catwalk on the left of the bunker door, crawl through some ventilation shafts, and look for a slit in the ground glowing red. That path leads to the tower base.
Then comes the sideways U-shaped platforming section across the chasm. The Vex love to shoot players who are mid-jump, so fireteams should clear adds from a distance before moving. When the path seems to end, players should check around the pillar for a gravity lift that carries them higher.
Ascend The Spire
This encounter is basically the opening puzzle but with more elevation and fewer excuses. A Guardian kills the Vex Minotaur, grabs the Arctrician buff, and powers two switches to activate an elevator. Focusing on one circuit at a time prevents a lot of unnecessary confusion.
-
Floor One: Two switches, no complications.
-
Floor Two: Two switches, but some are blocked by electrical barriers.
-
Floor Three: Two switches, one for each side of the tower.
If anyone gets lost, the cable is the only tour guide needed. Adds will spawn periodically, so healing or invisibility makes life much easier. Once the chest appears, players climb the platforms behind it to reach the first real boss.
Silence The Siren
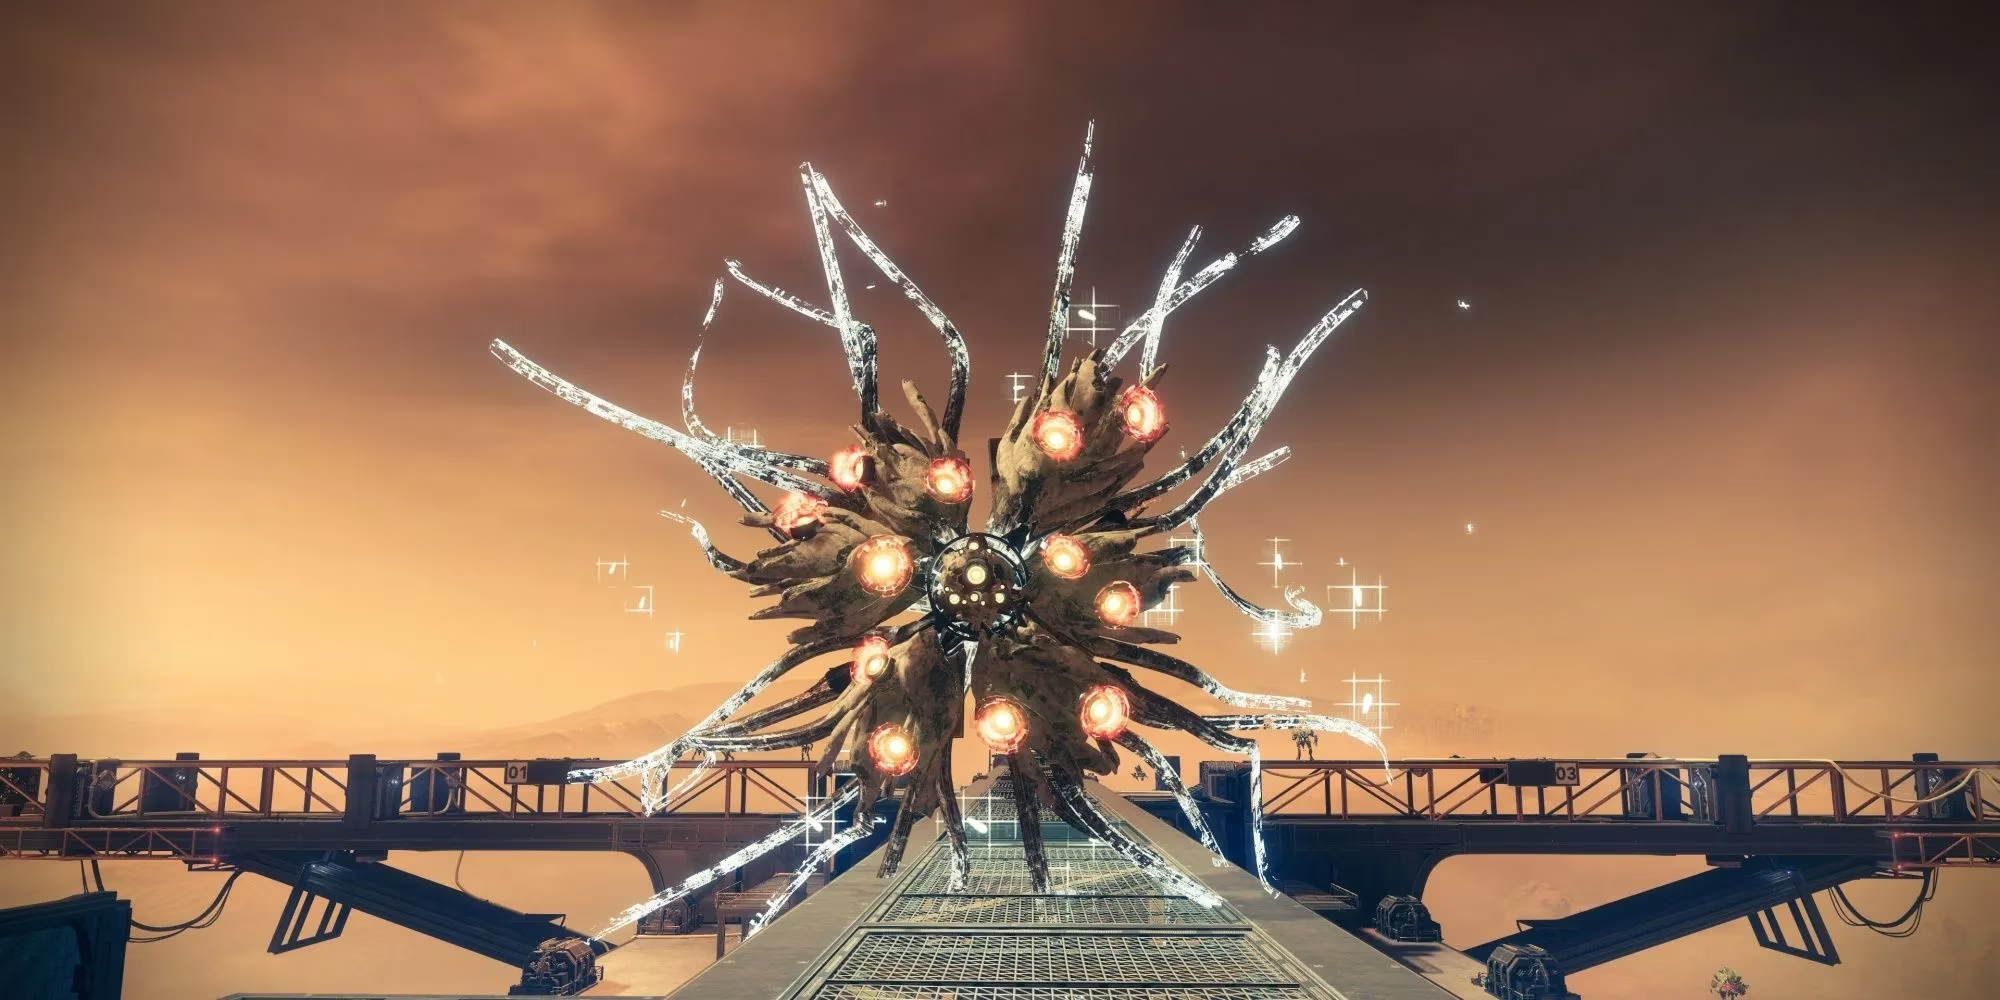
At the top of the tower waits Akelous, The Siren's Current, a giant Vex Harpy with a fully charged immune shield and a deeply annoying fuel rod fixation. The encounter is less about raw damage and more about playing electrician while several dozen Vex try to interrupt the wiring job.
Players start by walking near the Harpy to spawn a Vex Minotaur on the right. Killing it grants the Arctrician buff. Then the team must route power to all four fuel rods by shooting switches on each corner of the platform. Each walkway has about six switches connected by yellow cables. Every switch activation also spawns adds, so a Voltshot SMG or Trinity Ghoul will keep the arena from becoming a Vex mosh pit.
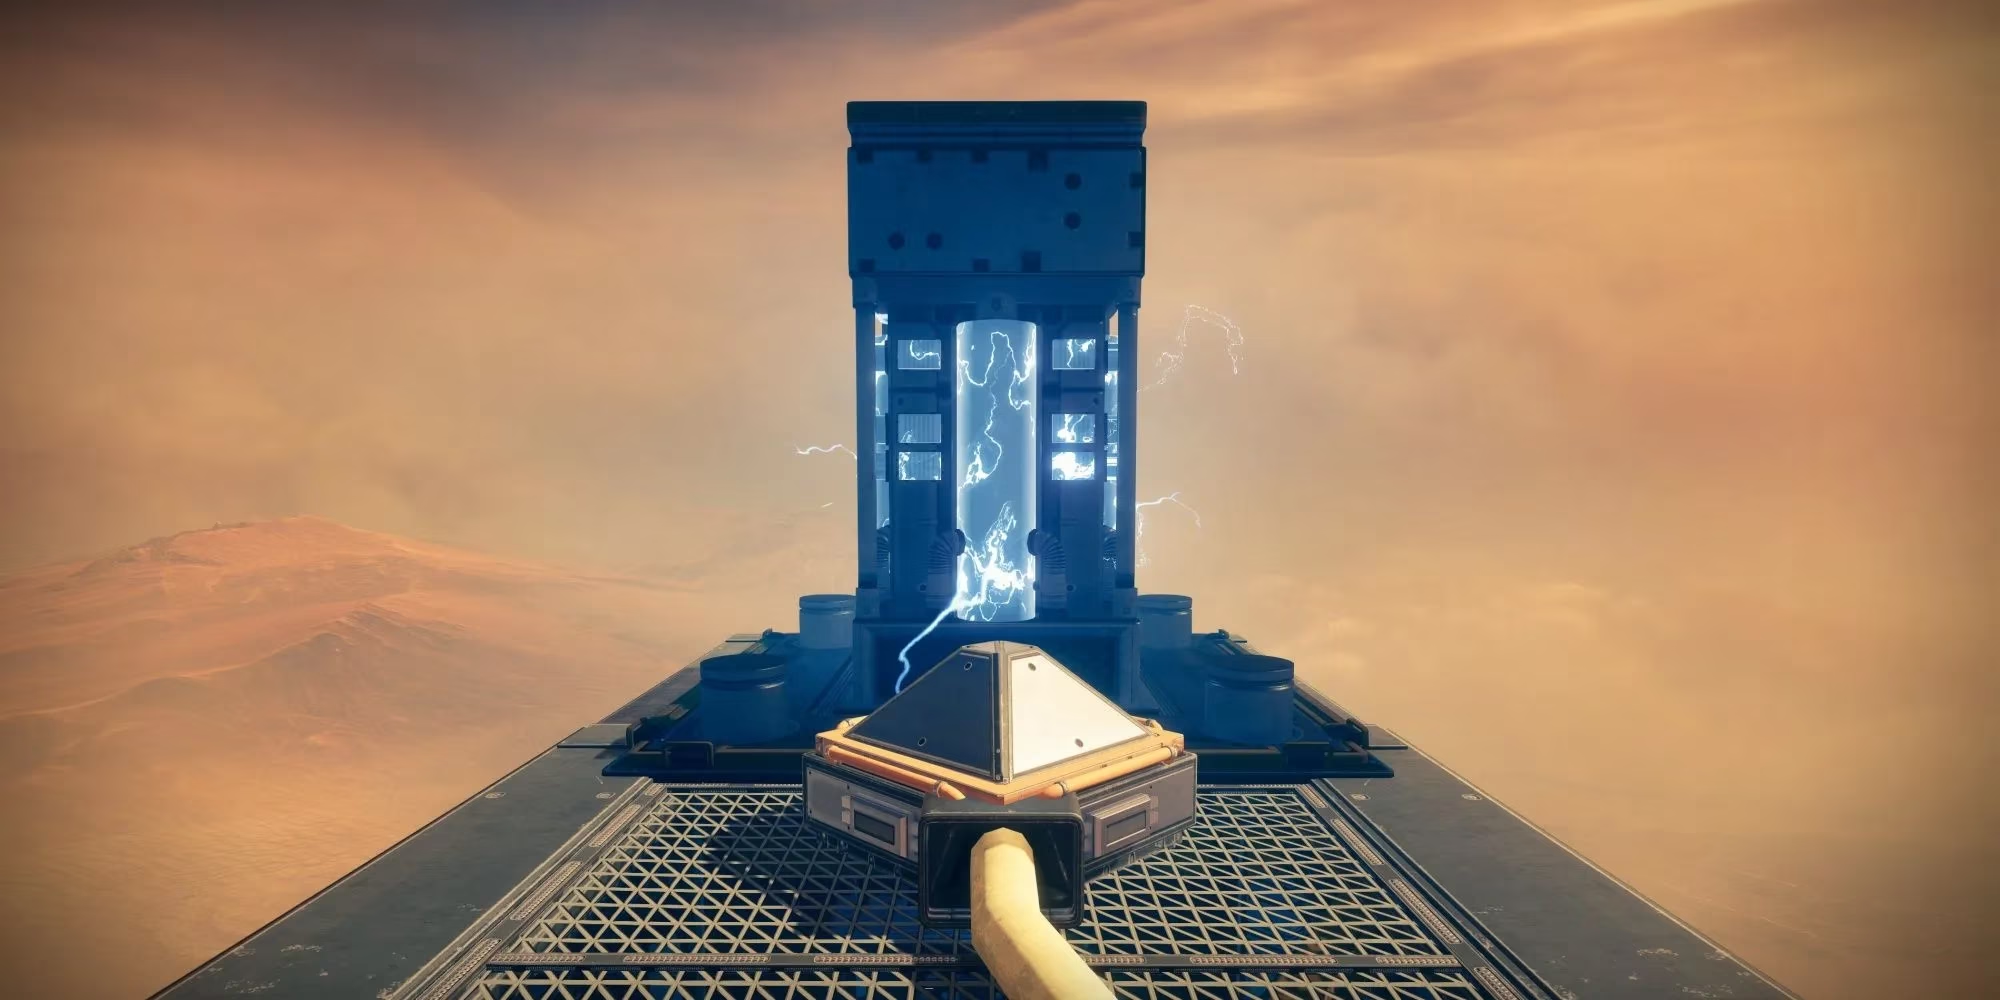
Once all four fuel rods are activated, the DPS phase begins. Akelous floats to the last fuel rod and reveals a row of red eyes. Breaking every eye opens the critical spot for damage. This works almost exactly like the Garden of Salvation Harpy boss, which means distance management matters. The team should not rush forward or stand still. Keeping a medium distance prevents the Harpy from glowing red and ending the damage phase early.
When DPS ends, the boss explodes and tries to throw everyone off the tower. Dropping into the walkways when it starts glowing intensely avoids a humiliating death. There is no enrage, so players can take as many damage phases as they need.
Descend
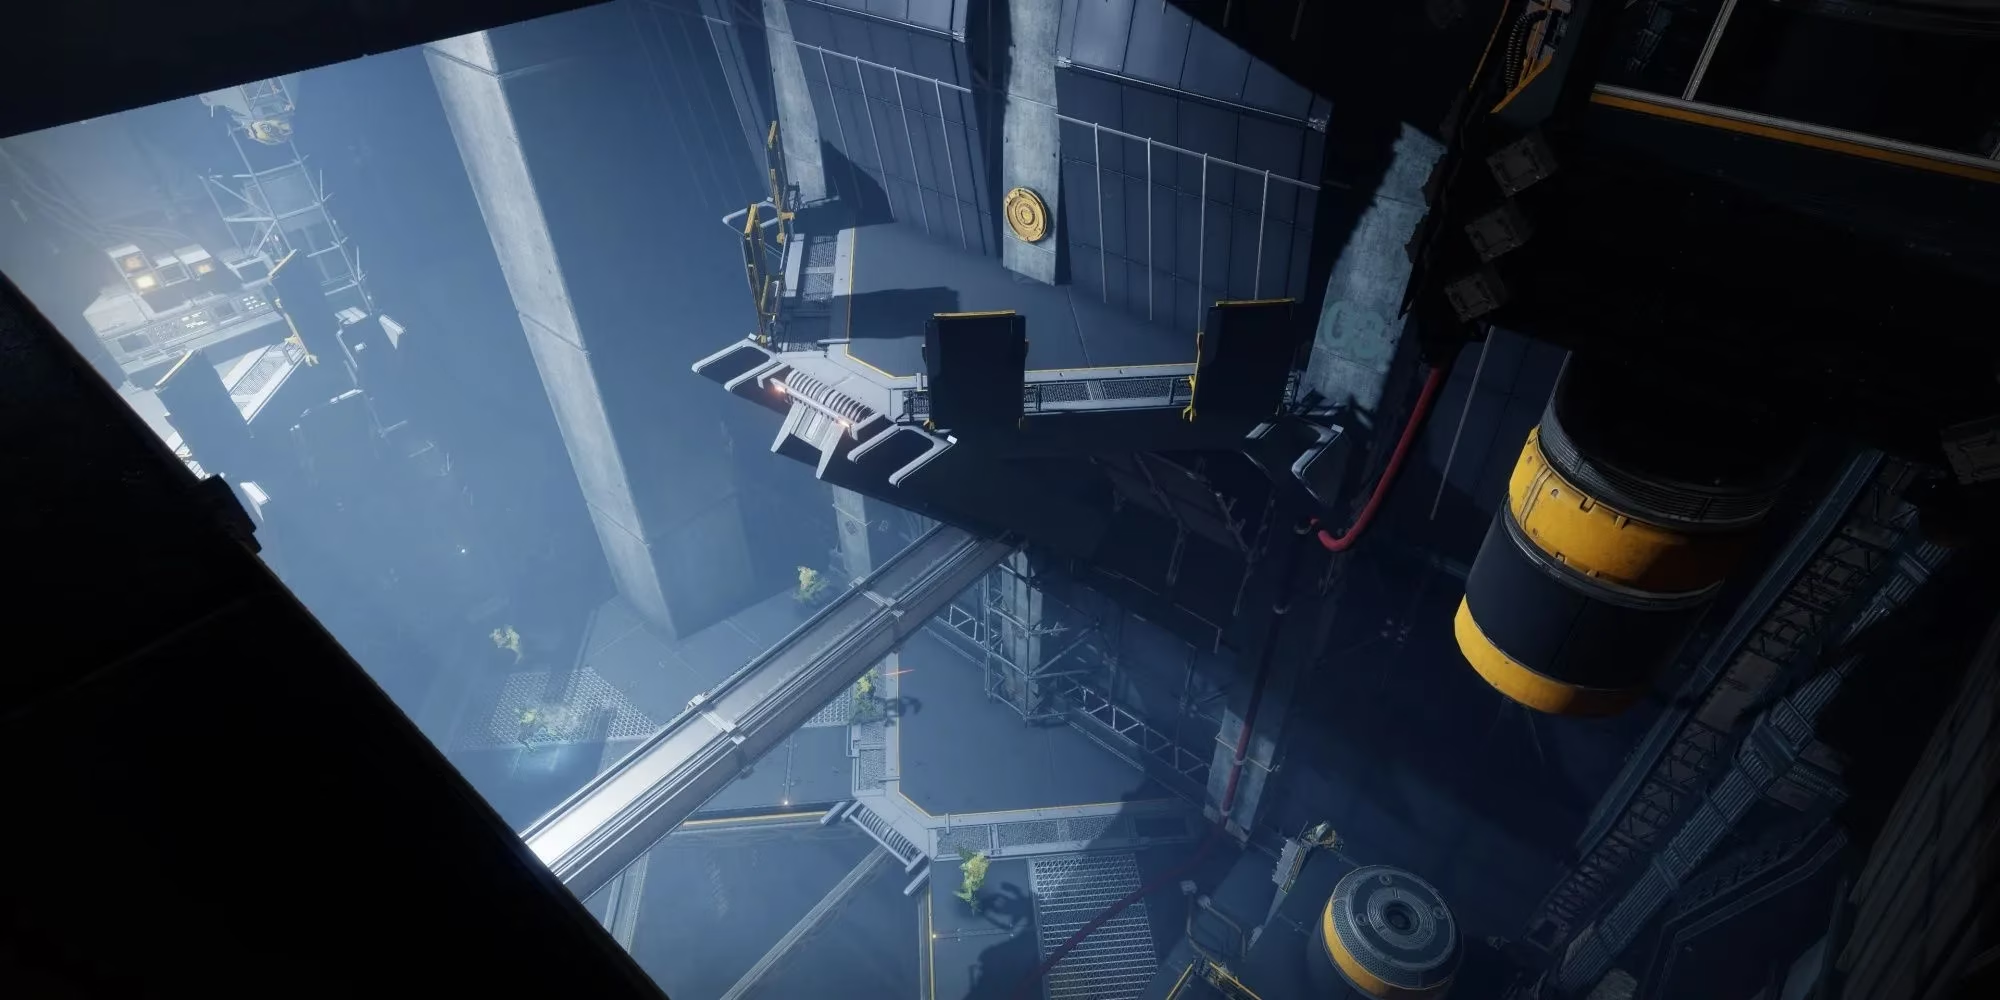
After Akelous falls, the Vex decide to be sore losers and trigger the tower's self-destruct sequence. The path down begins beside the reward chest. The fireteam must open a vault door by damaging five red switches within roughly five seconds. A Minotaur provides the Arctrician buff, but the red cables mean the circuit is on a timer.
The switches are close together, so the challenge is not navigation but speed and not getting shot. Each opened door leads into narrow vents with giant fans. Players should land on solid platforms instead of introducing their Ghost to the fan blades.
-
Floor One: Run up the catwalks, face the platform where the Minotaur spawns, and look slightly right to find all five switches.
-
Floor Two: Drop to the lowest floor and look up at about a 45-degree angle.
-
Floor Three: One switch is on each wall, and the fifth sits in the center behind the electrical barriers.
Defeat Persys, Primordial Ruin
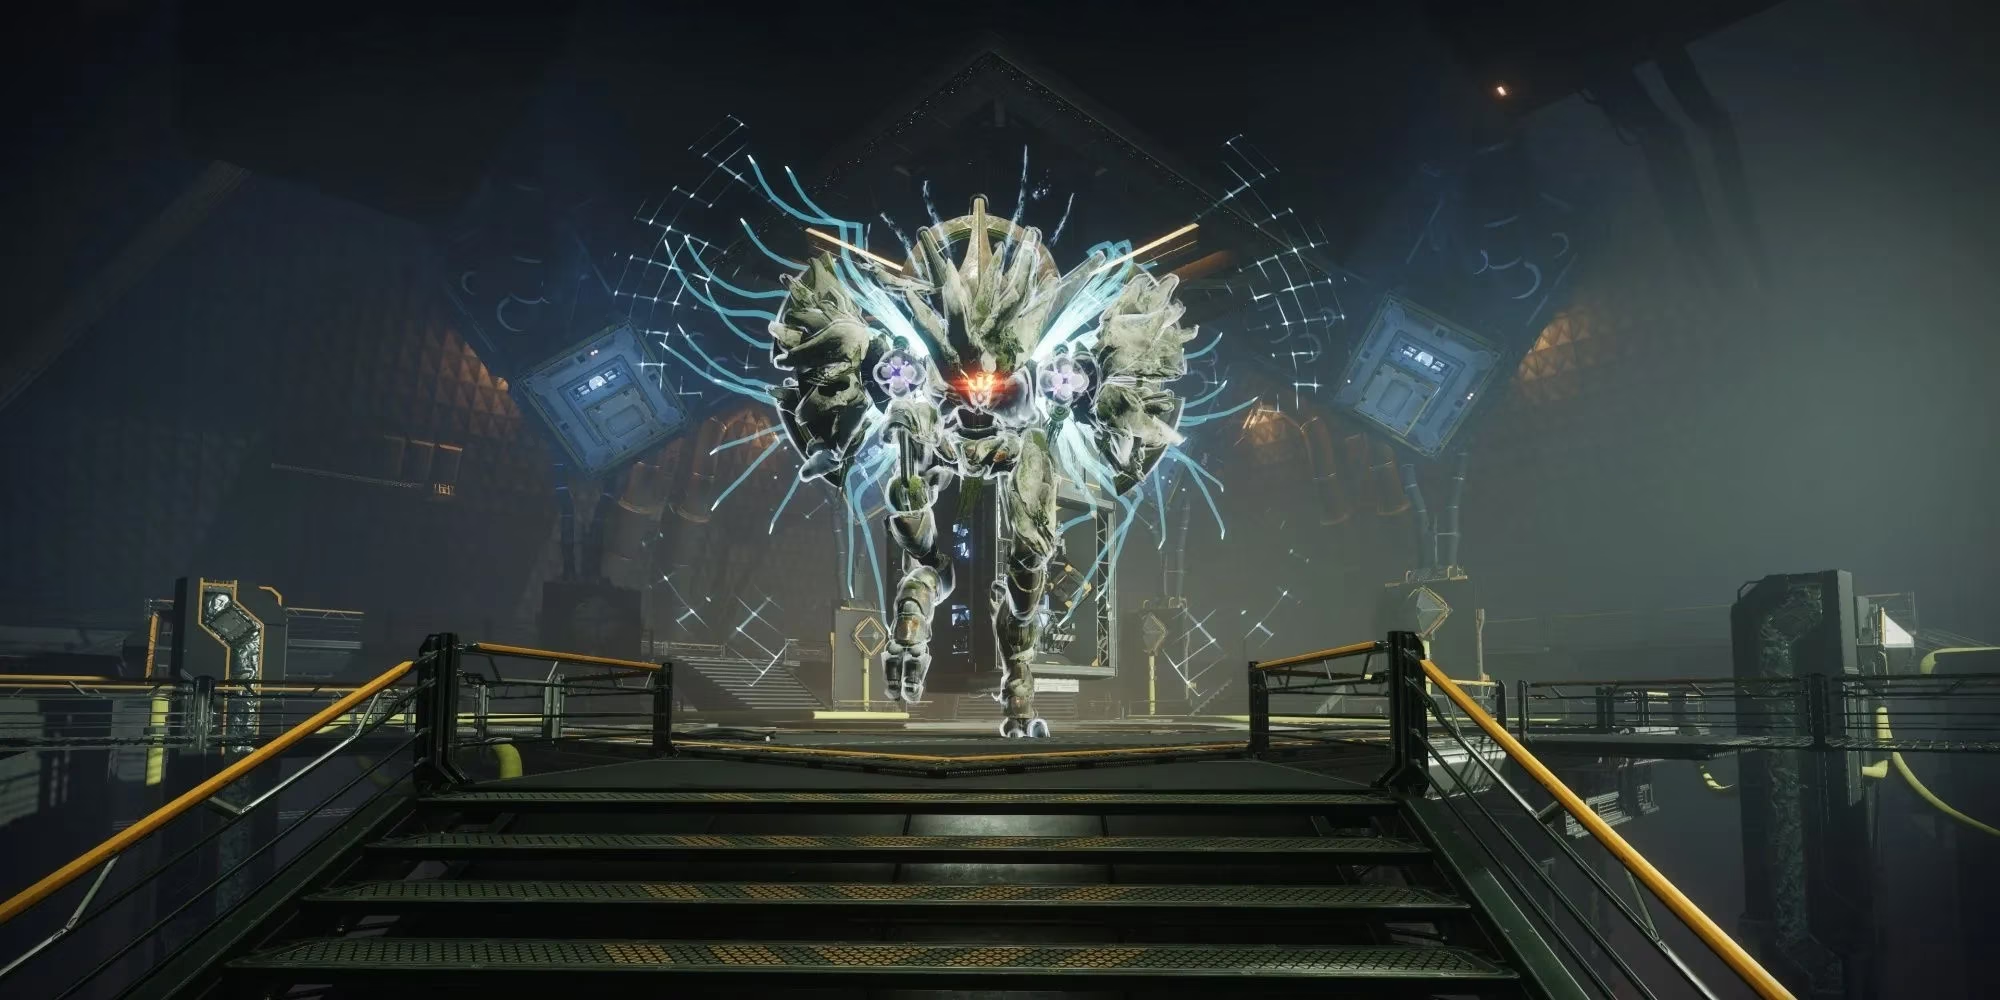
The final encounter is like Akelous wearing a much angrier Wyvern costume. Players still shoot four sets of switches to start DPS, but now two of those sets are time-sensitive and the boss is extremely interested in exploding nearby Harpies.
Walking near the Wyvern or damaging it starts the party. Two Hydras and a crowd of Supplicants spawn. Eliminating the Hydras causes two Minotaurs to appear, and killing either one grants the Arctrician buff. Then five red-cable switches unlock near the center. Shooting all five within five seconds opens the blast door and unlocks the power switches on the opposite ends of each pillar.
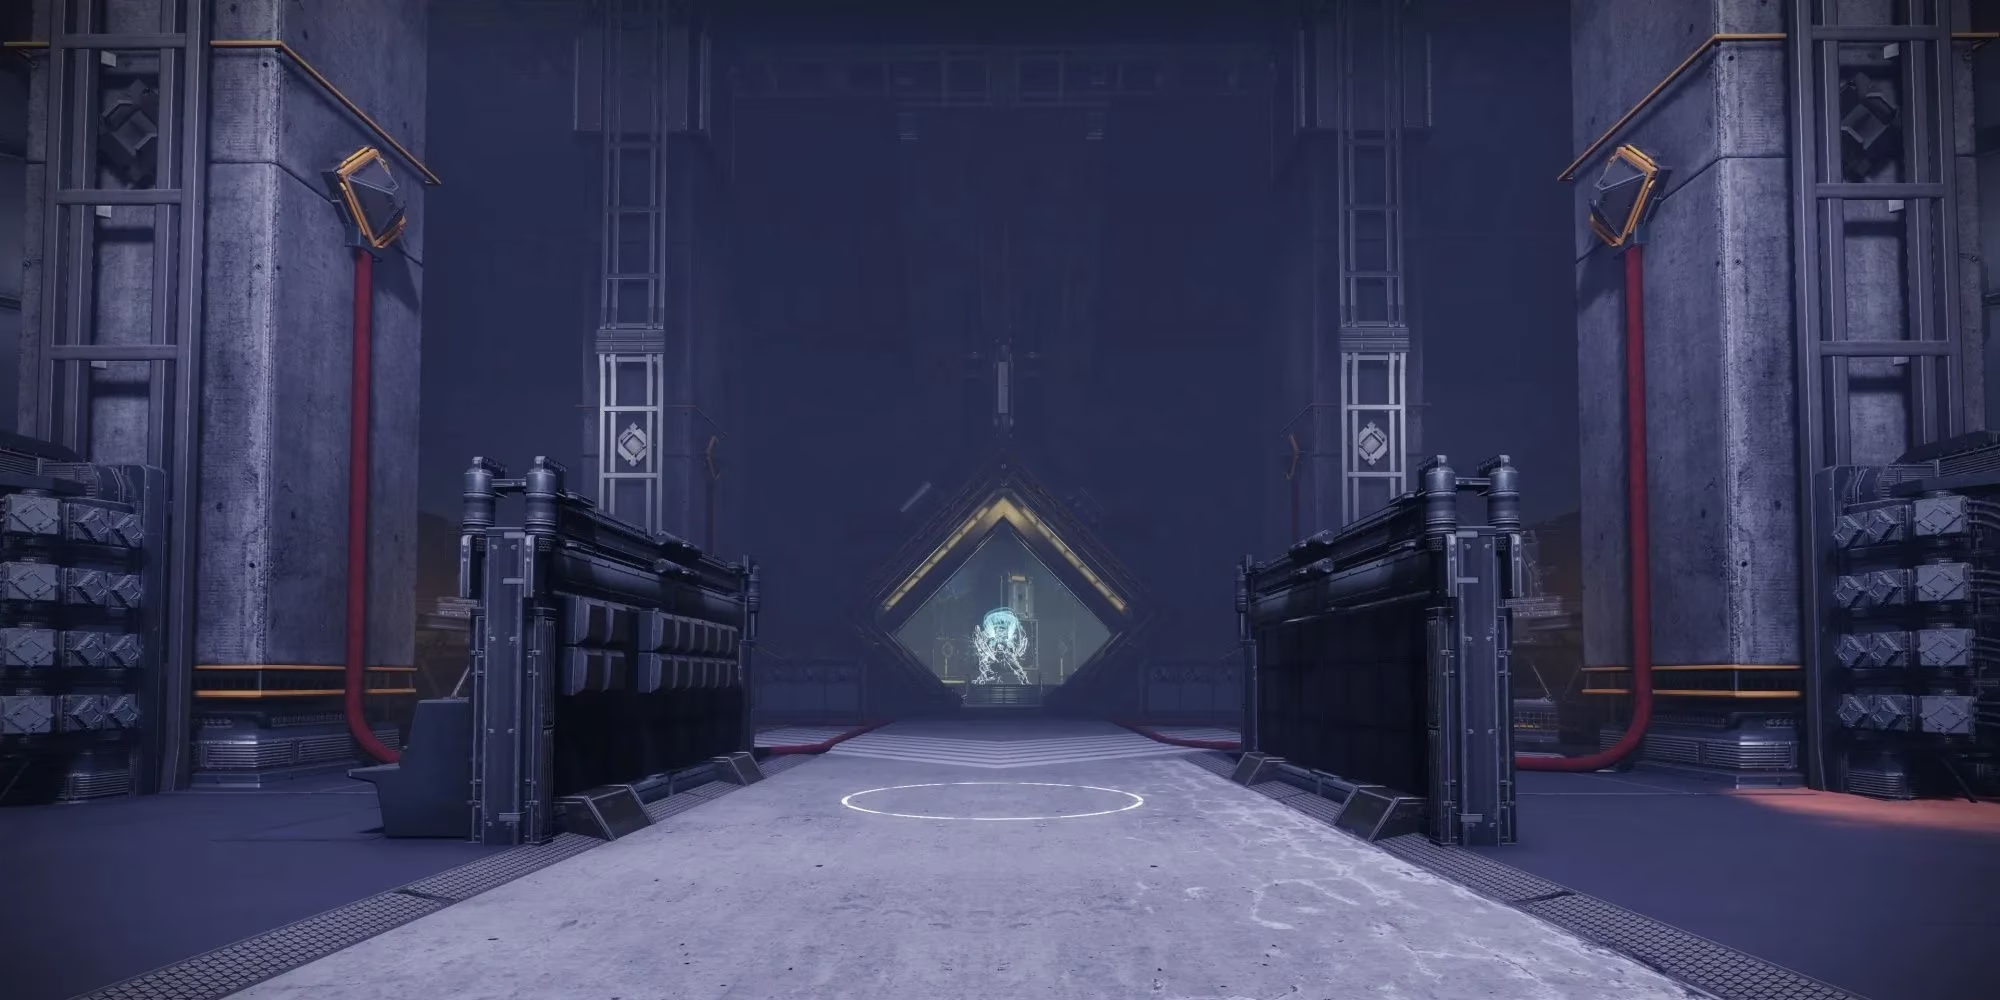
Charging two circuits starts a meltdown inside the reactor chamber. The team should leave the chamber, refresh the buff, and shoot the red cable switches again to close the blast doors on Persys. That removes its immunity shield and begins the DPS window.
Persys behaves like a typical Wyvern, slowly advancing while firing Void cannons that hit harder than they should. Straffing side to side and changing direction erratically throws off its aim. Once it gets close, players should duck behind cover and keep hitting the critical spot. The shield recharges after 15-20 seconds, so the whole cycle repeats.
No enrage timer means this fight is a battle of composure rather than raw speed. Die less, shoot the switches, and do not let a Supplicant hug anyone. Once Persys falls, the dungeon is clear and the cowboy-hat-clad loot begins to flow.