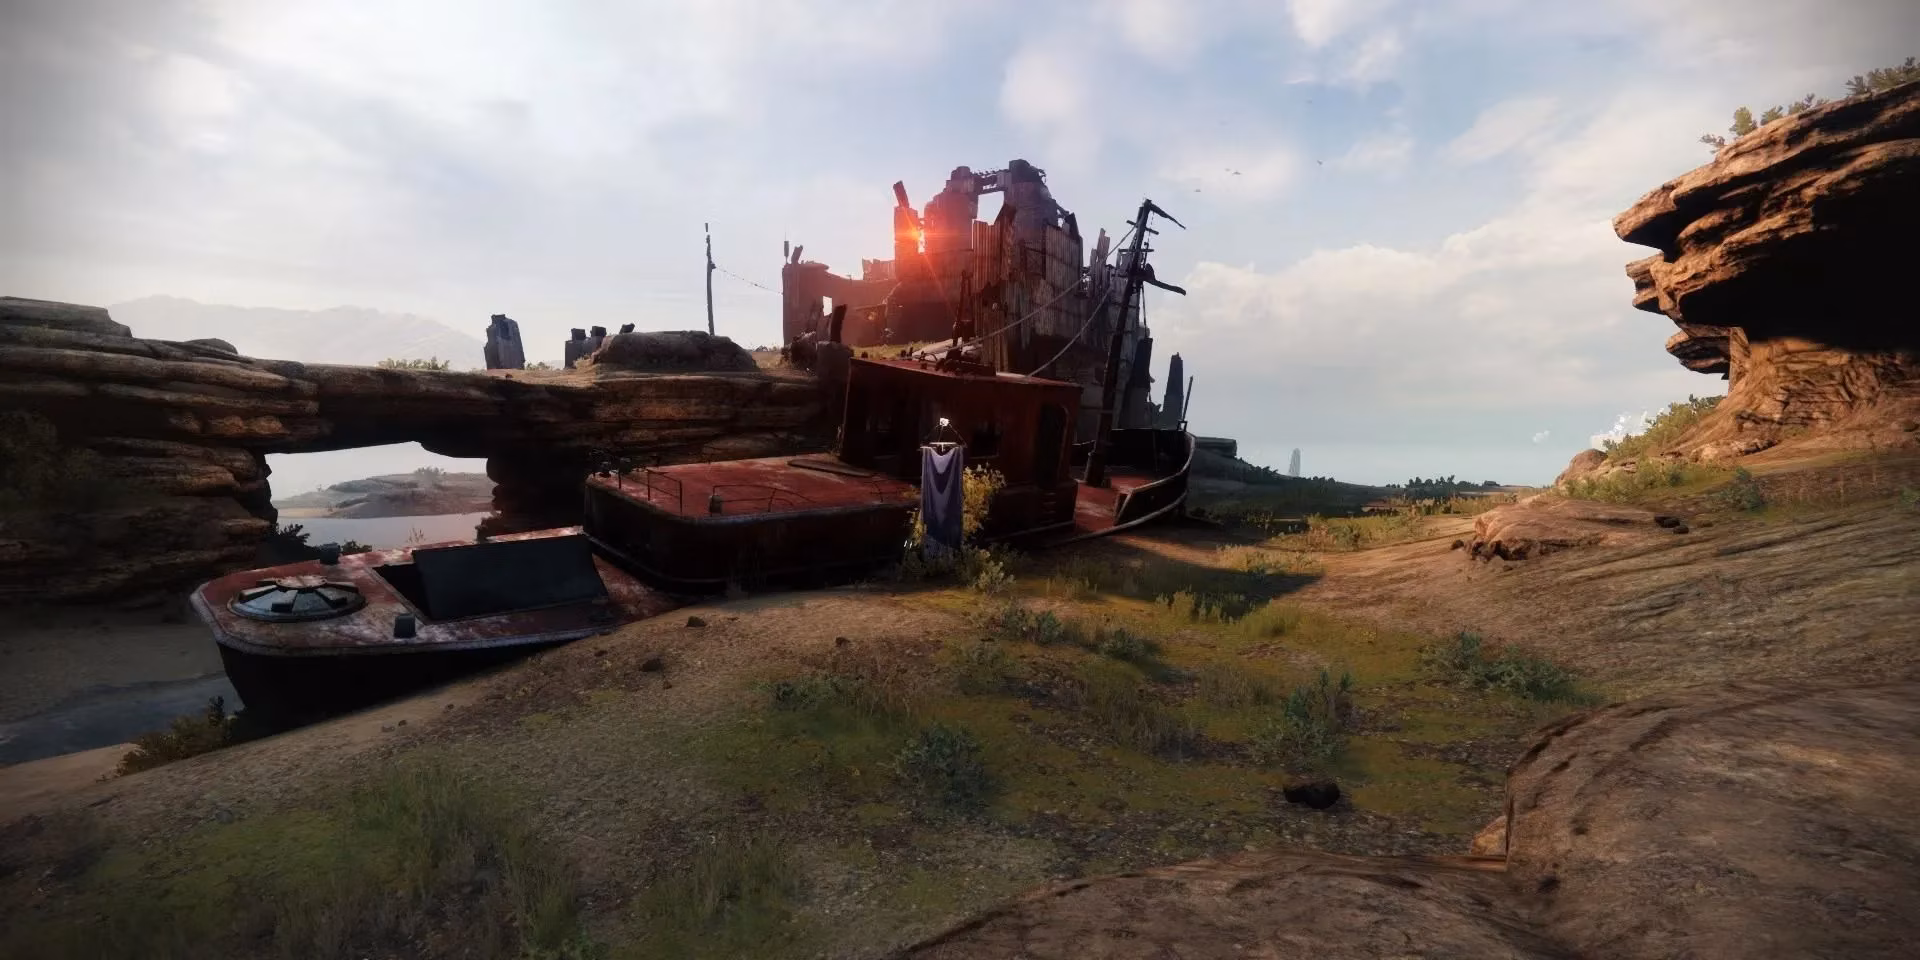
If you're like me, chasing exotic engrams in 2026 often means diving headfirst into the grind of Legend Lost Sectors. I recently set my sights on one of the oldest challenges in the cosmodrome – Veles Labyrinth. Even though Bungie keeps tweaking power levels and champion mods, this maze-like hive den remains a rite of passage for solo guardians. Today I'm breaking down the exact loadout, build, and sneaky tricks I used to clear it flawlessly at a gear level of just 1801. Trust me, with the right setup, you can do it too.
What You're Up Against
Before I even booted up the mission, I studied the enemy roster. Veles Labyrinth throws a mix of thrall rushes and hard-hitting ranged foes at you – all Hive. Here's the full hit list:
-
Barrier Knights (3x)
-
Unstoppable Ogre (1x)
-
Revenant Shrieker (1x)
-
Blistered Wizard (1x)
-
Revenant Knights, Wizards, Acolytes, and Cursed Thralls in droves
-
Final boss: Ak‑Baral, Rival of Navota
Every shielded enemy runs either arc or solar protection, and the weekly threat at the time of my run was arc. That means I avoided my arc subclass like a plague. Instead, I leaned into void – specifically a hunter void build that turned invisibility and crowd control into my best friends.
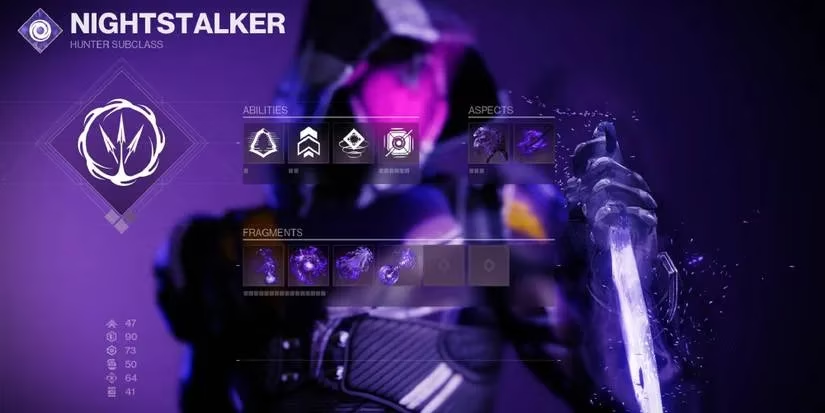
My Hunter Build (Void 3.0)
After experimenting with several classes, I found the void hunter to be the most forgiving for solo play. The ability to vanish, disrupt champions, and weaken priority targets kept me alive during the nastiest moments.
Abilities
-
Gambler's Dodge
-
Triple Jump
-
Snare Bomb
-
Scatter Grenade
Aspects
-
Vanishing Step
-
Stylish Executioner
Fragments
-
Echo of Obscurity
-
Echo of Expulsion
-
Echo of Exchange
-
Echo of Leeching
Super – Shadowshot: Moebius Quiver (for boss damage and debuffing)
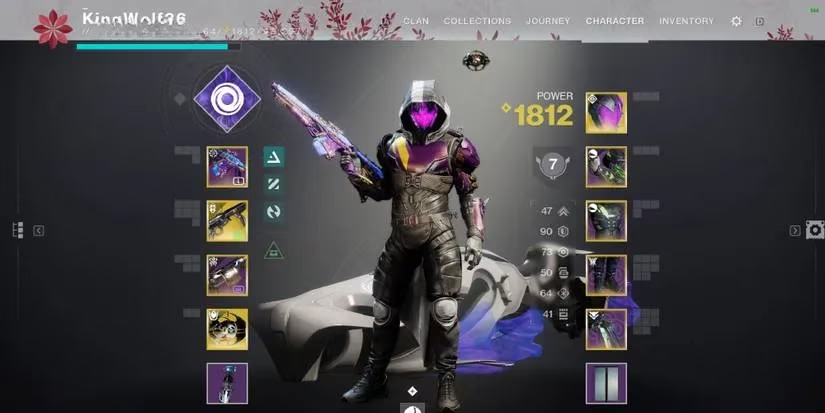
The Loadout That Shredded Everything
Weapon choice is everything when you're 30+ levels under the recommended power. I skipped the hand cannon meta because there's only one unstoppable ogre in the entire lost sector – and I had a safe trick to melt him without needing intrinsic stun. Instead, I packed auto‑rifle power for barrier champions and two grenade launchers for add‑clear and burst damage.
-
Kinetic (Auto Rifle): Centrifuse (Exotic) or Perpetualis (Legendary) with Major Spec
-
Energy (Grenade Launcher): Harsh Language (Legendary) or Dead Messenger (Exotic)
-
Power: Cry Mutiny Grenade Launcher (Legendary, Minor Spec) or Terminus Horizon Machine Gun (Legendary, Major Spec)
Armor Mods that kept me standing:
-
Helmet: Kinetic Targeting, Arc or Strand Targeting (depending on your auto rifle)
-
Gauntlets: Bolstering Detonation, Firepower
-
Chest: Arc, Solar, and Void Resistance
-
Legs: Kinetic Weapon Surge + Arc or Strand Weapon Surge
With this setup I walked in at 1812 total power (11 of those from the seasonal artifact) – effectively 1801 gear. The resistances plus the grenade launcher burst made up for the deficit.
The Two Rune Puzzles
Veles Labyrinth doesn't just test your aim; it makes you find hidden switches. Right after the drop, a rune block seals the path. I cleared the room of acolytes and the first Barrier Knight, then shot the small round rune symbol on the wall to open the way. That's puzzle one.
The second puzzle is nestled in the tunnel labyrinth. After the first lock, I went right, straight, right again, and then spotted the double‑rune lock on my right and a glowing blue lamp on the left. I entered the lamp room, immediately shot the button on the right-hand wall, dispatched the enemies, then continued forward, took a left and then a right to find another button. Shooting it disarmed the lock – and sent a horde of Revenant Cursed Thralls my way. A Barrier Knight follows them, and I highly recommend having your super ready. I stunned the knight, unleashed Moebius Quiver, followed with a grenade, and finished him with sustained auto‑rifle fire.
The Platform Trick (Golden Safe Zone)
This is the part that makes the whole run manageable. Before exiting the tunnels to the open platform, I cleared every acolyte near the stairs. Then I crept up the stairs but stopped a few steps from the top, using the thick platform edge as cover. From that position, I could shoot the Barrier Knight's head while his shots hit the geometry. The Unstoppable Ogre also tried to blast me, but every round slammed into the platform. I drained the knight's health with Centrifuse, then stepped up onto the platform and hid behind the big crate in the middle. From behind that box, I could see the Ogre's head but his projectiles were blocked entirely. True, an auto rifle kills unstoppables slower than a hand cannon, but I was completely safe – patience was all I needed.
Once the Ogre dropped, I swept through two Revenant Knights and used cave walls to peek‑shoot the Revenant Shrieker. After that, the boss area is just ahead.
Boss Fight & Final Cleanup
I entered the boss arena and moved forward until the massive green portal flared open. Immediately I retreated back to the entrance wall – that became my new safe zone. Acolytes and two Revenant Knights spawned first; I used my super to delete the Blistered Wizard near the portal. The knights chased me all the way to my corner, so I grenade‑launchered them into dust.
A second wave of Revenant Acolytes appeared, then the big guy: Ak‑Baral himself. The boss hits absurdly hard, but he would not follow me behind the wall. Instead, I lobbed Cry Mutiny shots and popped whatever grenades I had while strafing between cover. Thralls and Cursed Thralls rushed me constantly – one grenade round from Harsh Language cleared the pack. Once the boss collapsed, the portal vanished, but the job wasn't done. I walked forward and spotted a Revenant Wizard perched on a cliff to the left. A few auto‑rifle bursts sent him packing, and the loot chest appeared on that same cliff.
Why This Works in 2026
Even though seasons change and some weapons rotate out, the core philosophy of Veles Labyrinth hasn't budged. Invisibility, burst damage, and exploiting cover geometry will carry you through no matter the meta. The champion mods might shift (auto rifles haven't always been barrier, after all), but you can adapt this skeleton to whatever weapons are in the artifact. I still keep this build saved in my loadouts – it's that reliable.
So, guardian, if you're staring at that exotic engram reward and feeling under‑leveled, give Veles Labyrinth a shot this week. Remember the stair trick, pack a void hunter, and don't forget to breathe. It's a long corridor, but you'll emerge with shiny new loot. Good luck out there.